Shooting on location in someone else’s home can instill knee trembling fear into even the most seasoned of pro photographers. In all honesty, not everyone’s home makes for a suitable studio. Small windows, everyday clutter, dark rooms and inconveniently placed radiators are all likely candidates to make you want to abandon the shoot. But don’t give up – every home has its possibilities, it’s just a question of recognising and making the best of them.
De-Clutter and Clean
First rule when shooting at home is de-clutter. Nothing sends my blood pressure flying into the stratosphere more than seeing a beautifully shot image of a stunning model who has gone to all the effort of hair, make-up and outfit only to have the ironing board or vacuum cleaner in the background…or worse, a rubbish bin, discarded underwear or sin of all sins the photographer’s back pack!
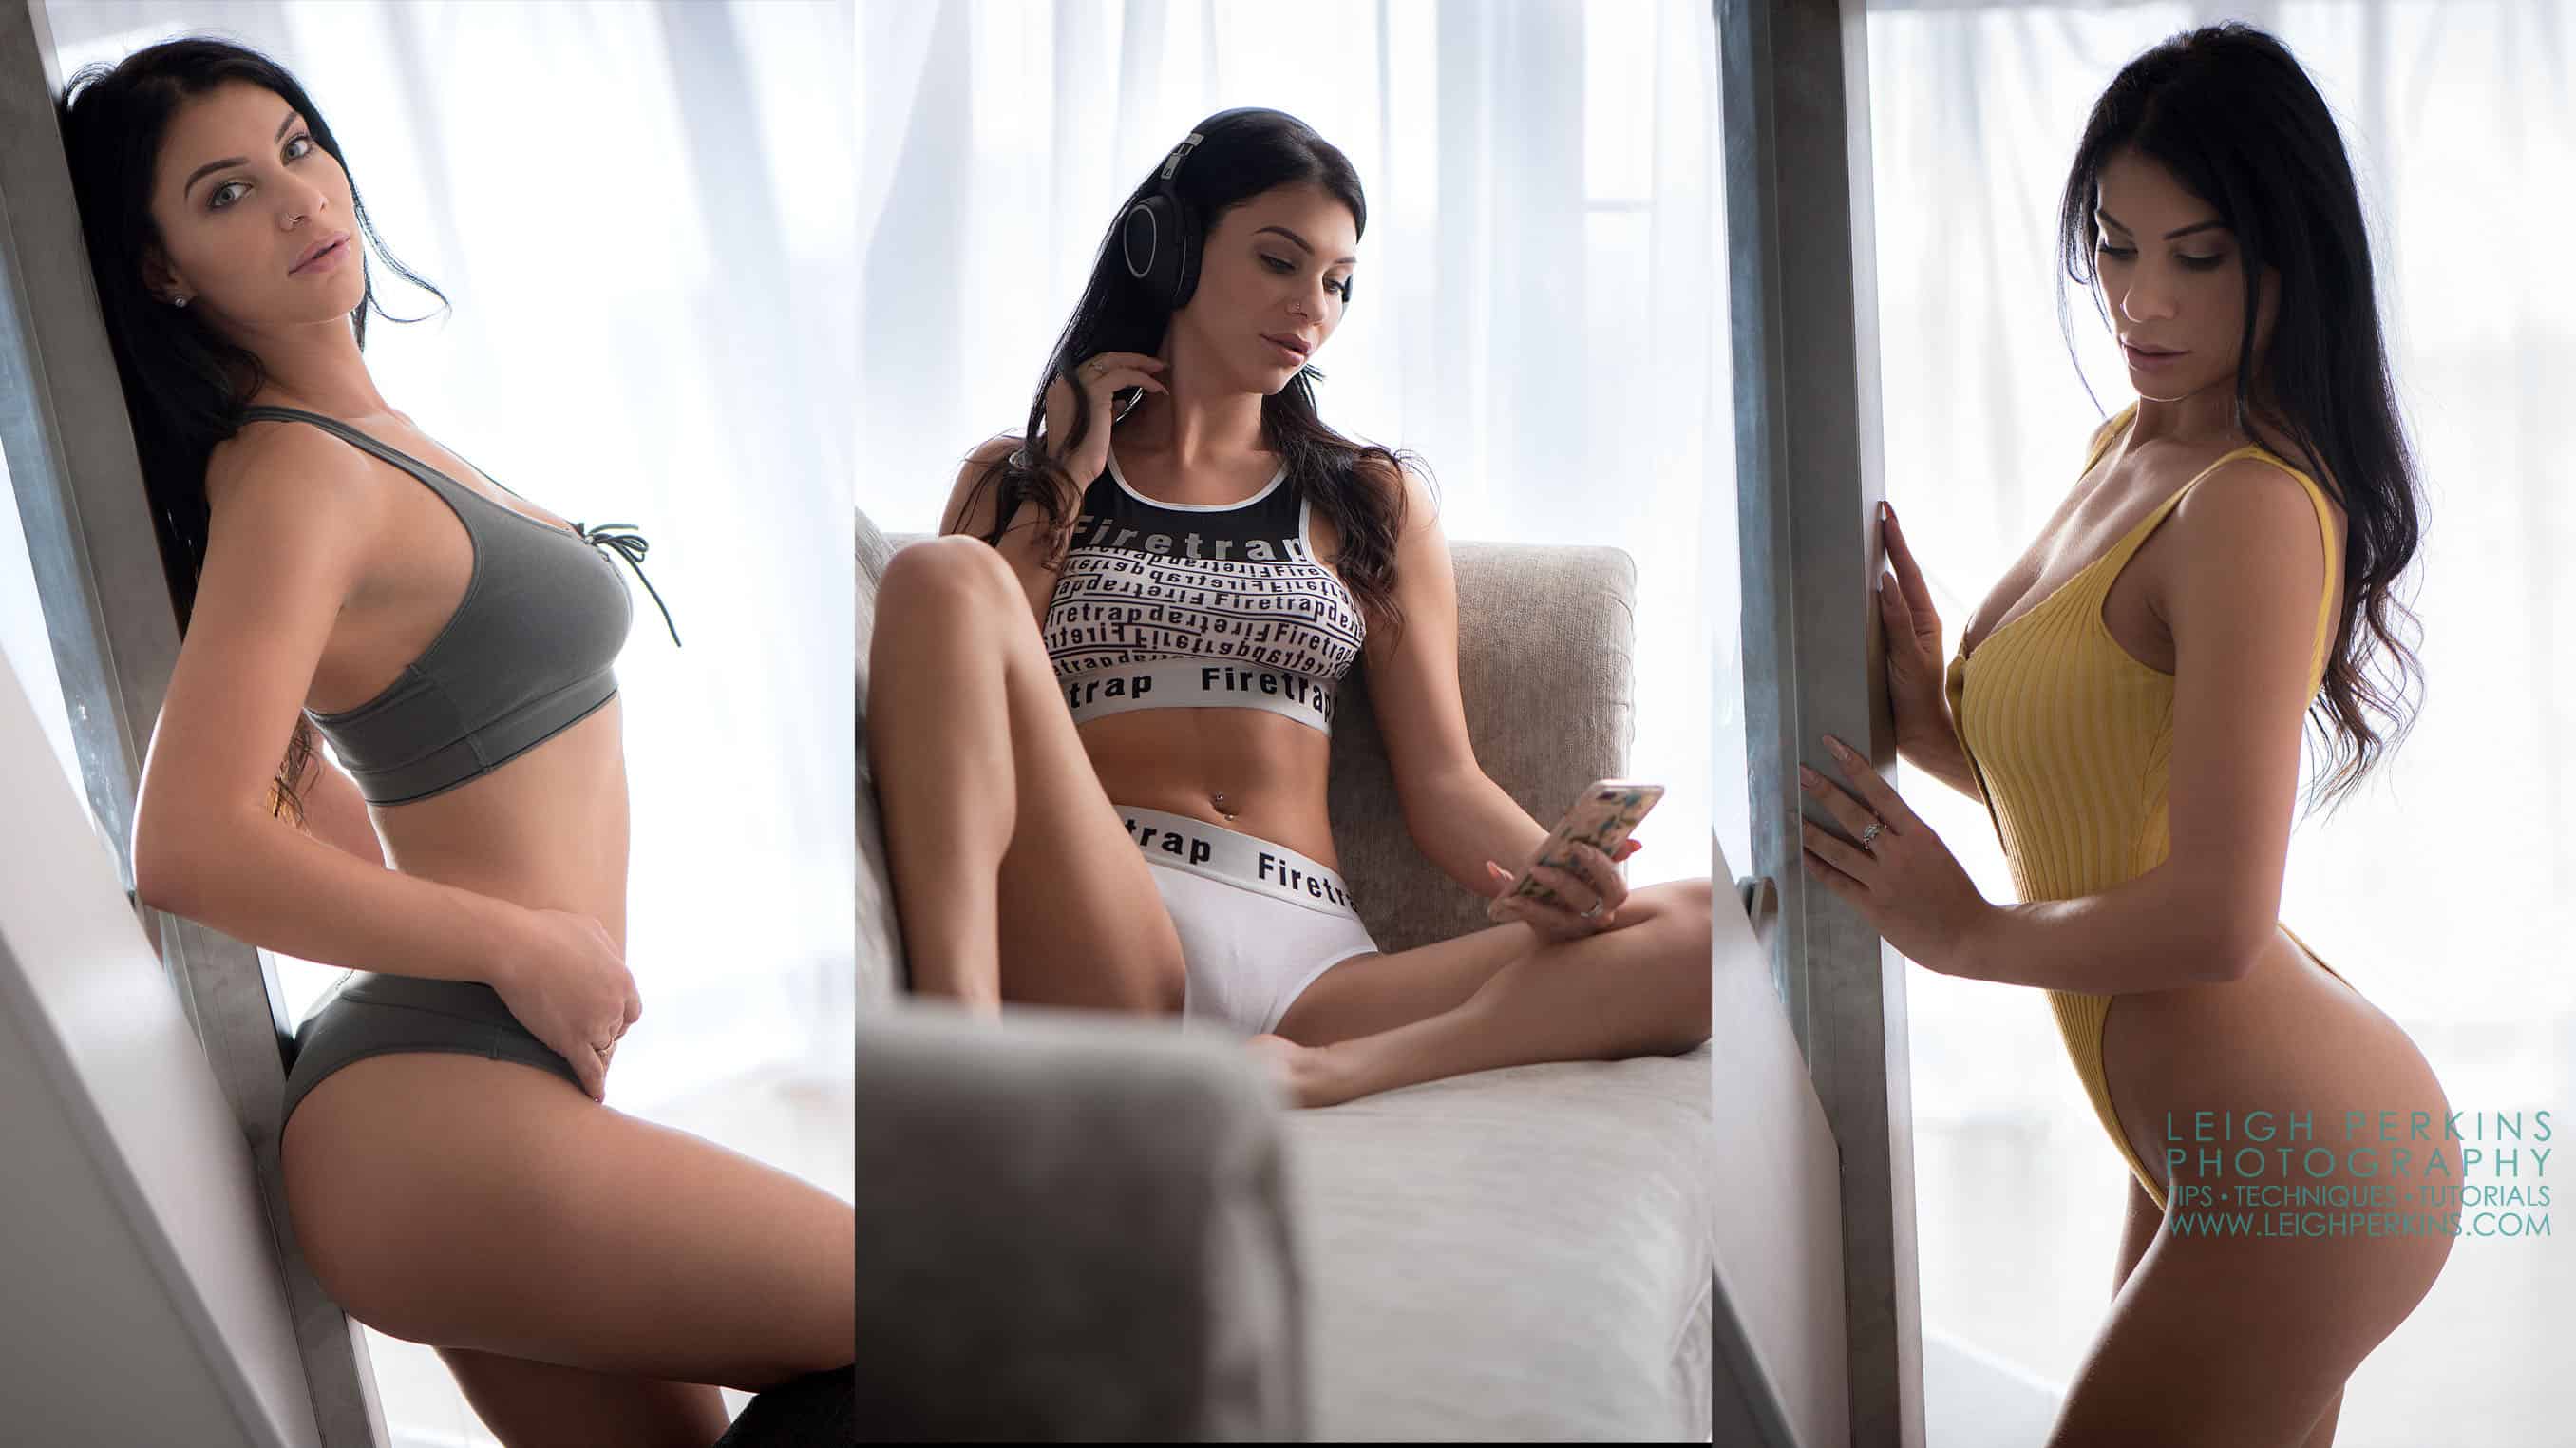
So you’ve de-cluttered and the cleaners have been and done their job. What’s next? Well for me it’s a combination of seeking out the best angles and directions in which to shoot, combined with how much natural light there is. OK, hands up here! On this shoot I got lucky. Roxy had sent me a few phone snaps of her house before making the 140mile trek north so I had an idea of what was available to me. However, the full floor-to-ceiling windows were even better than I was hoping for and were simply crying out to be included in my images. The first half of my day was decided in an instant.
So, a word or two about windows. Well actually a whole paragraph! Windows are a great source of natural light and of course could and should be used for shooting portraits, nudes, fashion…anything. Shoot in front of them, alongside them, next to them, away from them. Create silhouettes, short side lighting portraits, the list goes on. However, unless you have a scenic view on the other side of the glass, you will need to take care! The urban paraphernalia that is visible from most windows is set to send my blood pressure sky high. What’s the point of creating a beautiful artistic, sensual portrait lit with soft, cloud-diffused daylight if you get to see the telegraph pole just outside or a lovely row of terraced rooftops and satellite dishes.
We Have The Power
But fear not, because we have the power of exposure! With digital photography we can swap ISO sensitivity at will and with that comes the possibilities of losing detail in backgrounds. There is one small caveat with that which will aid you in your quest to lose the next door neighbours’ shed from your images and that is this. If you’re heading to a location shoot or even planning a shoot in your own home and there is a possibility you will be shooting at a window, then pack a couple of spare background stands and a support pole. Get yourself off to your local fabric store (or go online) and purchase some lengths of translucent voile (that’s net curtains in Ye Olde English). Make sure they’re a good length, three metres or so is ideal and make sure you have at least twice as much as the width of you window to create plenty of gathers.
Once at your chosen window, pop up you stands and drape the voiles in front of the windows being sure to create plenty of folds in the fabric. This is going to diffuse any light coming through them and help hide background paraphernalia (love that word!). This fabric is so handy when out and about and if ever I’m going to shoot in an unknown indoor location I’ll always pack this “window kit”.
Now, it’s not enough to just put up this adhoc window decoration and start shooting, we also have to help the effect with our exposure. In the example images here, the window has been over-exposed by almost one and a half stops. The effect is to create a window that looks like we have vast amounts of daylight lighting our subject whilst blowing out any detail from outside. The exposure outside in these images was 1/125s at f2.8 at ISO100. I cranked the exposure up to ISO640 thus overexposing the window by two and half stops (ish).
It’s Just An Illusion
Next comes the tricky bit. Had I put Roxy next to the window she would doubtless have been overexposed herself and none too chuffed. Well this being a win win win shoot we had a long hallway perfectly placed allowing us to get a fair way back and shoot towards the window. It doesn’t take a photographic genius to realise that this particular situation is probably going to create some strong silhouettes, which is not what we’re looking for today. So in comes our studio flash unit to save the day – positioned behind Roxy, near the window and pointed towards her. It creates the illusion that she is being illuminated by the window when in fact this is only partially true. The flash unit is creating a fill light on her front by reflecting off the opposite wall as well as some highlights on her back directly from the flash (or vice versa if she turns around). This flash was set to a fairly low power setting and was giving a reading of f4 on Roxy’s back, hence the highlights and f2.8 on her front…perfect.
Well that’s the lighting sorted. I’d already decided on the 105mm lens. Coupled with the aperture of f2.8 the depth of field (or focus if you prefer) was really shallow meaning anything in the foreground and background was well out of focus, once again ensuring any satellite dishes that managed to peek through my cunning curtains would be way way out of focus.
Keeping a little detail in the voiles is useful and important though. Be careful not to overexpose those voiles so they end up just pure white. If you do, then it will just look like you’ve set up a white backdrop and the illusion will have been wasted.
And there we have it, almost any window, with a little bit of work can be managed into a non distracting, light emitting, shooting space. Enjoy!
In the second part of this shoot I moved Roxy closer to the window and onto a sofa to give us a different feel and more posing options. With no wall in front of her to bounce the light off, I needed to change the position of the light…


Again thanks for all the details and reasons why. The pictures are fantastic! And Roxy is a gorgeous gal who’s modeling skills are readily apparent!
Great advice here. I am planning a shoot in an apartment and I have no idea what I will face in terms of light and location. I will use the advice here as guidance.