The adjustment brush within Adobe Camera Raw is one of those tools that for many people seems to be eternally shrouded in an invisibility cloak. Don’t know where it is and don’t know what it does. But I guess we shouldn’t be surprised as it can seem like a scary prospect to take the plunge into the deep and dark world of the RAW.
Of course this is a slight exaggeration but it does pose the question as to why RAW still seems like one mysterious step too far for many people. I suspect that with such high quality jpgs coming straight out most reasonable quality DSLR’s, the suspicion is that RAW is an unnecessary step. In many instances of course that is true but if you’re serious about your photography and want to continue to improve your results to the highest possible standard then RAW is a must.
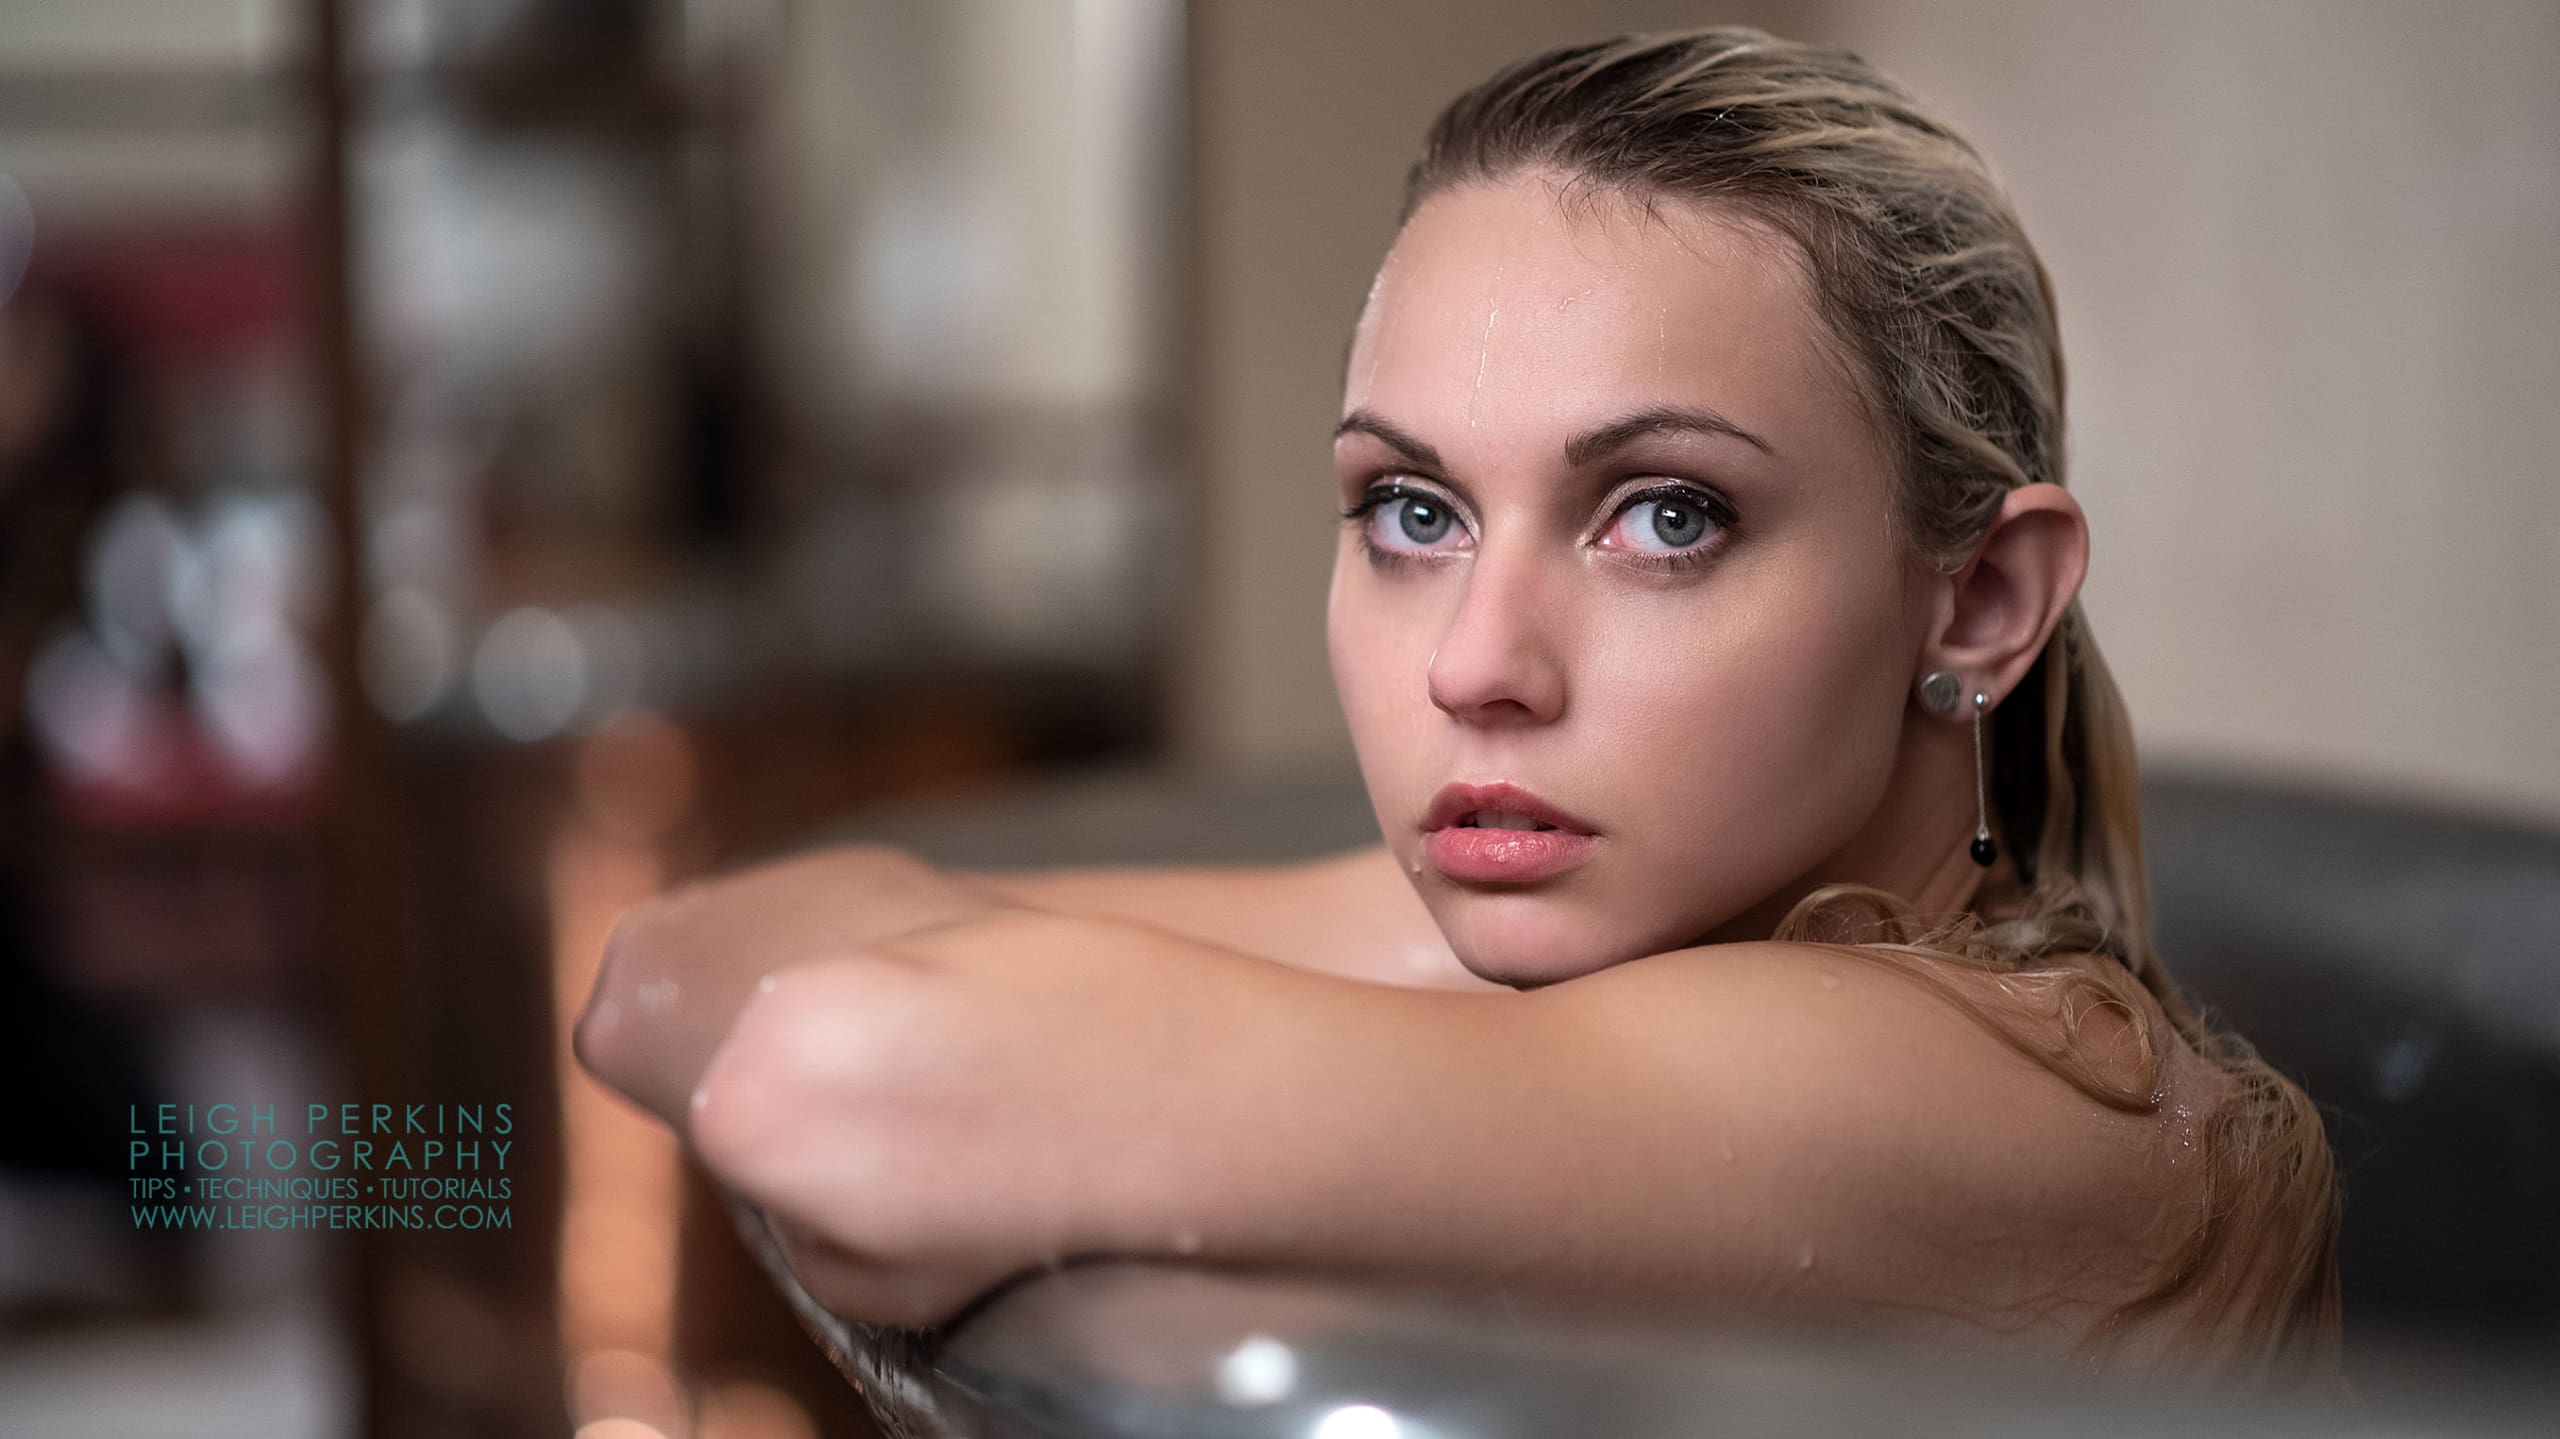
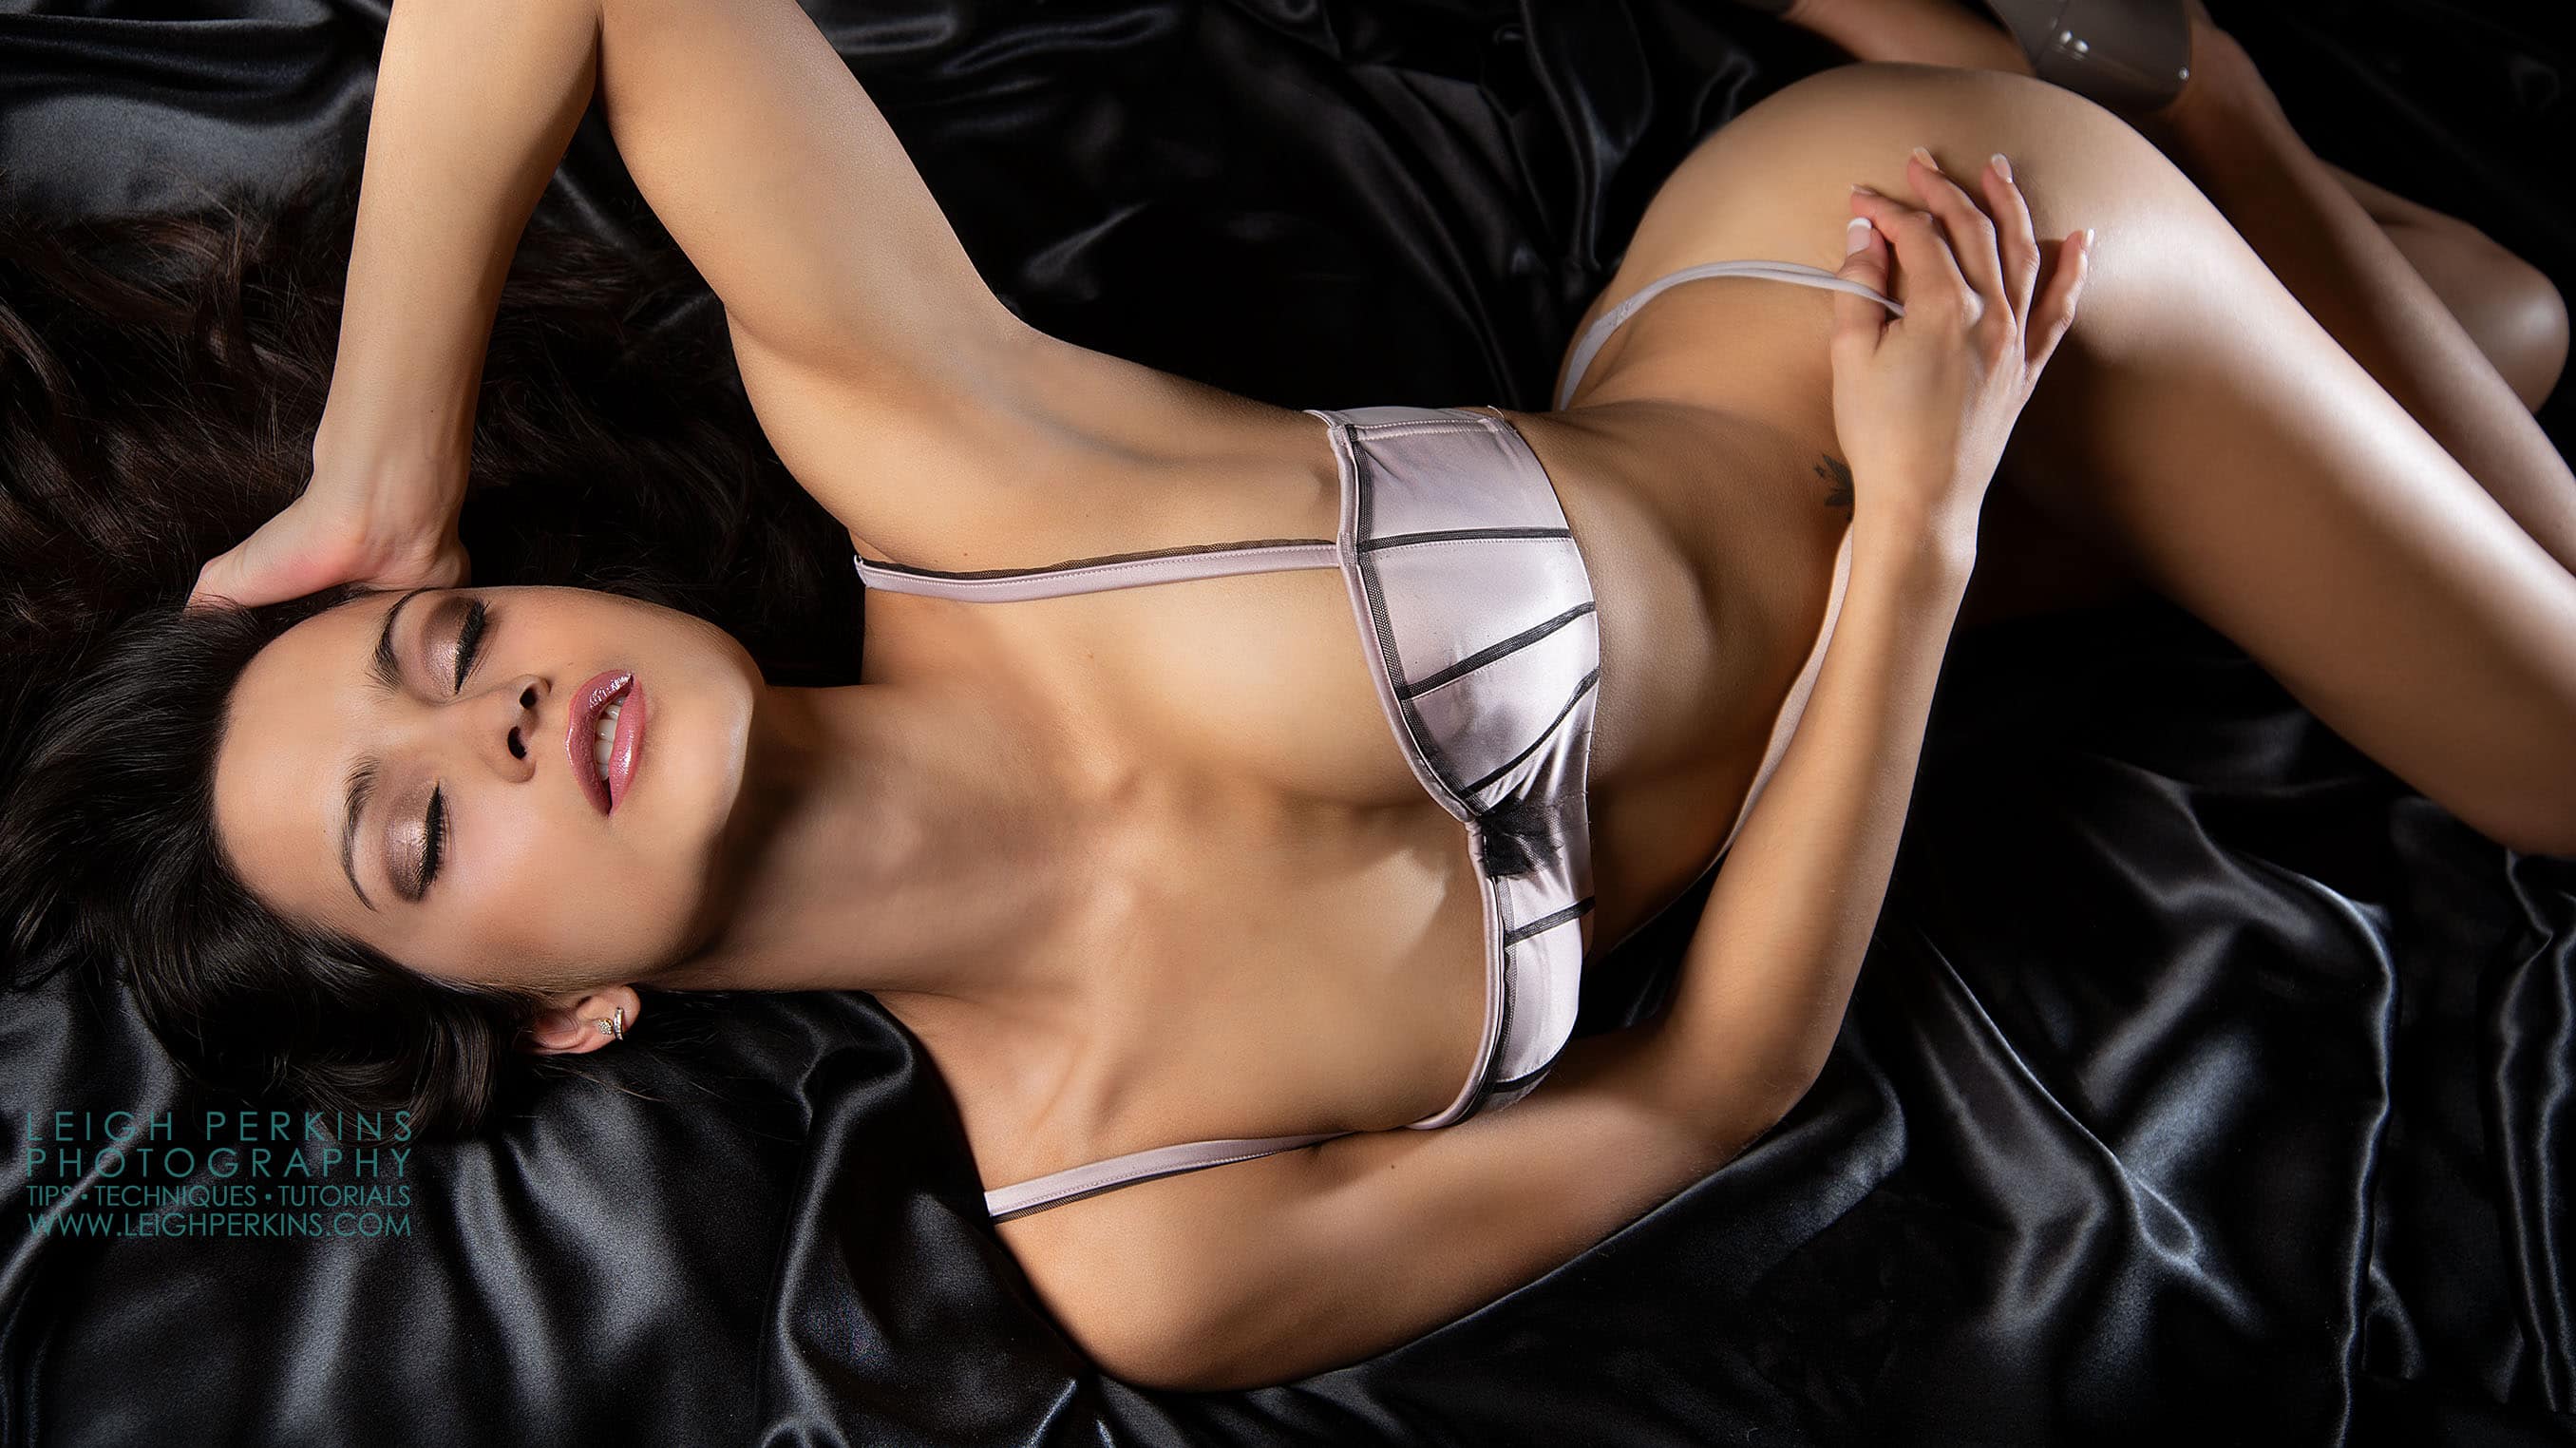
Within the Adobe Camera RAW we have the beloved adjustment brush. A non-destructive dodge, burn and colourise tool is a simplistic way to describe it – there is much more to it than that but for me this is where it particularly excels. Watch my tutorial video to see how I use it. Sign in if you are already a member or Join Now if you are yet to take the plunge – you can thank me later. ?
white balance on part of an image.

highlights and shadows

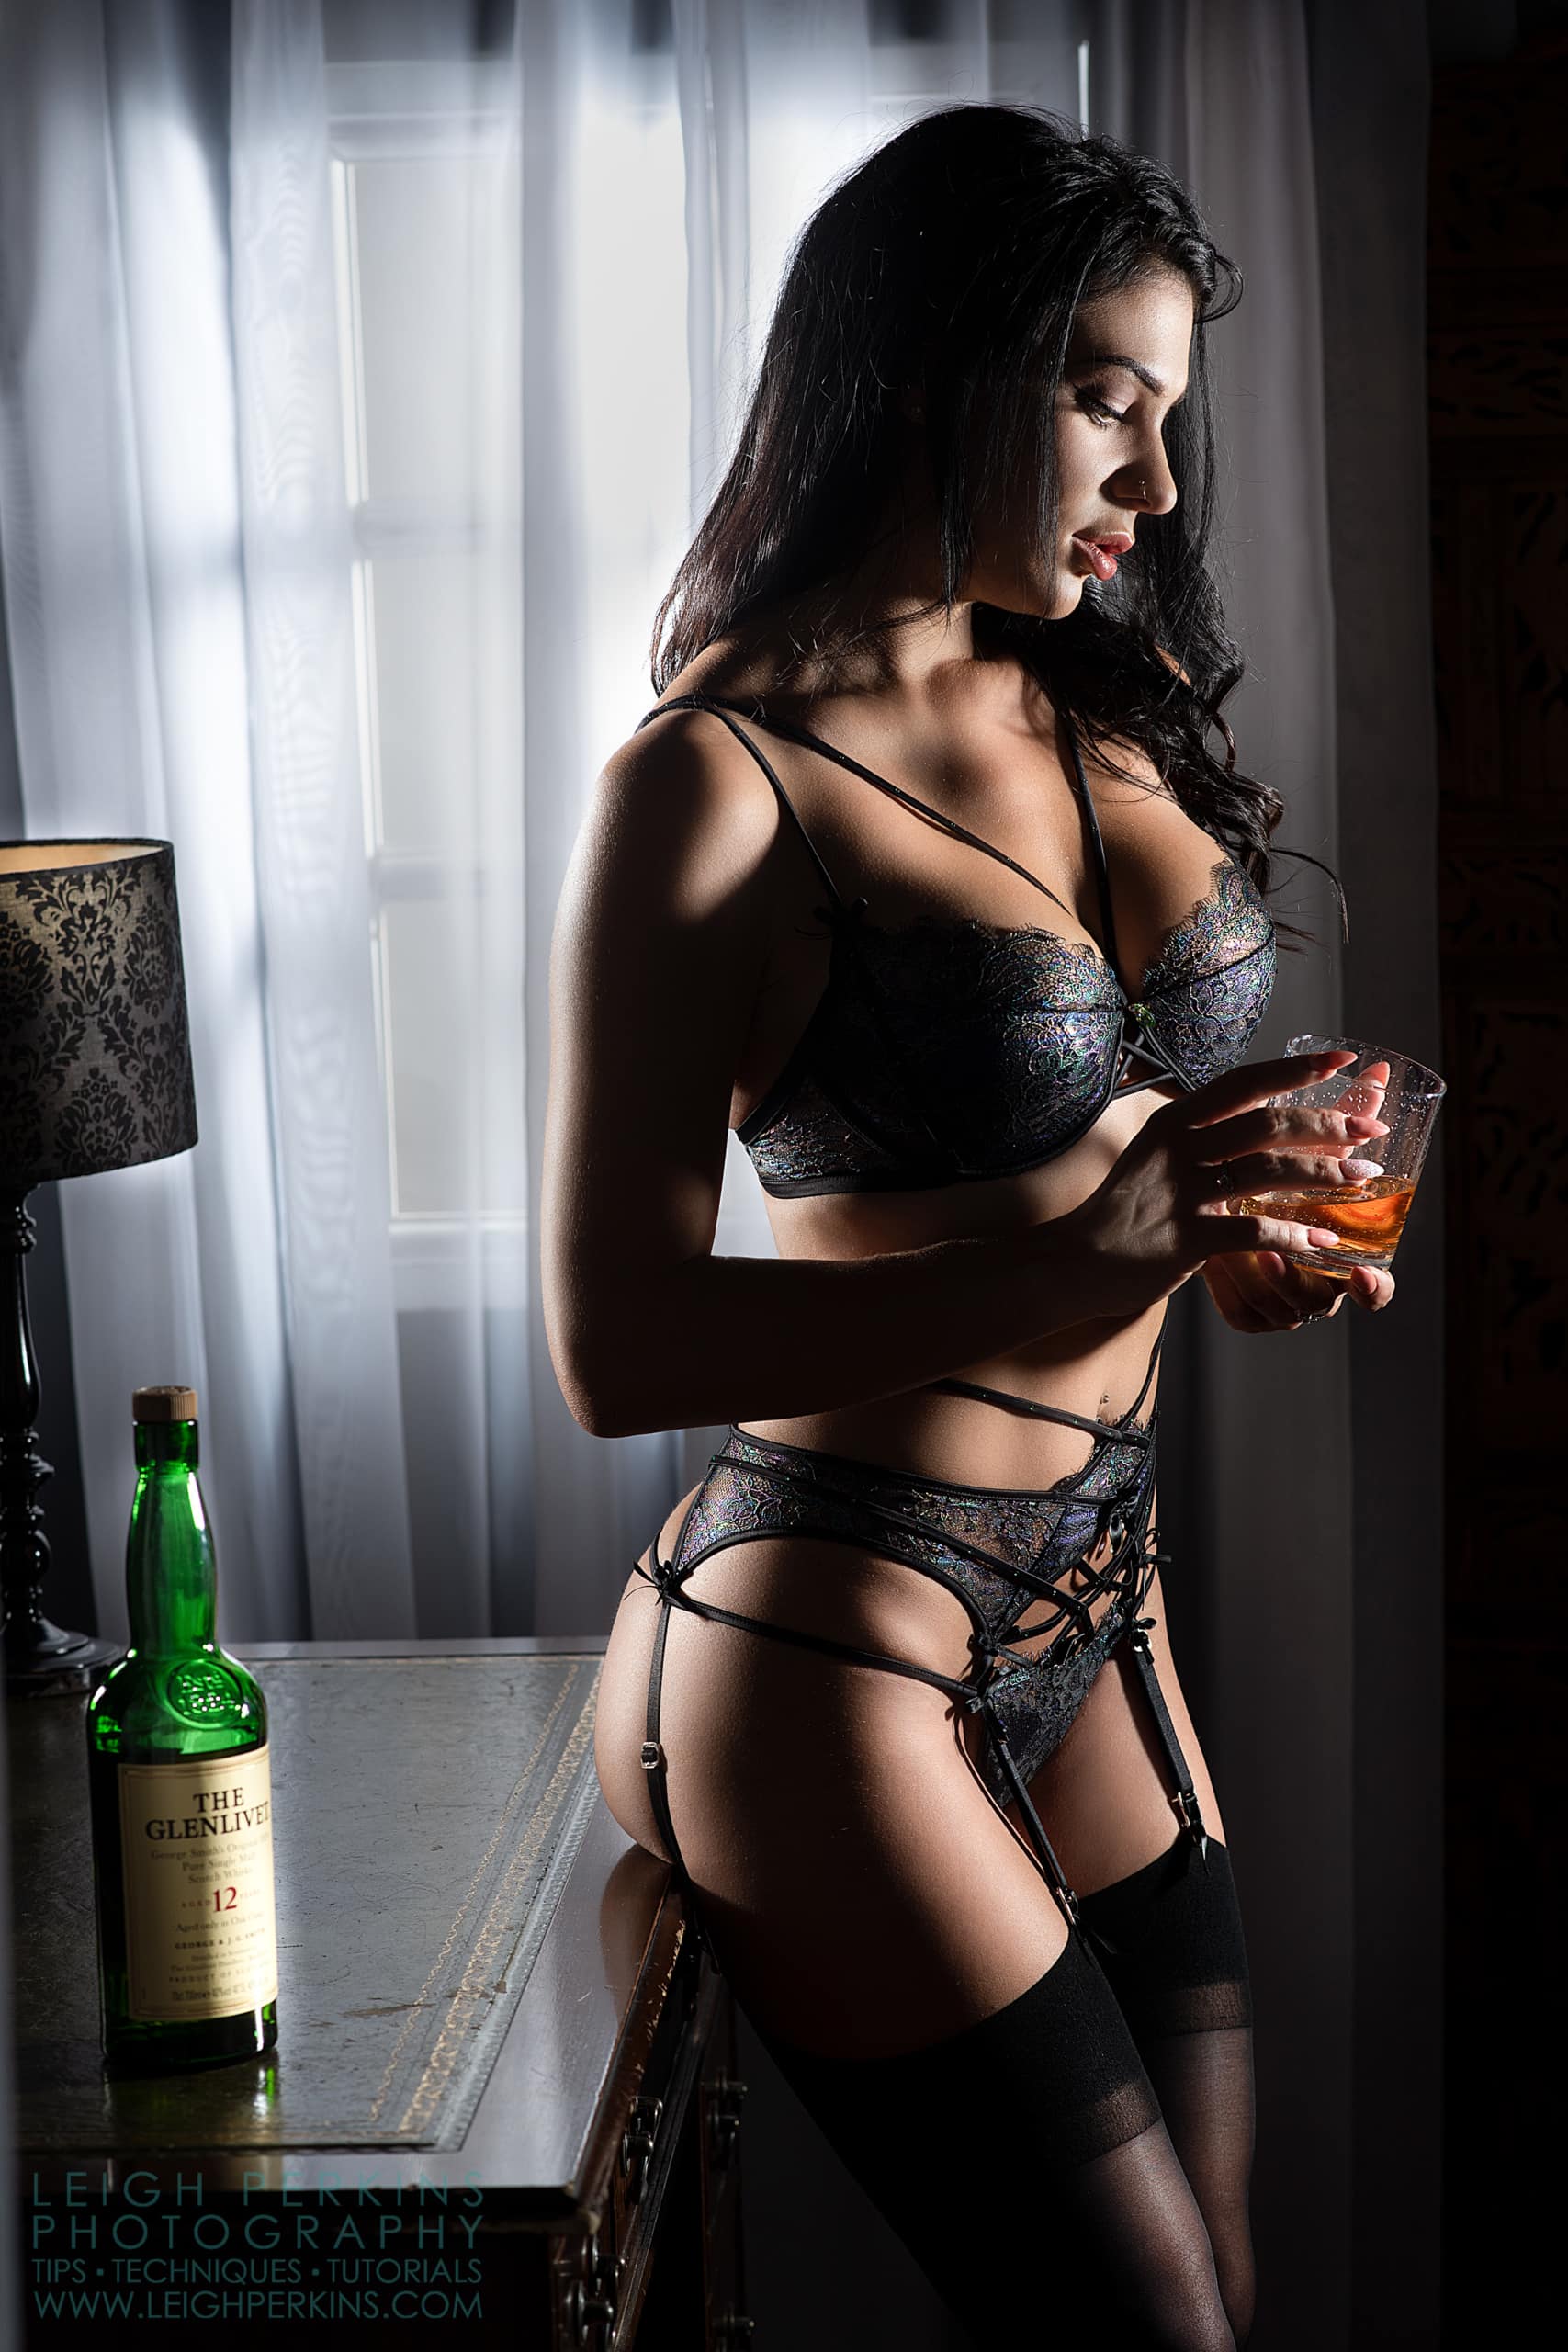
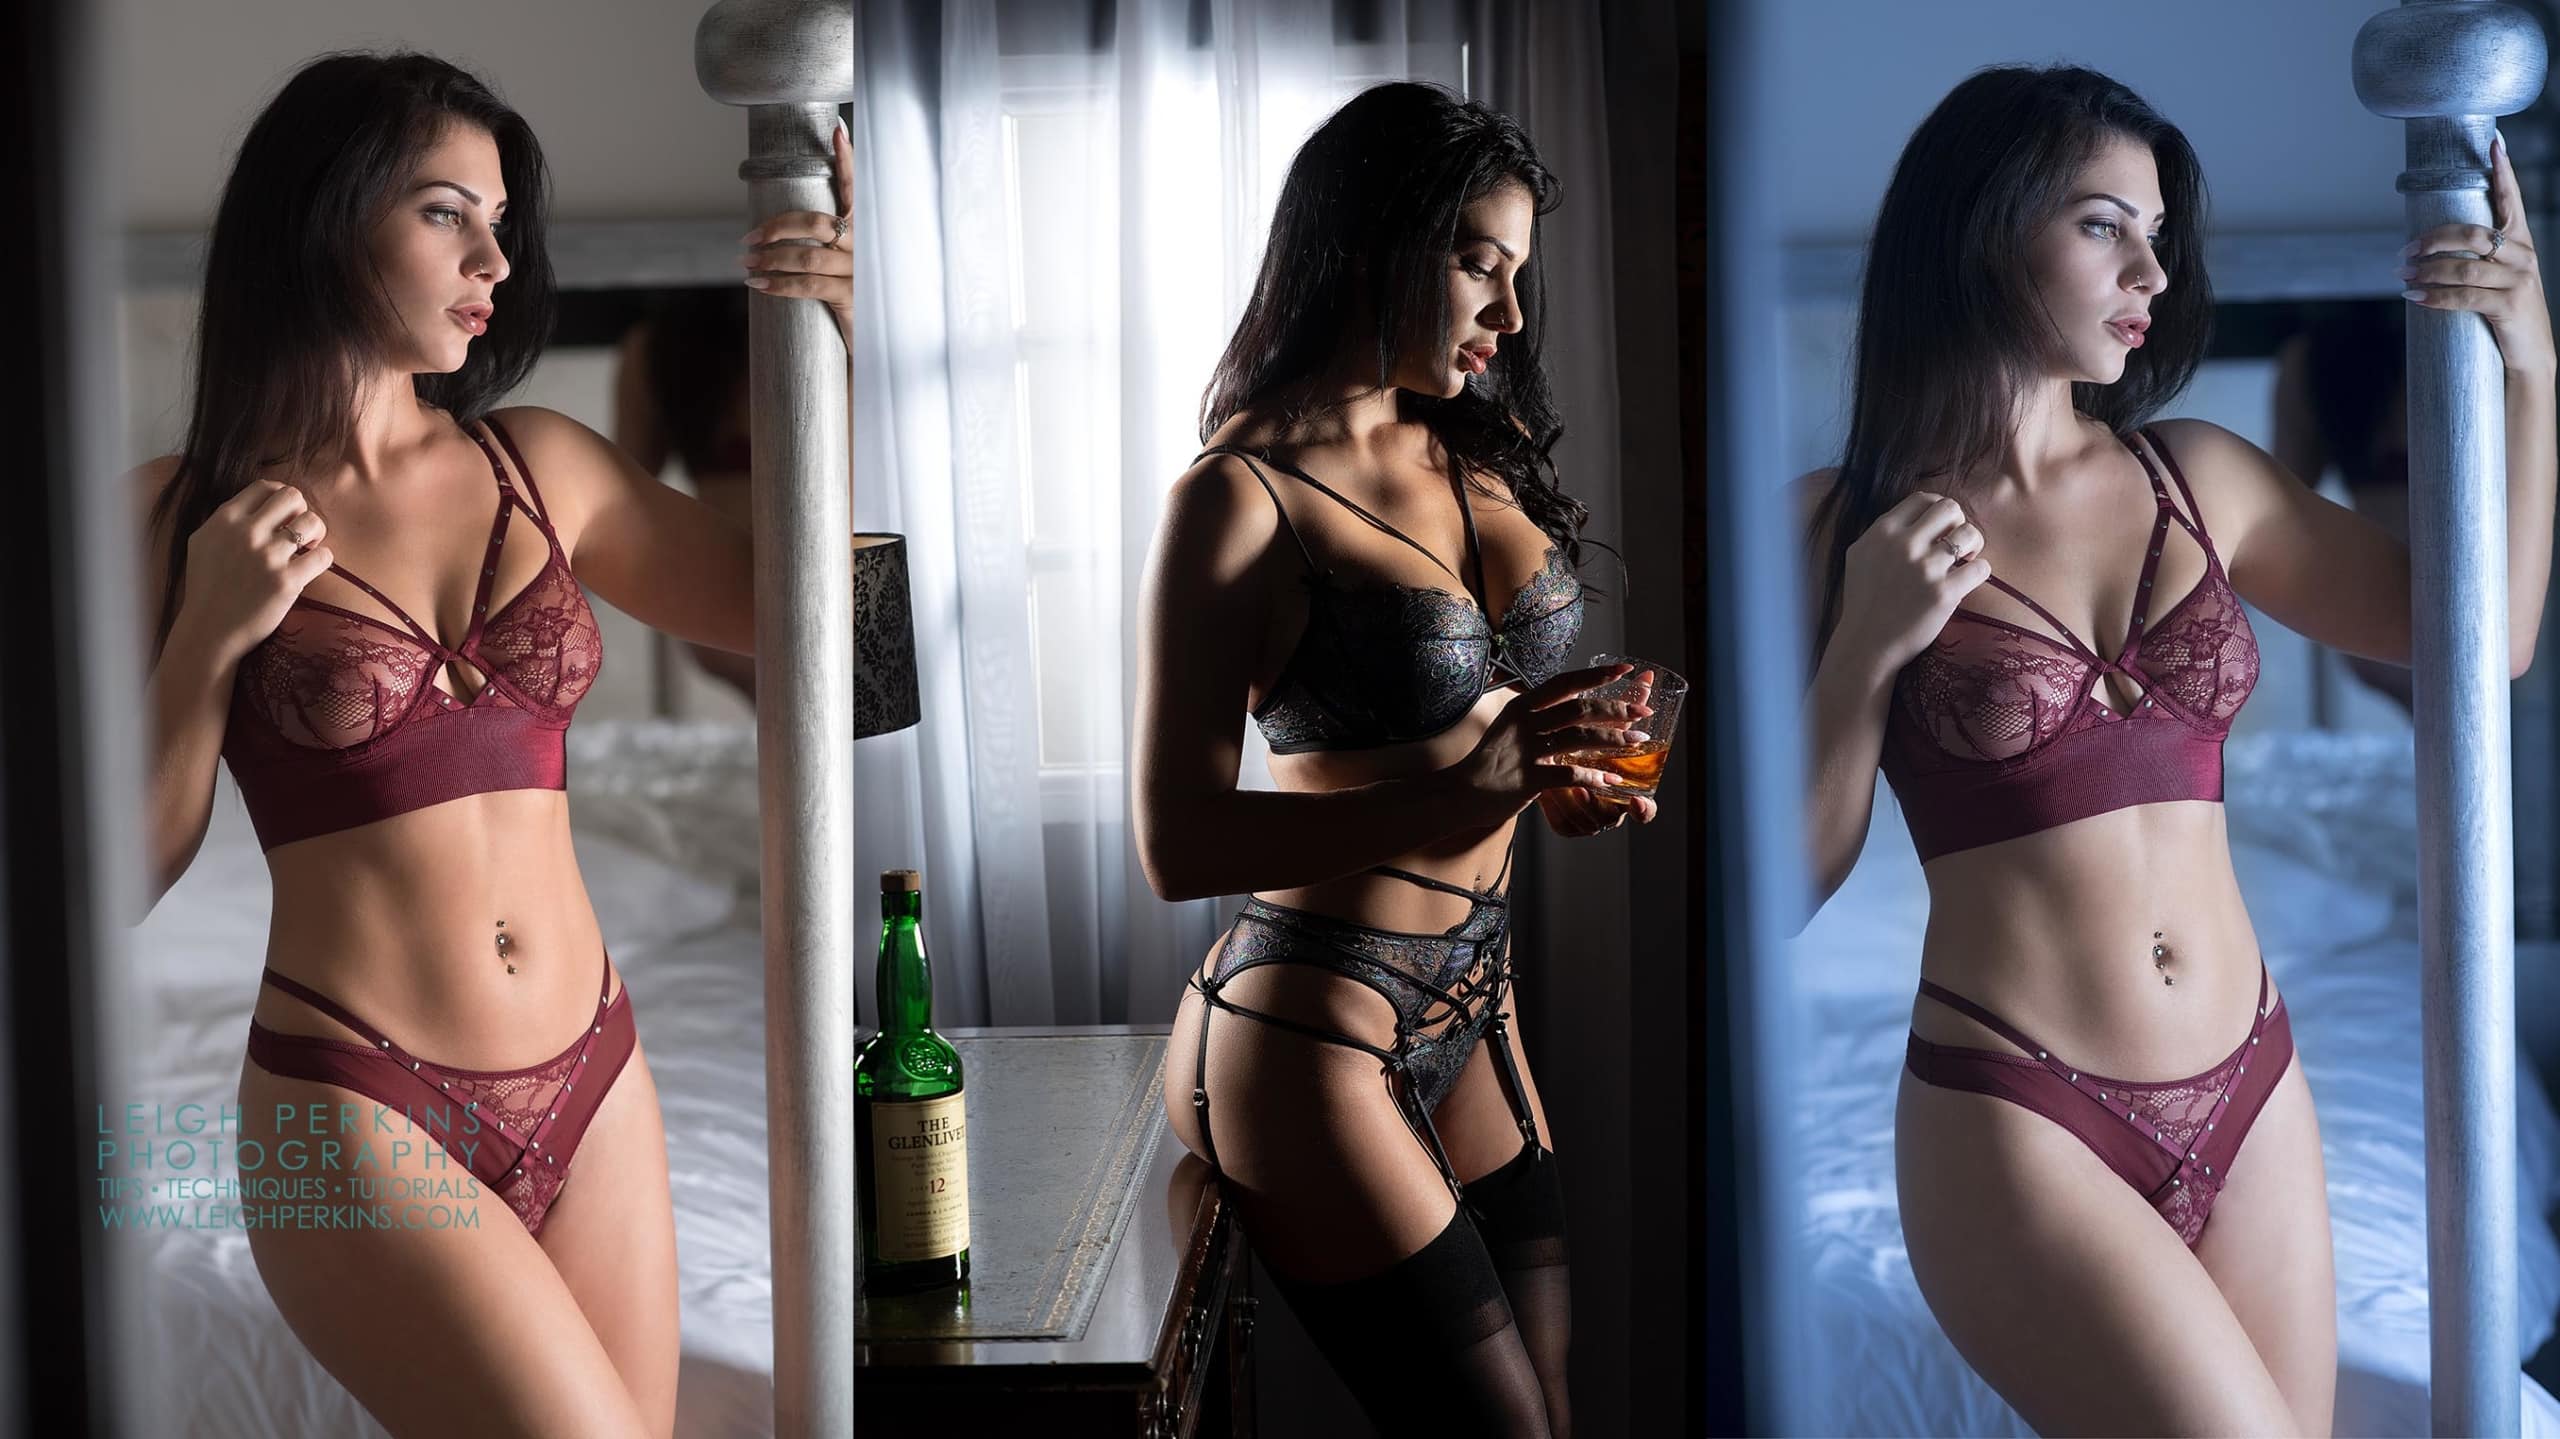
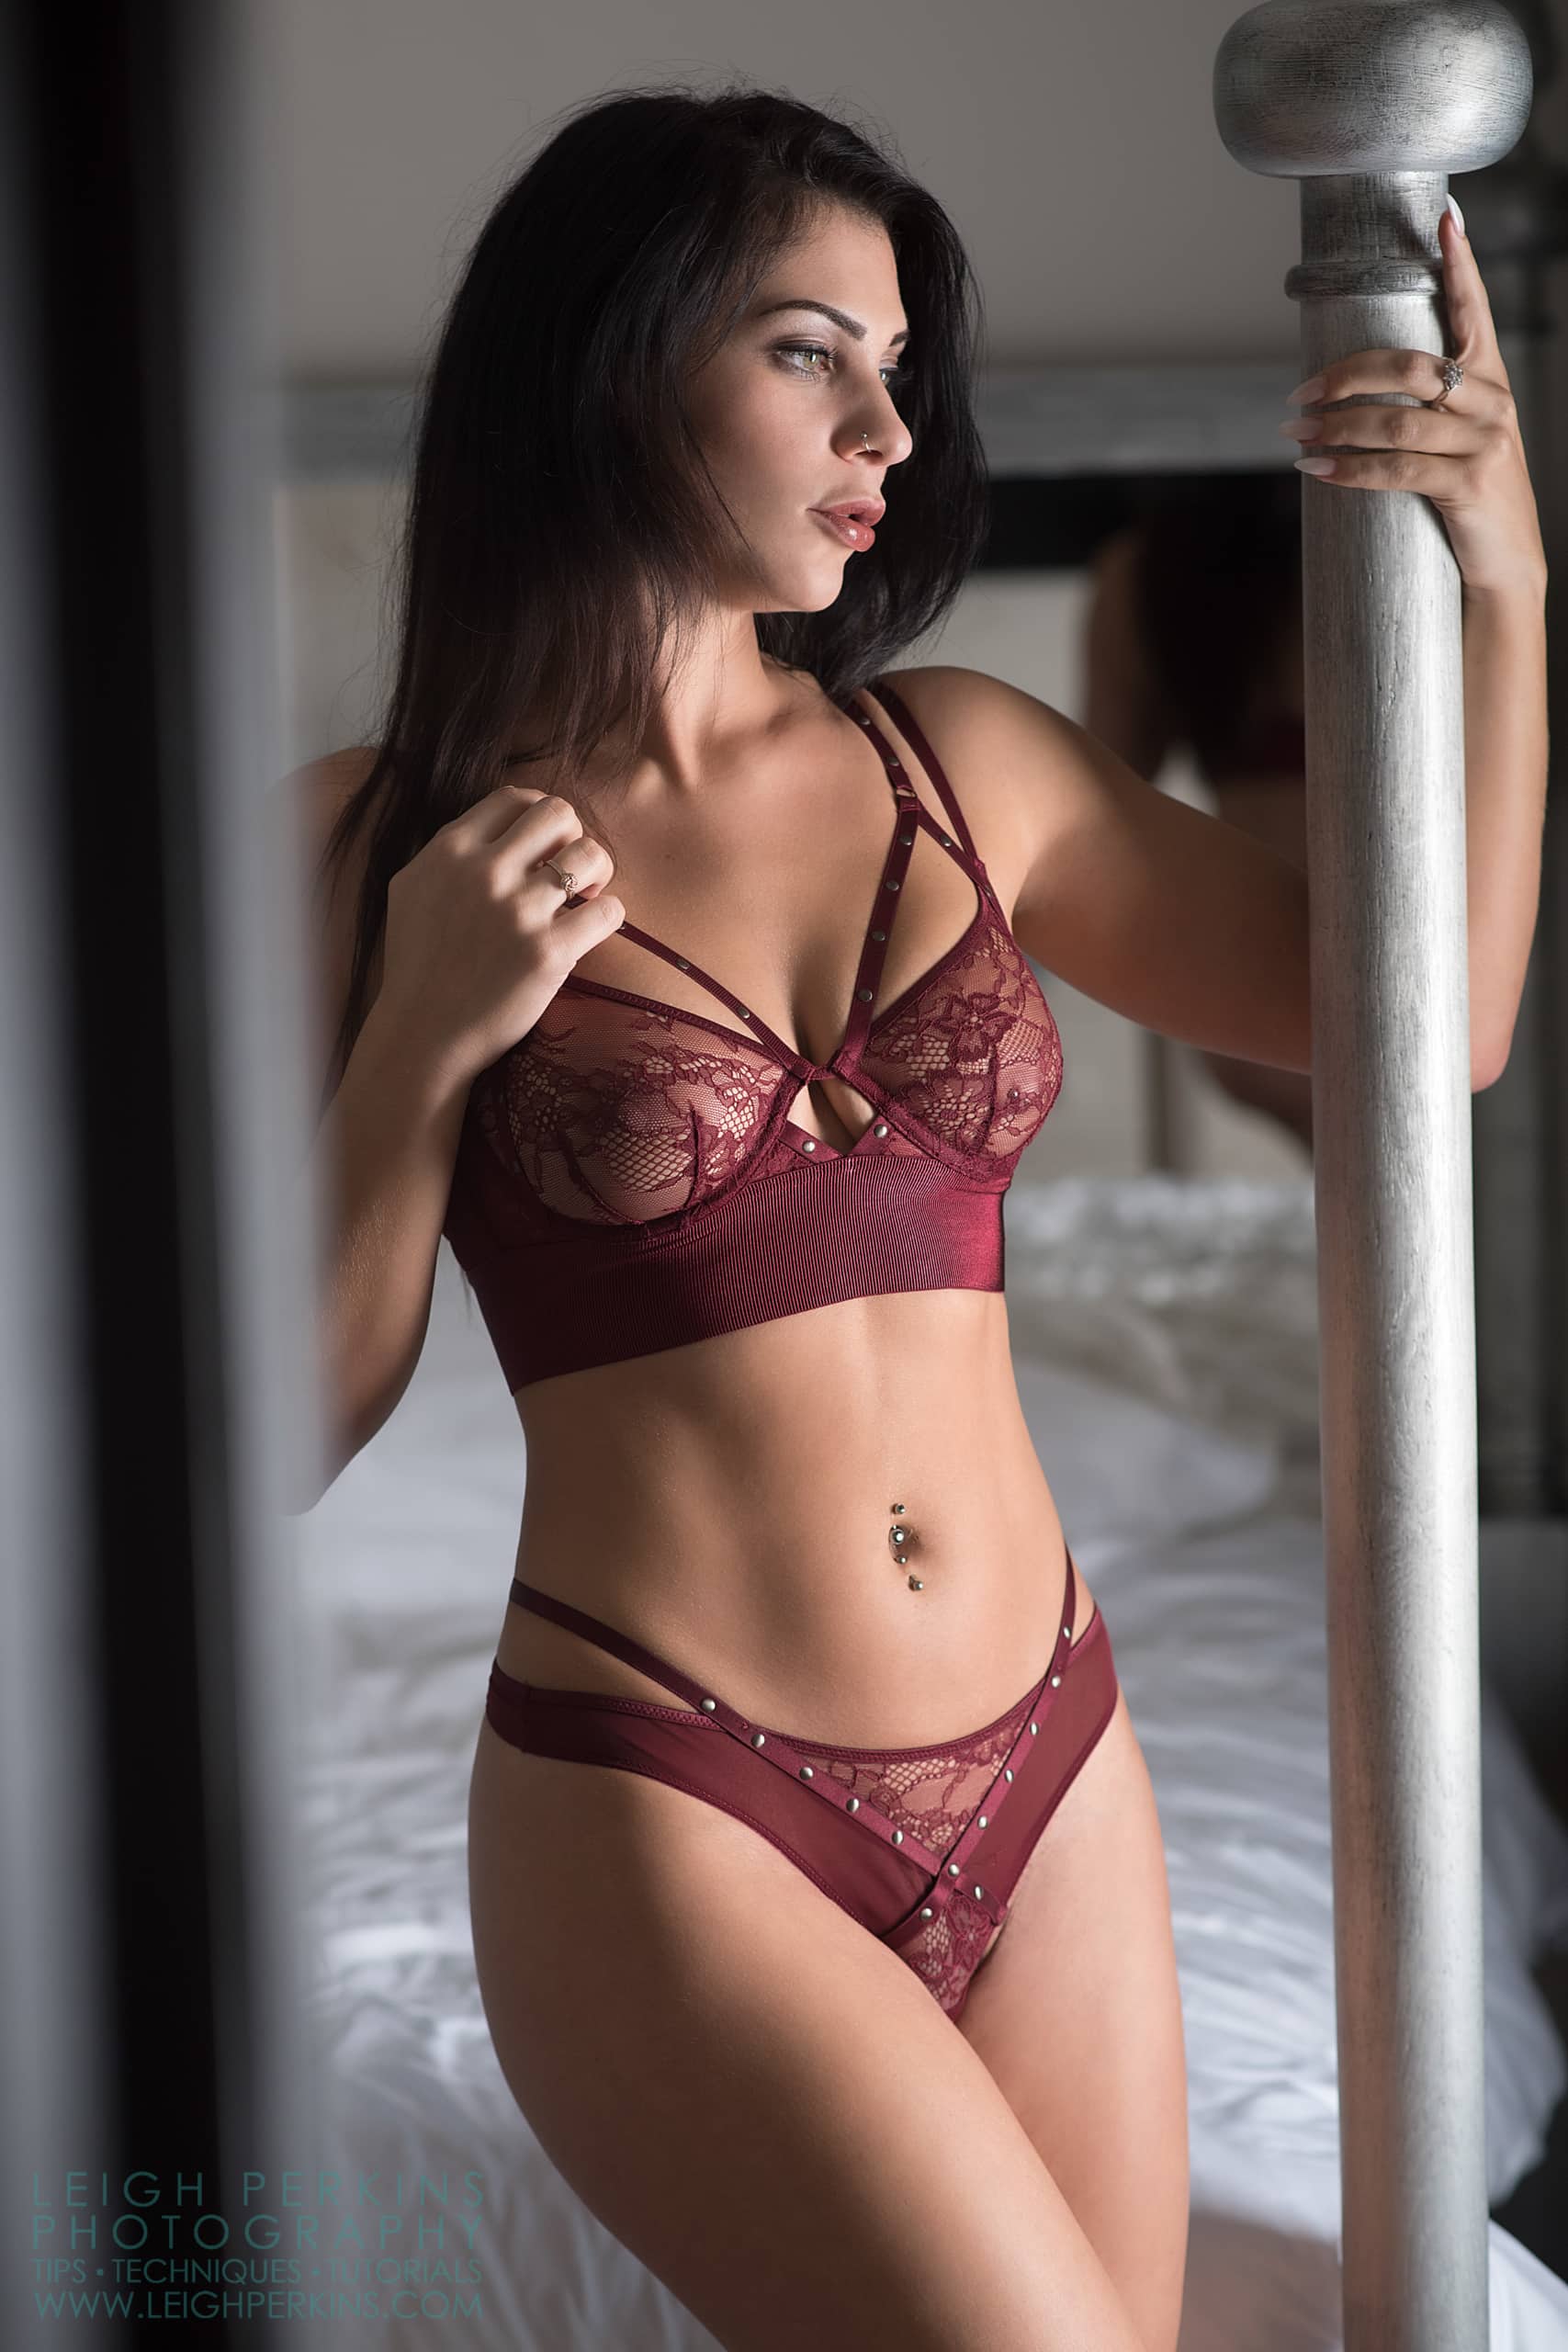
Adjustment Brush Sample Files (Members Only)

The sample files download includes PSD before and after versions of the images seen above. The “after” versions clearly show the benefits of using the Adjustment Brush in Adobe Camera RAW whilst the “before” versions can used to practice the effect. Enjoy!
i love your work!!! so much to learn. Thanks