No Daylight? No Problem…
No Daylight? No Problem…
They say age is only a number but hitting 50 this year made that number feel awfully big! It’s a great consolation then when I am told by people I meet that they thought I was younger. Not because I still behave like an adolescent teenager but apparently because of my youthful looks.? So what is my secret? Well, rightly or wrongly I put it down spending a large part of my life in a fairly dark studio with virtually zero daylight. We all know about the damaging effects of sunlight on the skin, well I don’t see any sunlight hence my baby soft skin and youthful boyish appearance ?…I may be exaggerating a tadge!
So that’s one advantage of having a windowless studio. The other is that I’m never concerned about having to black out windows or worry about about harsh winter sunshine creeping into my shots. The disadvantage is of course that it means my studio work is solely lit by flash or other non-natural light. If I want to shoot some daylight images I have to go elsewhere…or so it would seem.
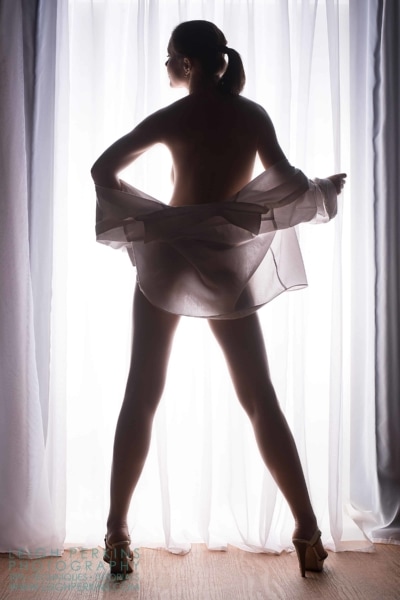
In the early days of working in my studio I found the lack of windows a little stifling as far as creativity went. It made shooting portraits and boudoir images less inspiring than if I was shooting in nice hotel suite or similar, where not only does the daylight give a natural feel to the shots but it also gives the a sense of setting to the images.
Well the answer was simple really, I would have to make my own window and create some artificial daylight too. Once I got going with the idea it was simpler than I thought.
Version One. Stands, stands and more stands
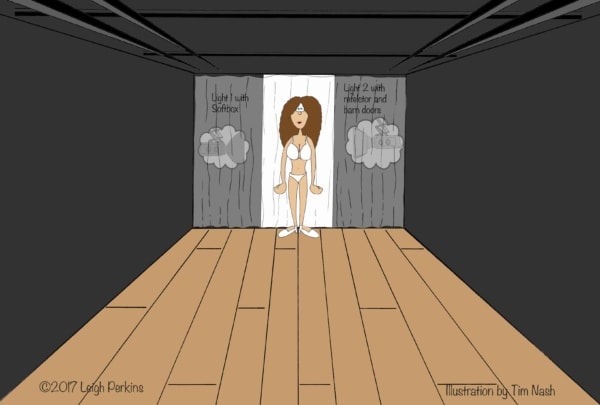
The initial plan was to simply create two blackout panels with a large gap between them through which to chuck some light. My first “window” creation used black fabric suspended from a background pole support on two stands. Two pieces of fabric were used, one on each side. Next I suspended a white paper background roll a couple of feet behind these “blackouts”, again using a background pole and two stands as support. I was fast running out of support stands! Two more were needed to place in front of the “blackouts” to support yet another background support on which I hung some translucent fabric voiles. The affect of these were threefold. Firstly, they would diffuse any light coming through them and soften it nicely before hitting my model, so it was in effect, a lighting modifier. Secondly, it disguised the blackout panels so it was not clearly obvious that there wasn’t a solid wall there. Thirdly they acted as prop to make it look like a real window with voiles as you might see in a “real” room.
Then, behind each blackout fabric, I placed a studio flash head pointing directly toward the centre with nothing more than a large soft box on one and a standard reflector dish and barn doors to help direct the light on the other. What I had actually created was simply a very large, seven foot high soft box! It worked well but let’s just say the setup time was considerable and with all those support stands jostling for position (eight including the lighting ones), it required precision engineering and synchronicity to achieve consistent results. A more simple solution was needed if this was to become a frequently used studio set.
Version Two – Not a Stand in Sight
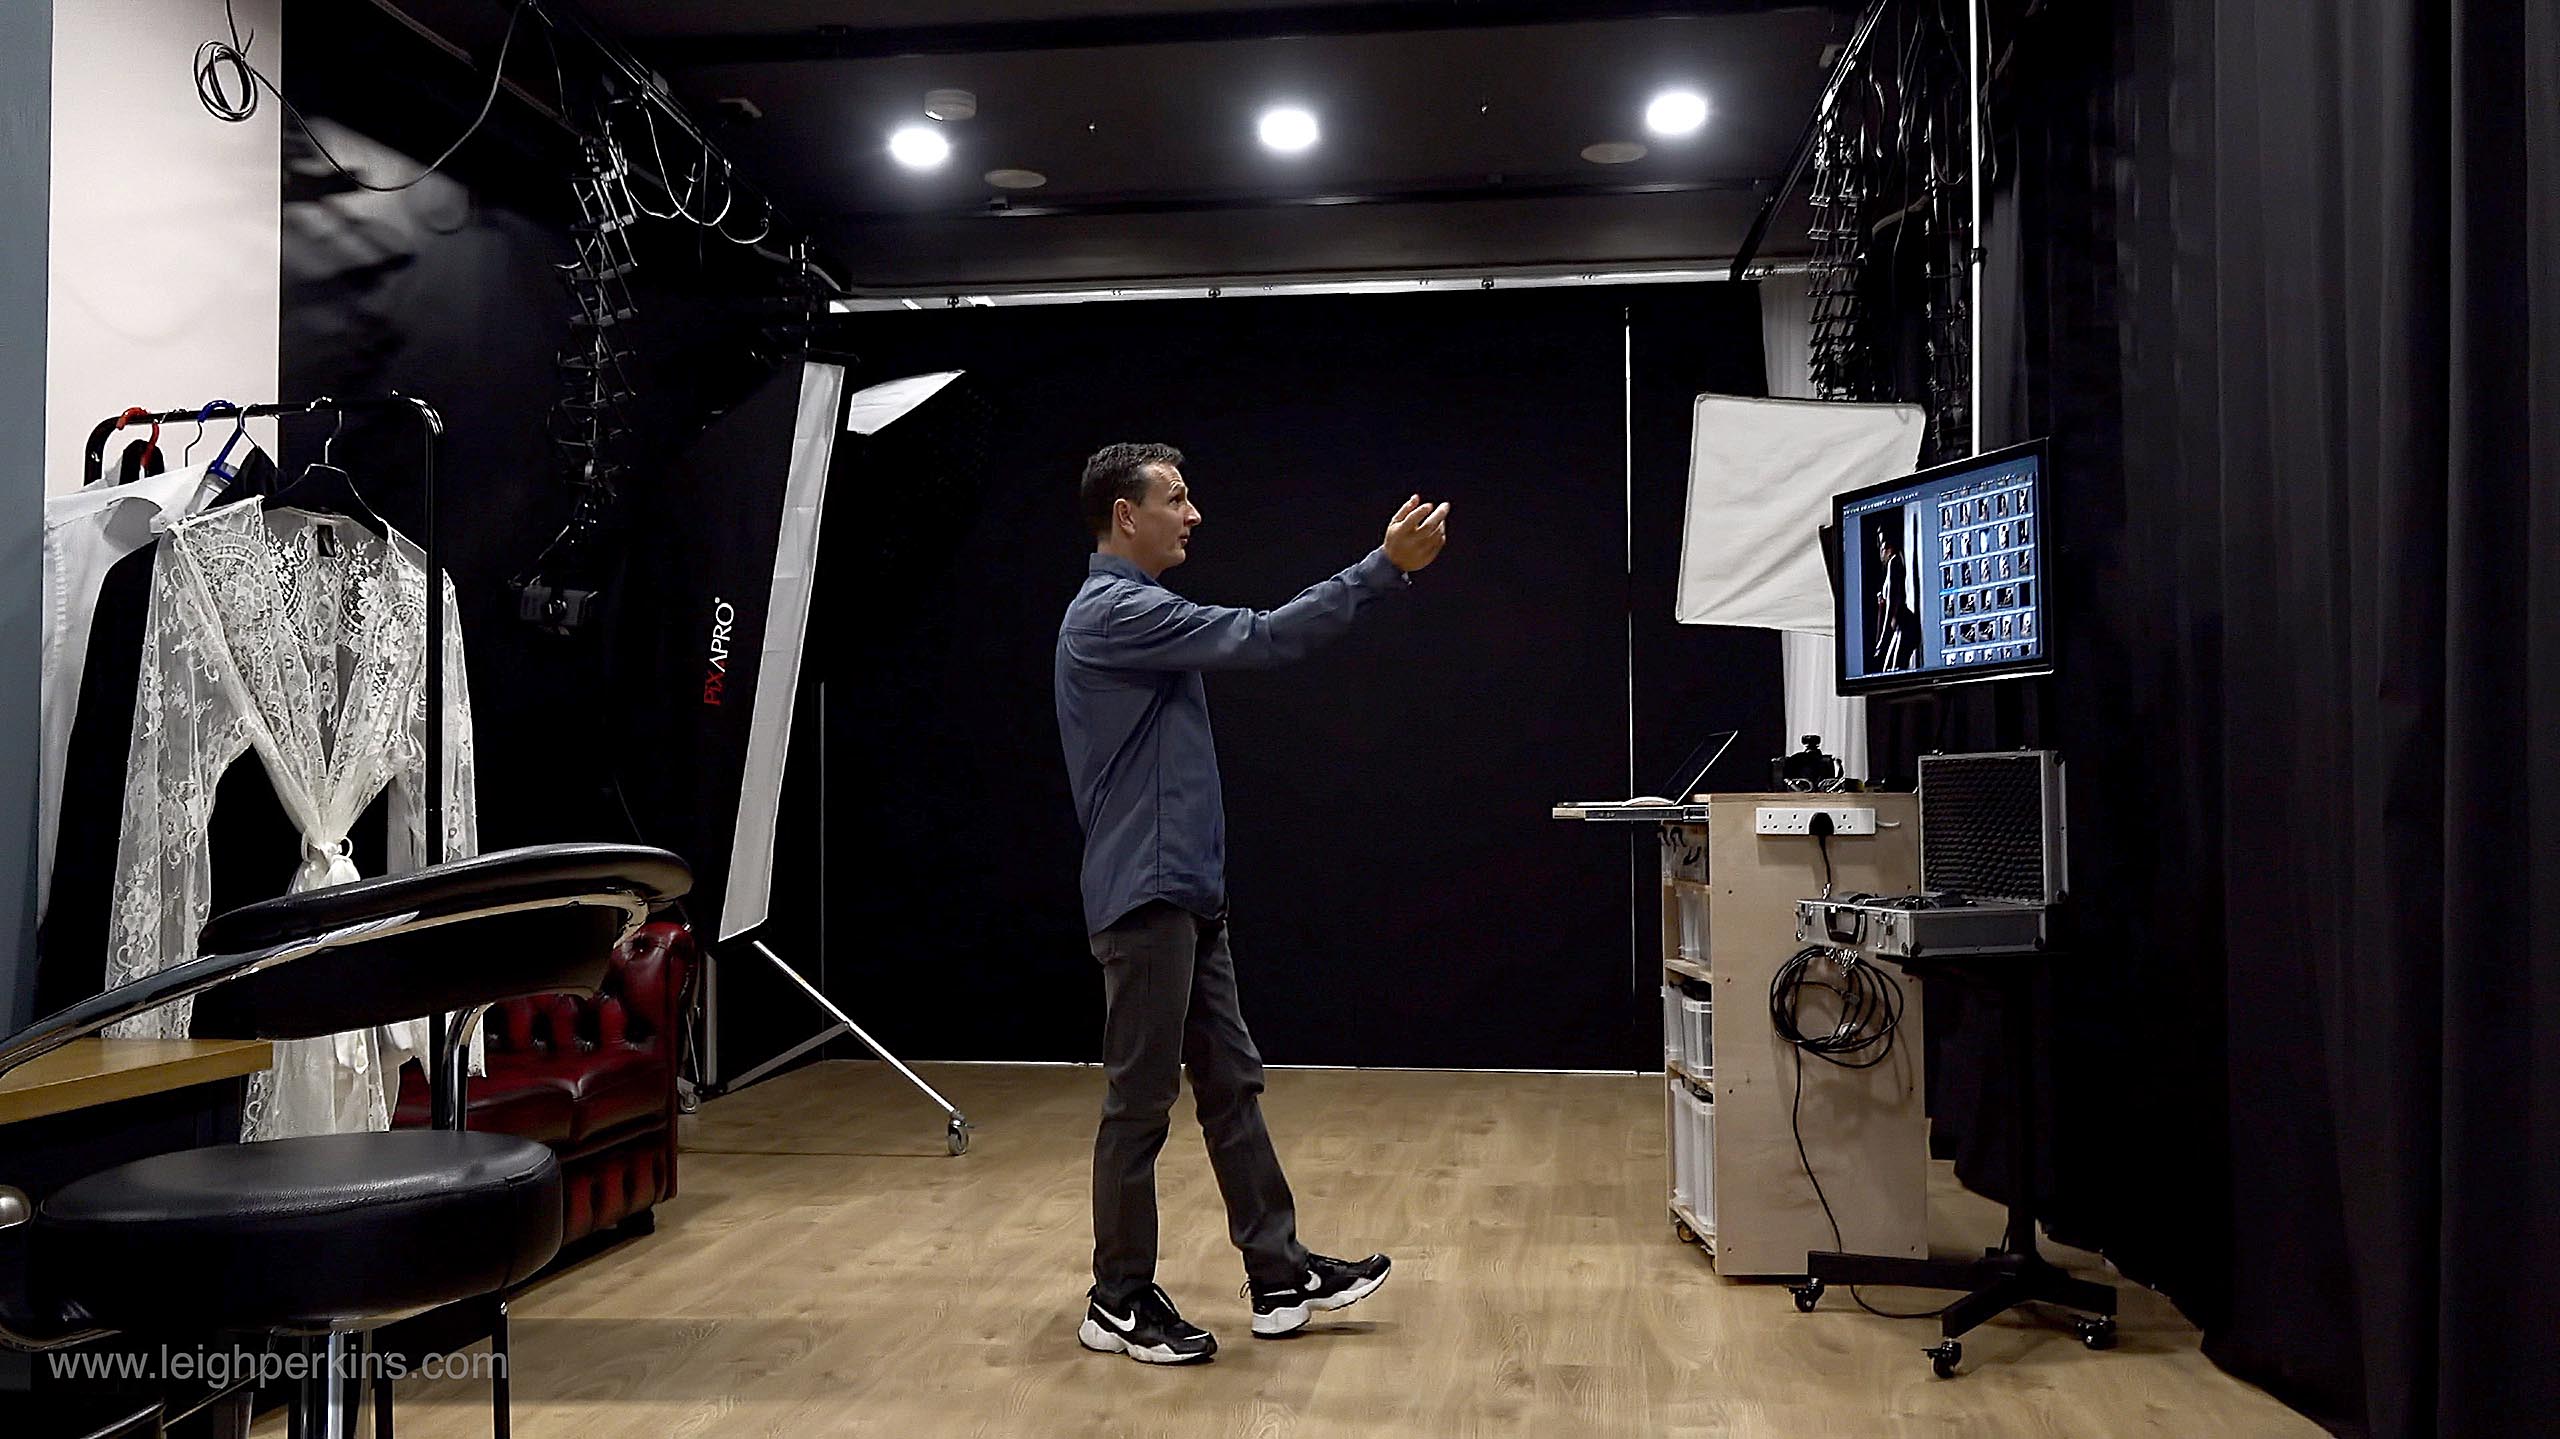
My next and current design was far far better and can be setup from scratch in a matter of minutes.
By creating a series of three equally-sized solid blackout panels that stretch across the whole width of the studio I effectively created a false black wall. The centre panel could simply be pushed back and slid behind one of the other panels when required. A permanent curtain track in front of these panels makes putting the voiles in place as easy as drawing the curtains and a permanent, ceiling-suspended background support behind the panels makes bringing the white (now vinyl) background into place a breeze. The lights, although still in the same position, are now suspended on boom arms behind the panels. Not a light or background stand in sight leaving me with nothing to trip over and an acre more space to play with.
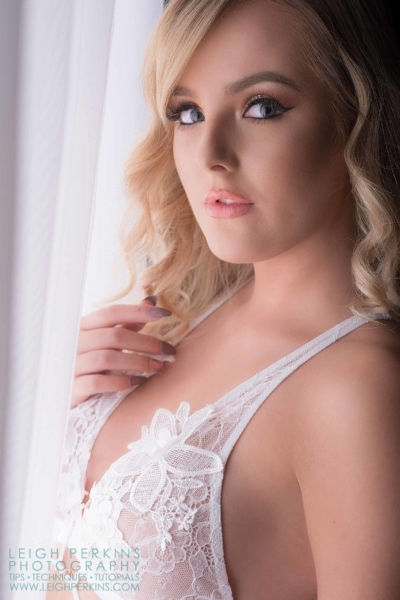
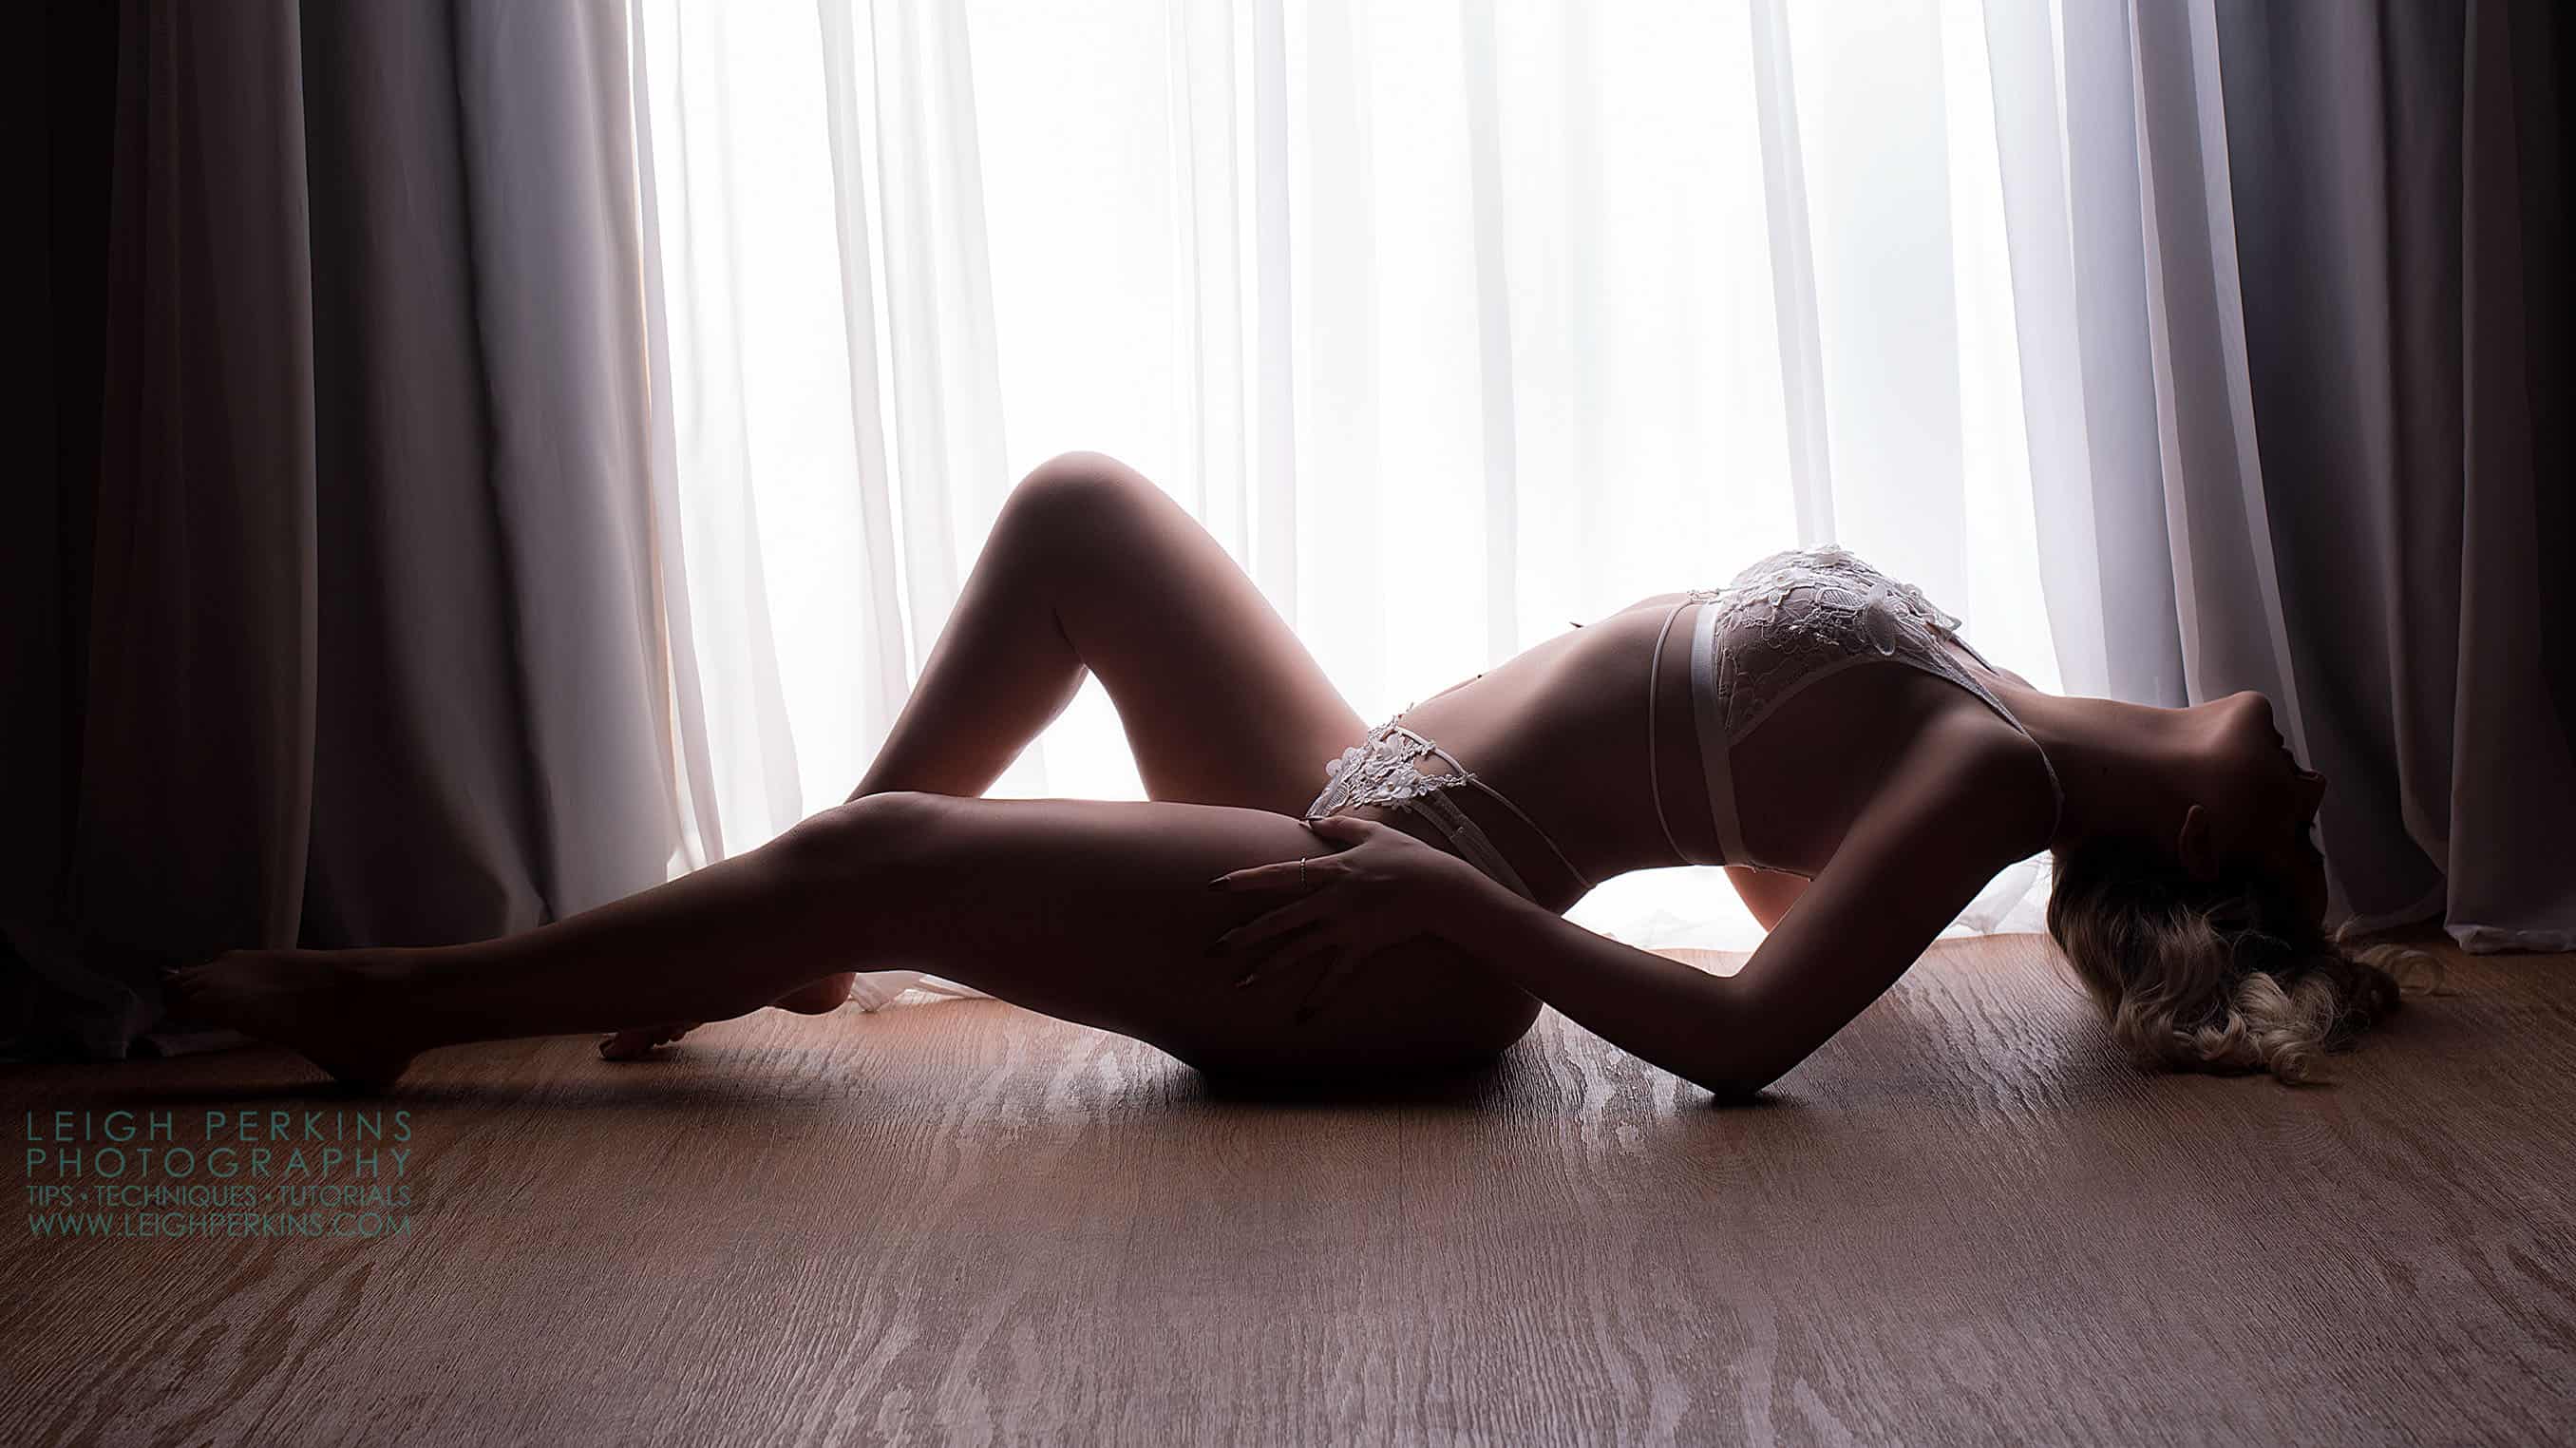
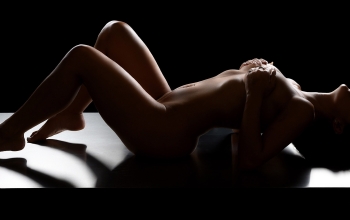
As you can see from the images here, the effect is a very convincing one and clients are often surprised and very pleased to learn that the window is not real. Posing half-naked in front of a real window is perhaps not everyone’s cup of tea!
As a stand-alone set to shoot in it’s perfect. Place the model in the centre and shoot straight at the window to create some stunning silhouettes. Shoot along the plane of the window for perfect portraits and somewhere in the middle for…well, half portrait, half silhouettes!
To add even more versatility to the set I sometimes use a bed in front of the window. It makes for a very believable room setting. For this though I use a third light in the shooting area which gives more flexibility for poses. That’s perhaps an article for later. ?
You can see the second part of the Window Works video as well as more images which show off this set in all it’s sunlit glory in the members section (as they are NSFW) – you can Join Here.
Gallery One



The second part of this post contains additional lighting, shooting and posing tips, images and the second part of the video which include some NSFW artistic nudity. It is available to members only – not a member? Join here.

Great video Leigh! And what a gorgeous model! She has to be great to work with. My question is: Are you using constant lights behind the black panels. But when you take the photo they seem to go dark for a moment. I’ve never seen lights do that before. Does that bother your models or clients? I’m wanting to duplicate your setup as closely as possible. Any ideas as to what brand and model of lights I should purchase? Everything I have is flash. But I’ve been seriously wanting to use constant lighting for a while now. Love the videos and instruction! Gary
Gary, thanks for the comment and question. The two lights behind the blackout panels are also flash units (Bowens 250w). The light you can see during the video is simply the modelling bulbs in the flash units allowing me to see where the flash is going to fall. When the flash fires the modelling bulbs go off temporarily and comeback on when the flash is charged and ready to go again. It’s simply a way of telling the photographer (me) when the flash has recharged and ready to go again. The Bowens do allow me to turn this function off so the modelling bulbs would remain on constantly but it’s simply habit for me to have them set the way I do. This is mainly because when I’m running workshops with less experienced photographers this visual cue means they are not snapping away until the flash is recharged and ready to go 🙂 Hope that helps.
Yes it does Leigh. Thanks! Knowing this, at what power setting do you set the Bowens strobes at? I’m sure you’ve said in your commentaries but I couldn’t find it. And how do you determine the power setting? Since I currently don’t own any barn doors could I use 2 small soft boxes instead?
Gary, if the lights are behind blackout panels similar to this you could simply use the lights with reflector dishes and nothing else. You could also use two soft boxes for a softer light with more spread. I use my 250w units on about half power which gives me about f8 at The center of the window. The soft boxes will take this down so you’ll have to play with it a bit hopefully that gives you a starting point 🙂
Who made the floor matt you are using and what size is it? This is another thing I have looked at, but was worried about buying until I saw someone using it. I’ve got a two car garage I am using for some shoots and that isn’t the softest floor to be crawling around on 😉
Thanks for the question and hopefully I can help. The floor is actually a piece of standard floor vinyl purchased from the local carpet shop. I haven’t measured it but it’s about 3m in width and 4m long. The wood effect is quite realistic in the photos and it’s easy just to roll up and move it out of the way when not in use. If memory serves me correctly it was about £120 when I purchased it. I’ve had several different ones over the years all purchased from the same place (Carpetright here in the UK). They get used a almost everyday and when models and clients walk on them in high heels they do get marked over time so I replace it every year or so. Your garage floor should be fine as long as it’s flat and you’re going to cover with vinyl etc for shoots. If it’s not flat any lumps and bumps will be exaggerated when you put a vinyl floor on top. If it’s not flat you could try laying some hardboard down first. Hope that helps 🙂
Ah that seems too easy 😉 I was looking at Kates Backdrops (https://www.katebackdrop.com/collections/wood-rubber-floor) or the Denny site and their photo floors (https://www.dennymfg.com/light-wood-floordrop/BackDropDetail/11100). I will have to check out the local Home Depot and see what they have, I think this could be an option.
Thanks again.
Yes, I’ve looked at similar suppliers of “photographic” floors here in the UK and they seem very expensive for even small sizes. Anything aimed directly at the photographic market seems to attract a premium hence I went for the standard household option and got the size I needed at a fair price :-). Glad to have helped, good luck. L.
Fabulous setup! Thank you for a well thought-out video. I would like to know what your blackout panels are made of. Thank you, again.
Sorry for the delay in getting around to replying to your question. I’m is busy with the build of my new studio my admin has taken a bit if a hit. The blackout panels are made from a wooden frame using 2″x1″ timber and then skinned with black Correx (corrugated plastic). These are then covered with a non reflective black fabric. I hope this helps 🙂