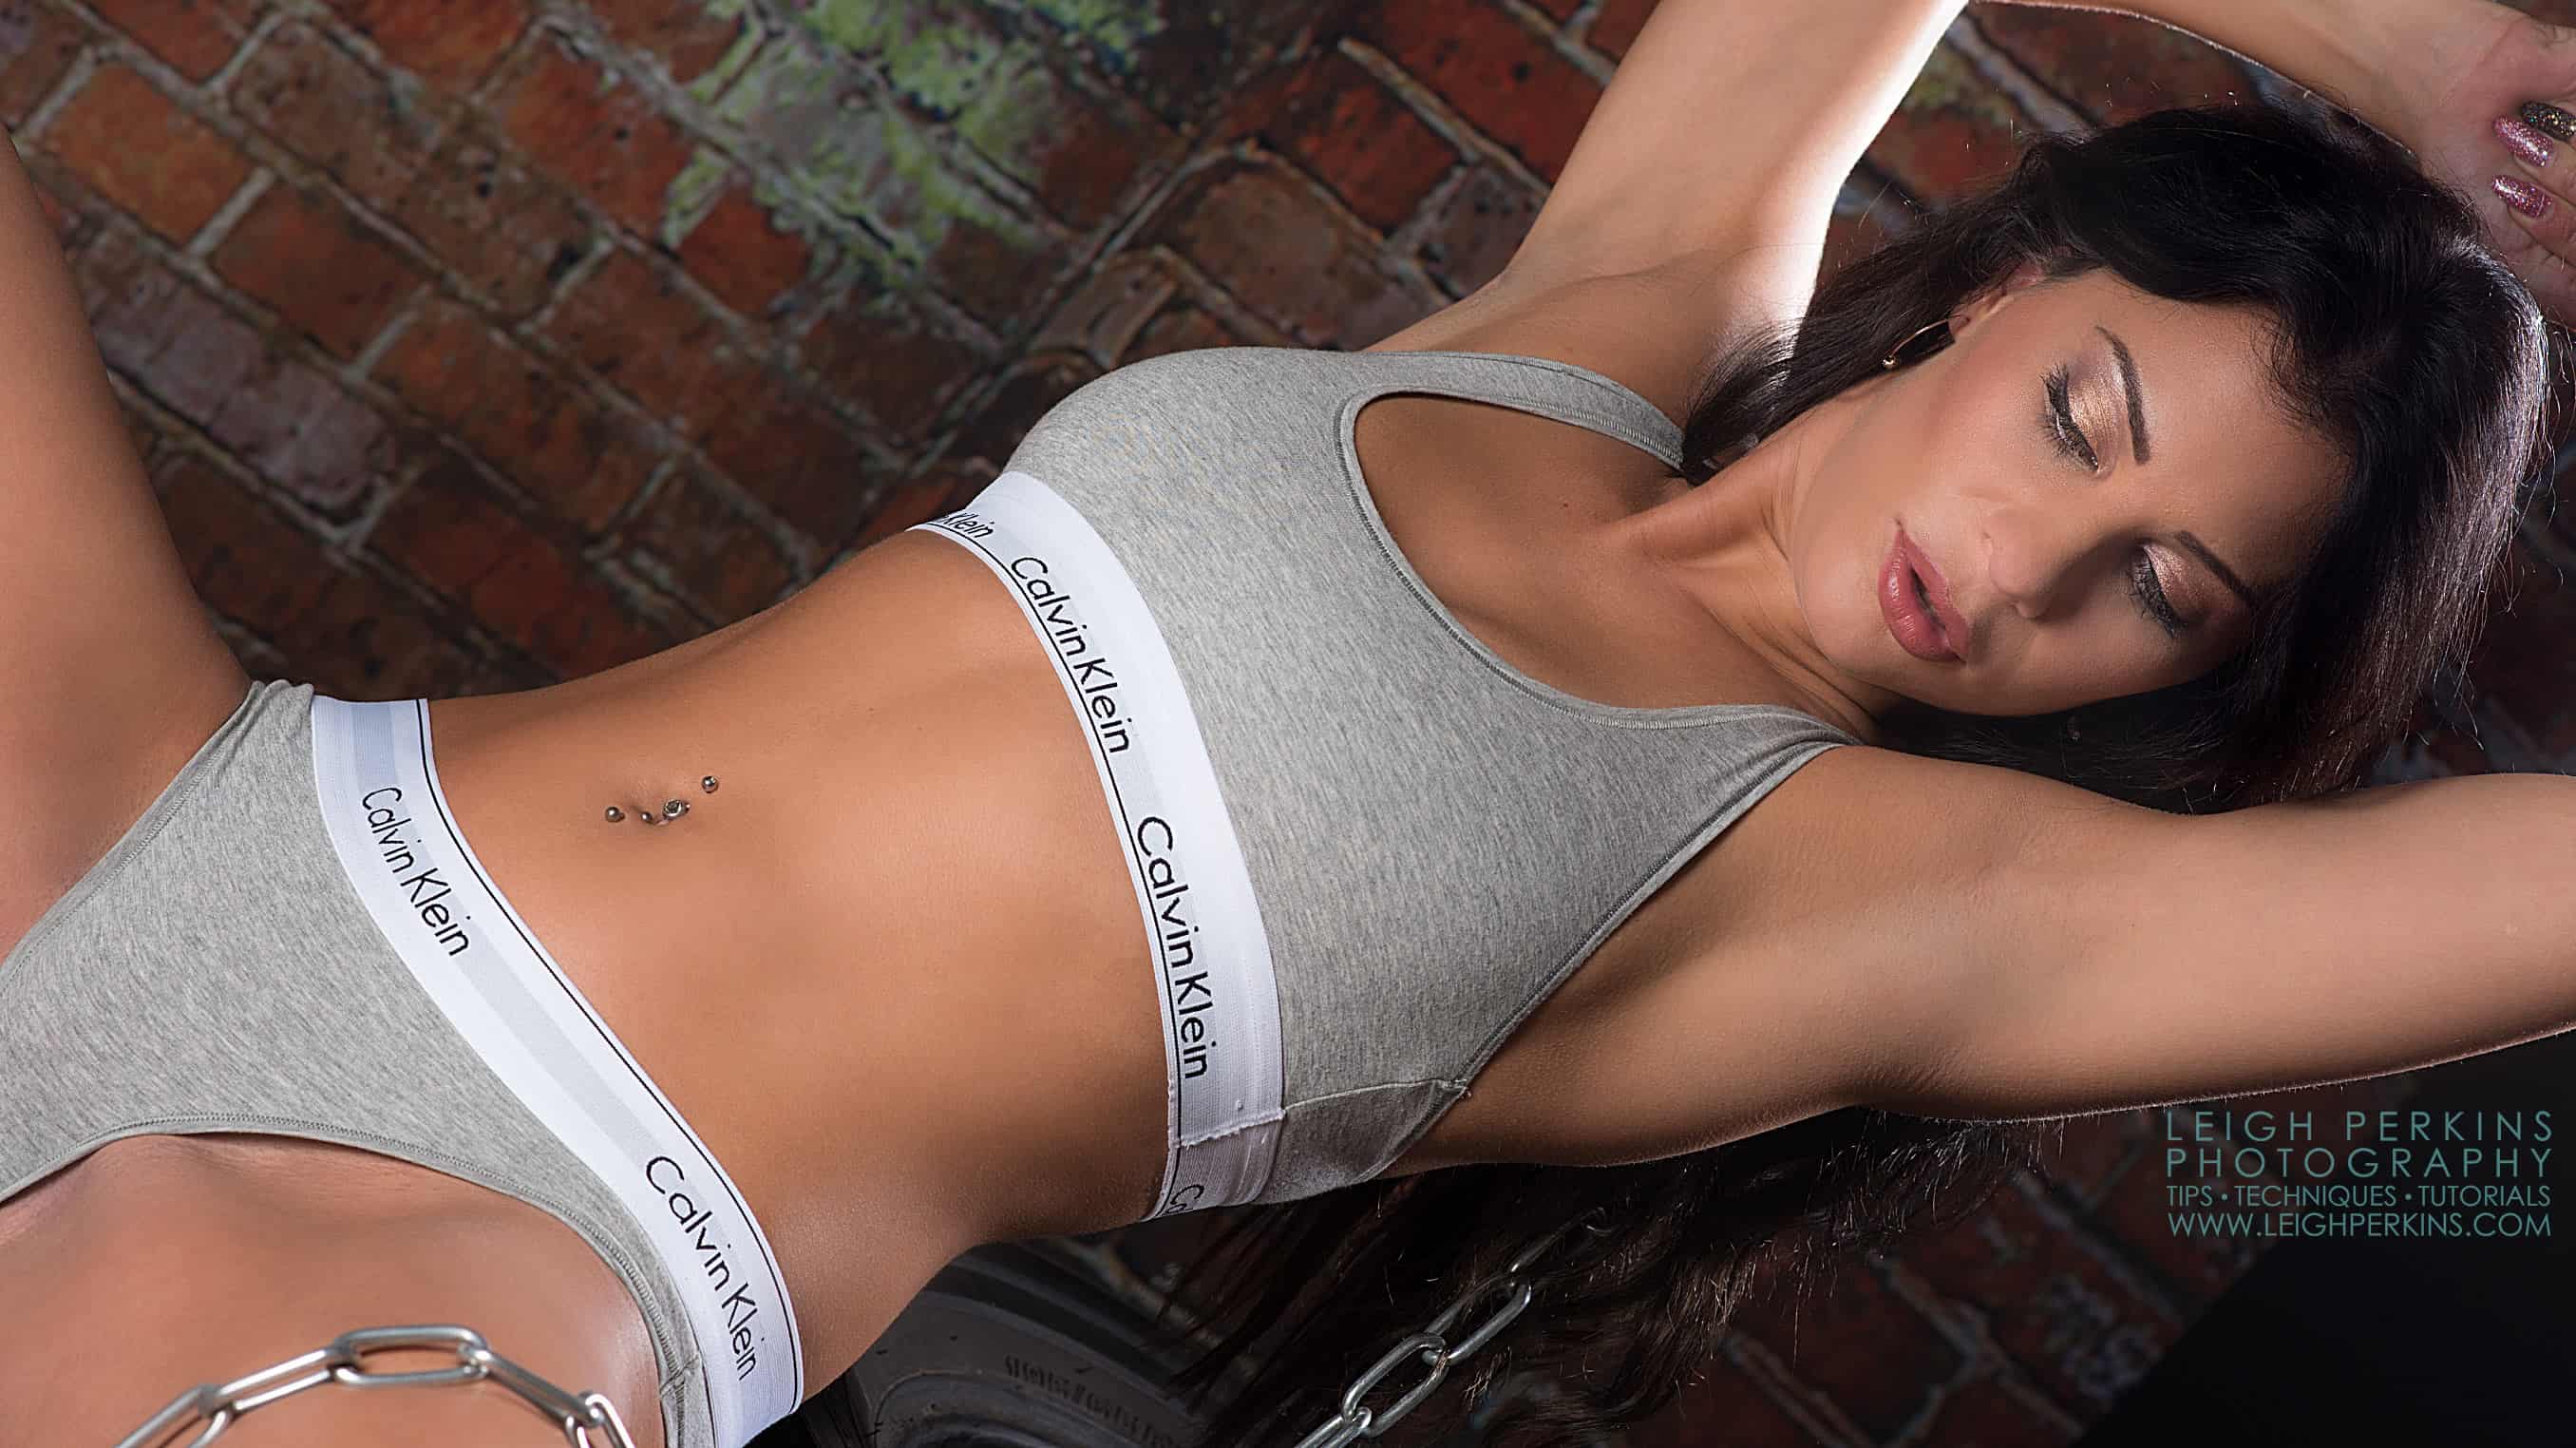
Whilst I don’t like to pigeonhole lighting styles too much, glamour lighting has traditionally been at the brighter end of the spectrum. It is often quite flat with subtle or non-existant shadows. Big umbrellas are usually the go-to tool for the job to give a nice large expanse of soft, even light. In this exercise I want to demonstrate that we can do glamour with a bit more contrast by replacing the trusty brolly with a long softbox. Just to make the lighting more creative.
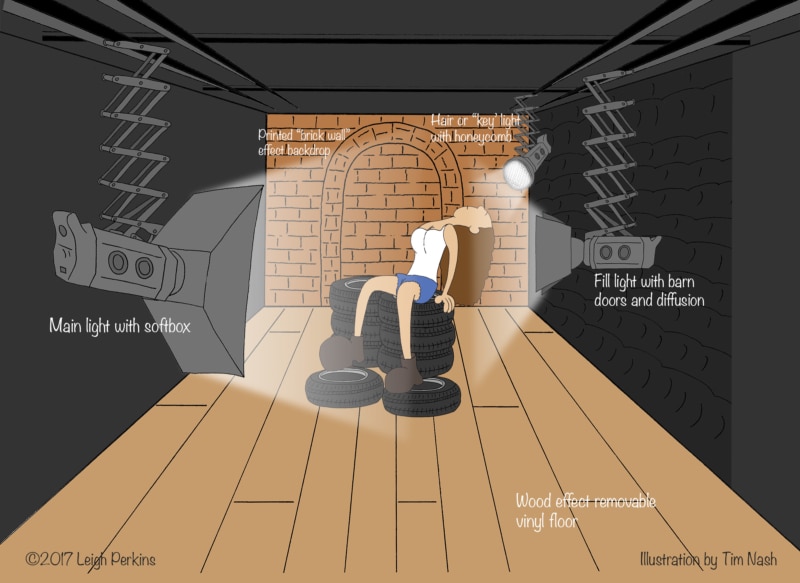
One light, two light, three light
The downside of using the softbox over the umbrella is that the light is far more directional than the spread produced by the brolly. So you’ll need to give direction to the model to keep her facing towards the light. She will undoubtedly keep turning away from it and putting her face into shadow. I find it useful to place a tray of suitable attractions next to the soft box as this helps keep all but the most stubborn of subjects facing in the right direction. Cupcakes or Jaffa Cakes seem to do the job. ?
*Time Check
As always the model is the centre of the clock. In these images 12 o’clock is directly behind the model with the main shooting position at 6 o’clock directly in front of her.
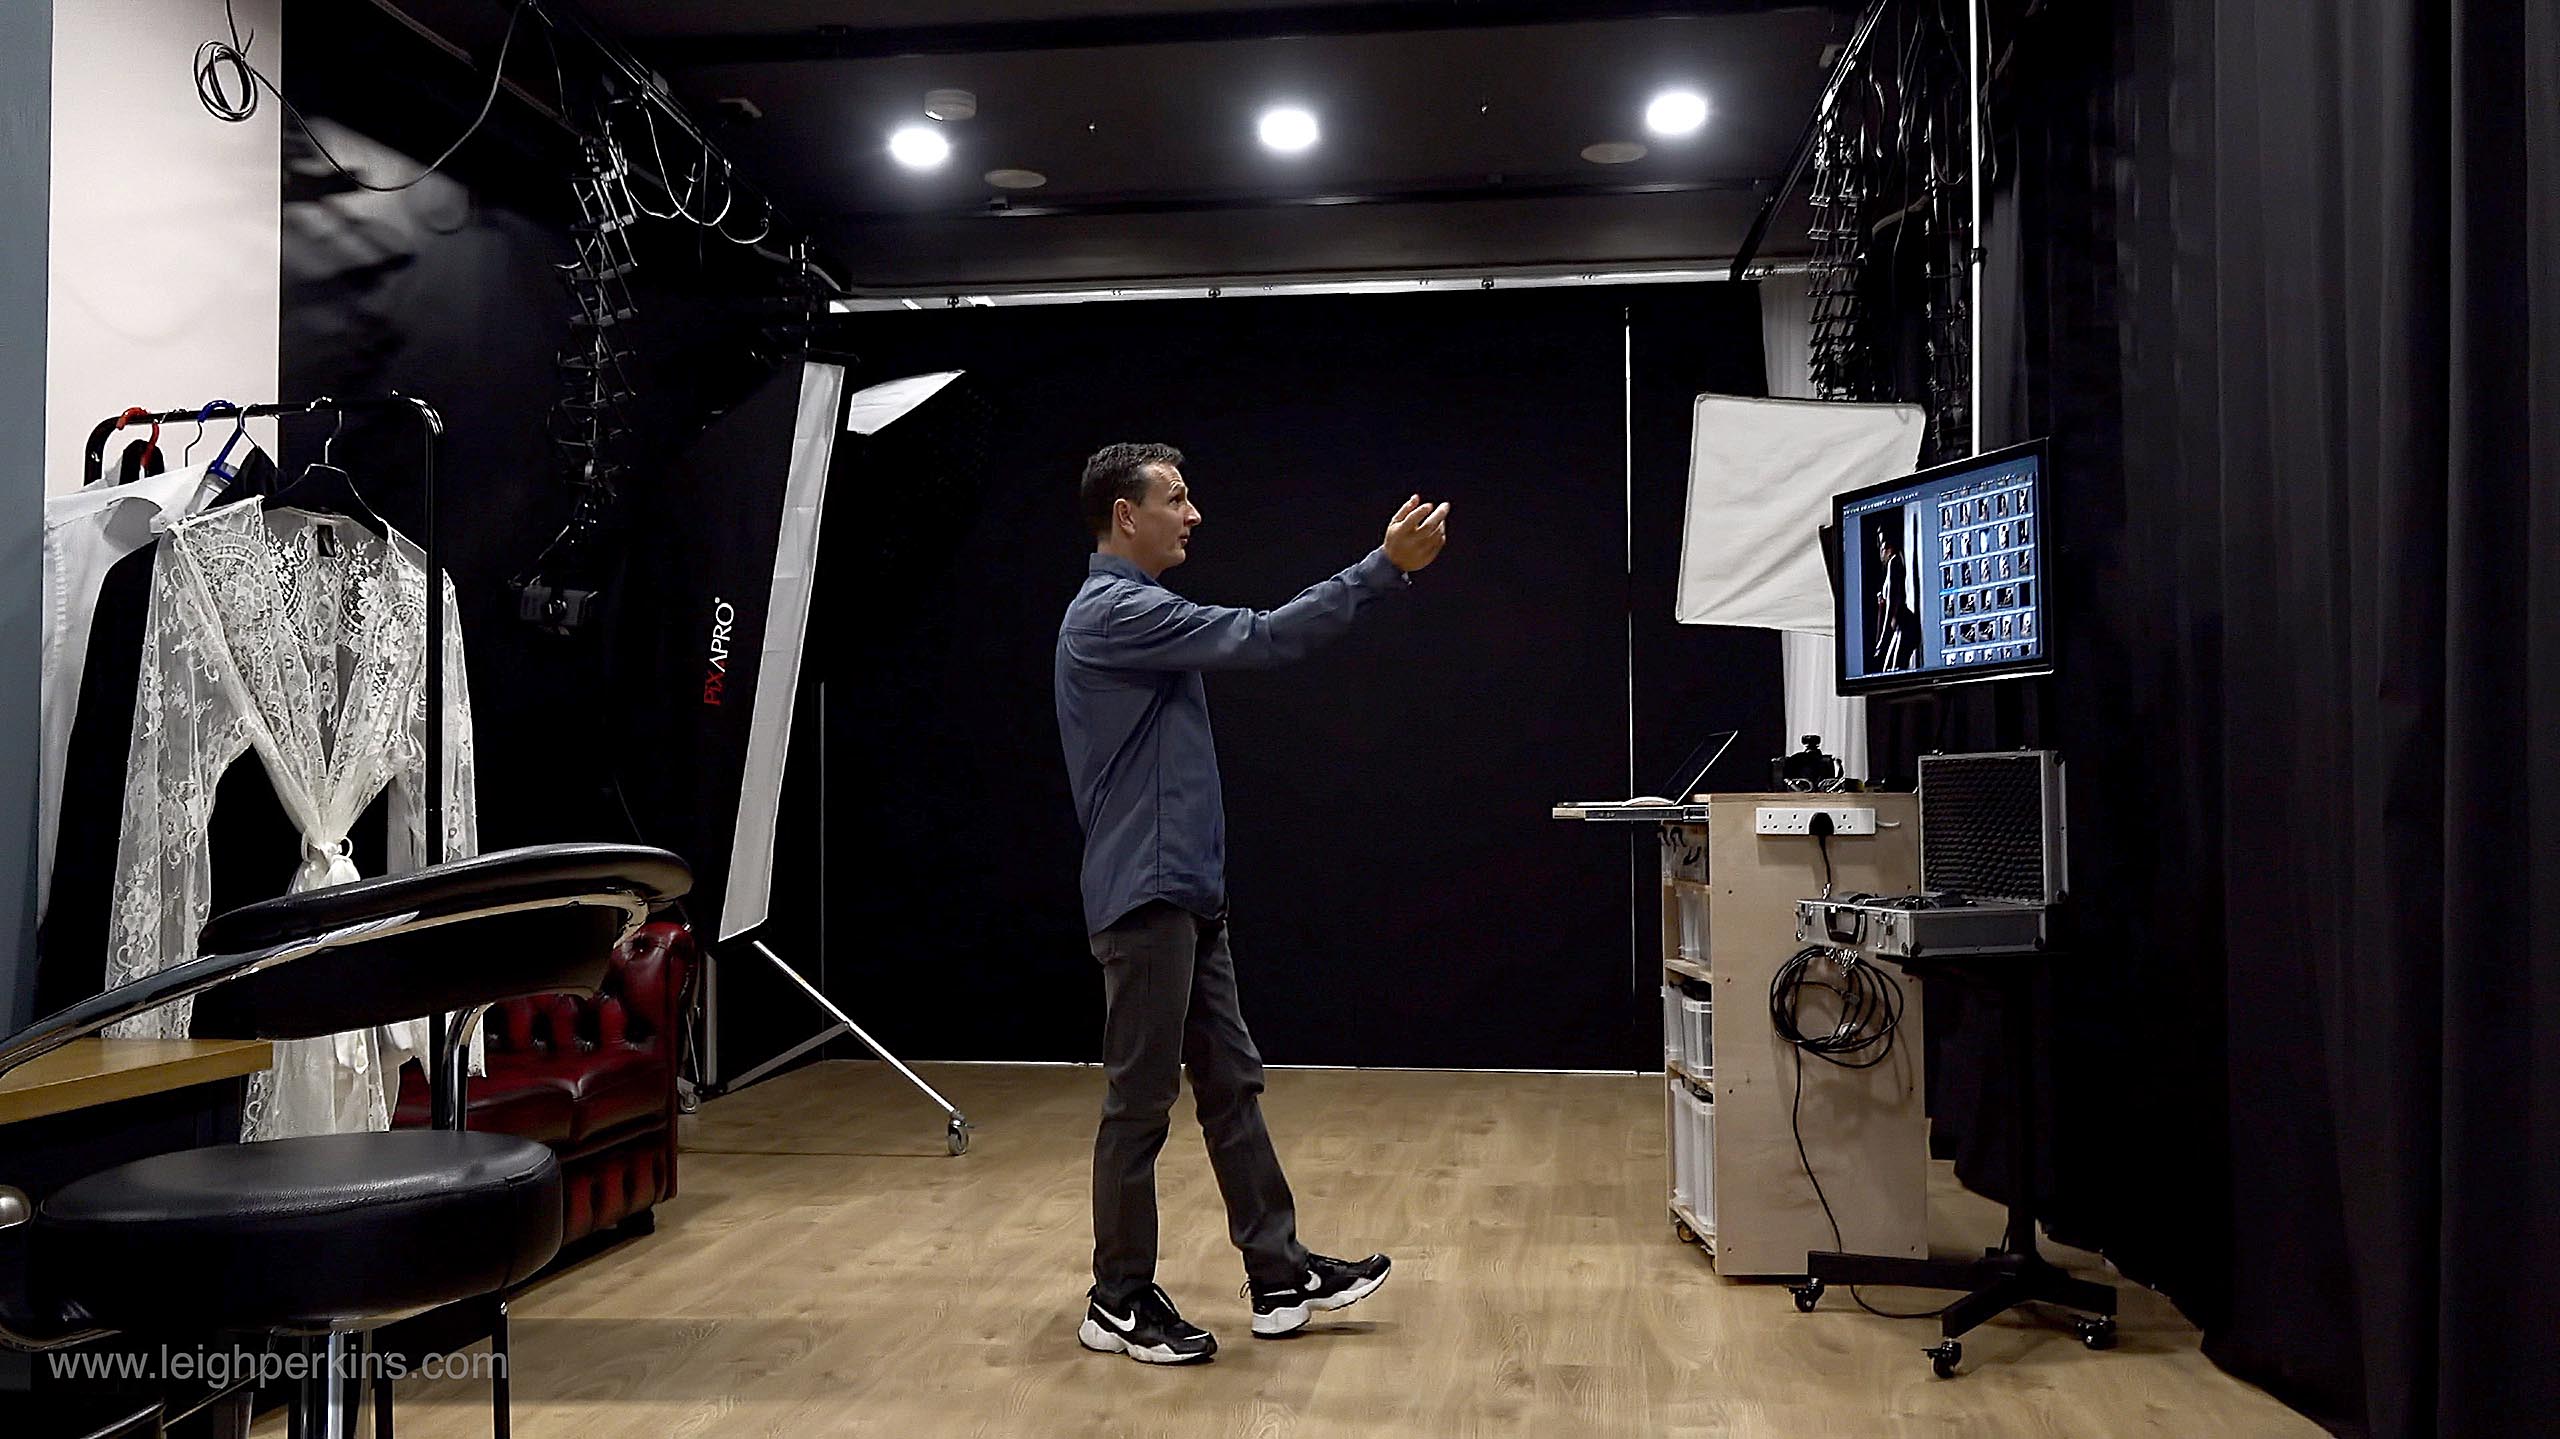
Build the lighting setup as usual starting with the main light. In this case a long, double-diffused softbox placed at about the seven o’clock position*. This position has the added bonus of adding a really nice catchlight into the eyes without having to try too hard. The light should be placed around 1 metre (3’6″) away from the model. Do your test shots and once you have a decent exposure add in a “key” or hair light. In this case I used a honeycomb attached to a standard reflector placed behind Roxy at between one and two o’clock (half past one if you like ? ). This light should be around 2m (7 feet) away. You could almost (but not quite) draw a straight line from the main light, through the model, to the key light. This key light can now be adjusted in power to give a nice “kick” to the hair and shoulder but without burning out the skin. The honeycomb is a great way of illuminating specific areas whilst controlling light spill. It gives a very direct source of light at its centre whilst drifting off softly into shadow at the edges of the circle. Do more test shots to balance these two lights and once you’re happy, add in the third light. This is a “fill” light and should be to the right of the model at about three or four o’clock depending on how much or little contrast you want in the final shot. In this scenario, I used some barn doors on a standard reflector fronted with some diffusion paper. This fill light should, like the main light, be placed around 1m (3’6″) from the model. Hey presto, we have our lighting setup! The main light and fill light can be moved as the shoot progresses to be more in front of the model for a flatter, less contrasty effect or back to be more alongside her at the nine o’clock and three o’clock positions to add more contrast and more shadows. Don’t forget to move the Jaffa Cakes with the light otherwise you and your model could end up in a state of utter confusion.
It’s just an illusion you know
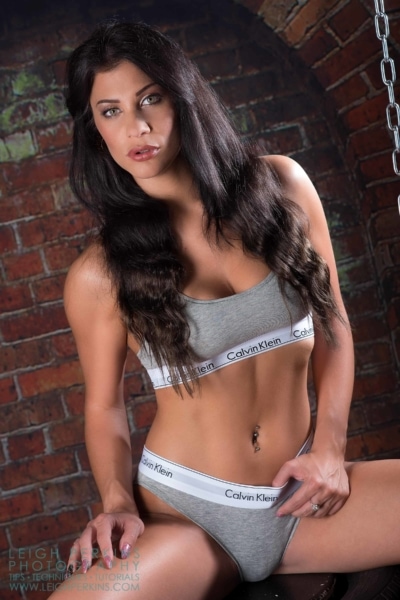
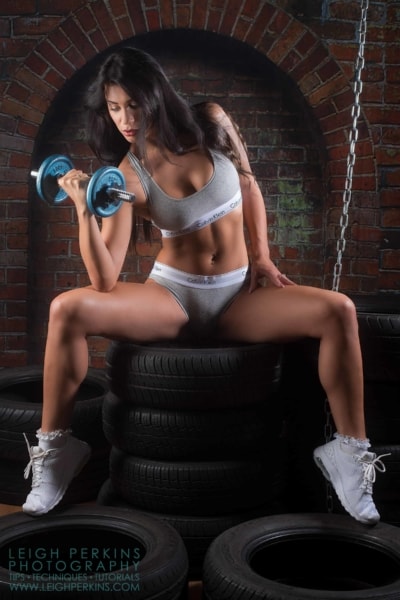
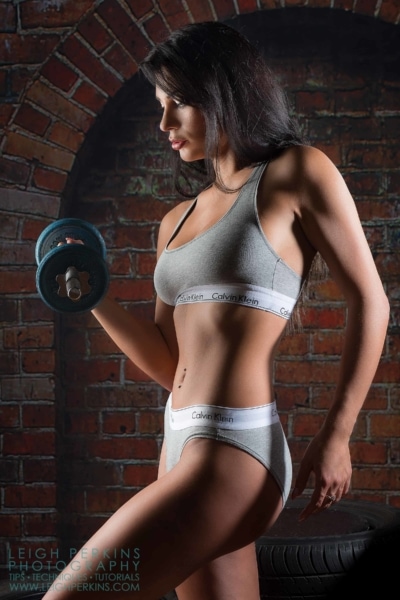
In this shoot, although the background looks like a brick wall it is in fact a printed fabric backcloth. It’s stretched and secured at all four corners to eliminate creases and care has been taken to ensure there is no direct light spilling onto it. The f8 aperture keeps the depth of field shallow enough to allow the backdrop to drift out of focus helping retain the illusion of an old wall. The tyres make for great posing props and can be moved at will to suit lots of different poses whilst the chains and dumbbells help the model put tension into her body emphasising her muscle definition. Add in some sexy, sporty underwear and voila, the look is complete. Once the shoot is completed successfully reward yourself and model with aforementioned treats ?
The second part of this post contains additional lighting, shooting and posing tips and the image gallery which include some NSFW artistic nudity. It is available to members only – not a member? Join here.

Question for you, where did you get the backdrop? If you had not mentioned it, I don’t know if I would have noticed the wall was not real. I have wanted to try one of these, but was afraid to spend the money and find out it was not worth it.
Good question and thanks for asking. The backdrop is printed fabric. It does work quite well but you do have to be careful how you light it. If you put too much on it then it starts to look fake as the colours wash out and it shows up for what it is. I don’t put any light on it other that what spills over from the lights lighting the model and I try to keep as much of the light as possible going forwards away from the backdrop. I purchased it from a company here in the UK called Studio Decor. I believe they are now called LuxS (https://luxs.biz/t/backgrounds/) I can’t see this particular backdrop on their website so it might be worth dropping them an email. I’m not sure where you are but just in case…the manufacturer of this background is a US firm called Denny (https://www.dennymfg.com/brick-arch-backdrop/BackDropDetail/5845) You could always ask them where your nearest suppler is or even if they will ship direct. Hope that helps 🙂
Thanks so much for the reply, I’m in the US, so I will check out the Denny site.
No problem at all, glad to have helped 🙂