
With the phrase “necessity being the mother of all invention” permanently etched into my psyche, I’m always looking for ways of maximising the potential of my studio space. If it were a hotel it would definitely be described as “boutique” or “bijou” to be more pretentious. If you’ve already viewed my “Window Works” article and video you will have seen how I create a fake floor-to-ceiling window light in my otherwise dark, daylight -less space. It works wonderfully well with the “wooden” (vinyl) floor and is great for full-length images both standing and lying down. However, many of my boudoir clients want something a little more “bedroom” for their shoots so…well, simple really. I just put a bed in front of my faux window and voila, a brand new setting for my window light.
Bed No. 3
Well ok it’s not exactly as simple as that. First off I don’t have room for a whole bed or more accurately, if I had a full size real bed I wouldn’t have room for anything else. So with my “Mother of Invention” mantra in mind, I created a space-saving bed. My current version is the third design and certainly my best so far. Two fold-up tables from Costco, modified slightly to reduce them in height forms the base of the bed. Please don’t look too closely at the welding on my DIY modification – I’m definitely a photographer not a welder! The mattress is actually two single mattresses from a cheap “occasional” bed which are held together with a fitted sheet when in use. The whole kit and caboodle folds down and fits snugly behind my background panels and probably cost less than one hundred pounds. Not bad value when you consider I’ve used it in over 2000 shoots now.
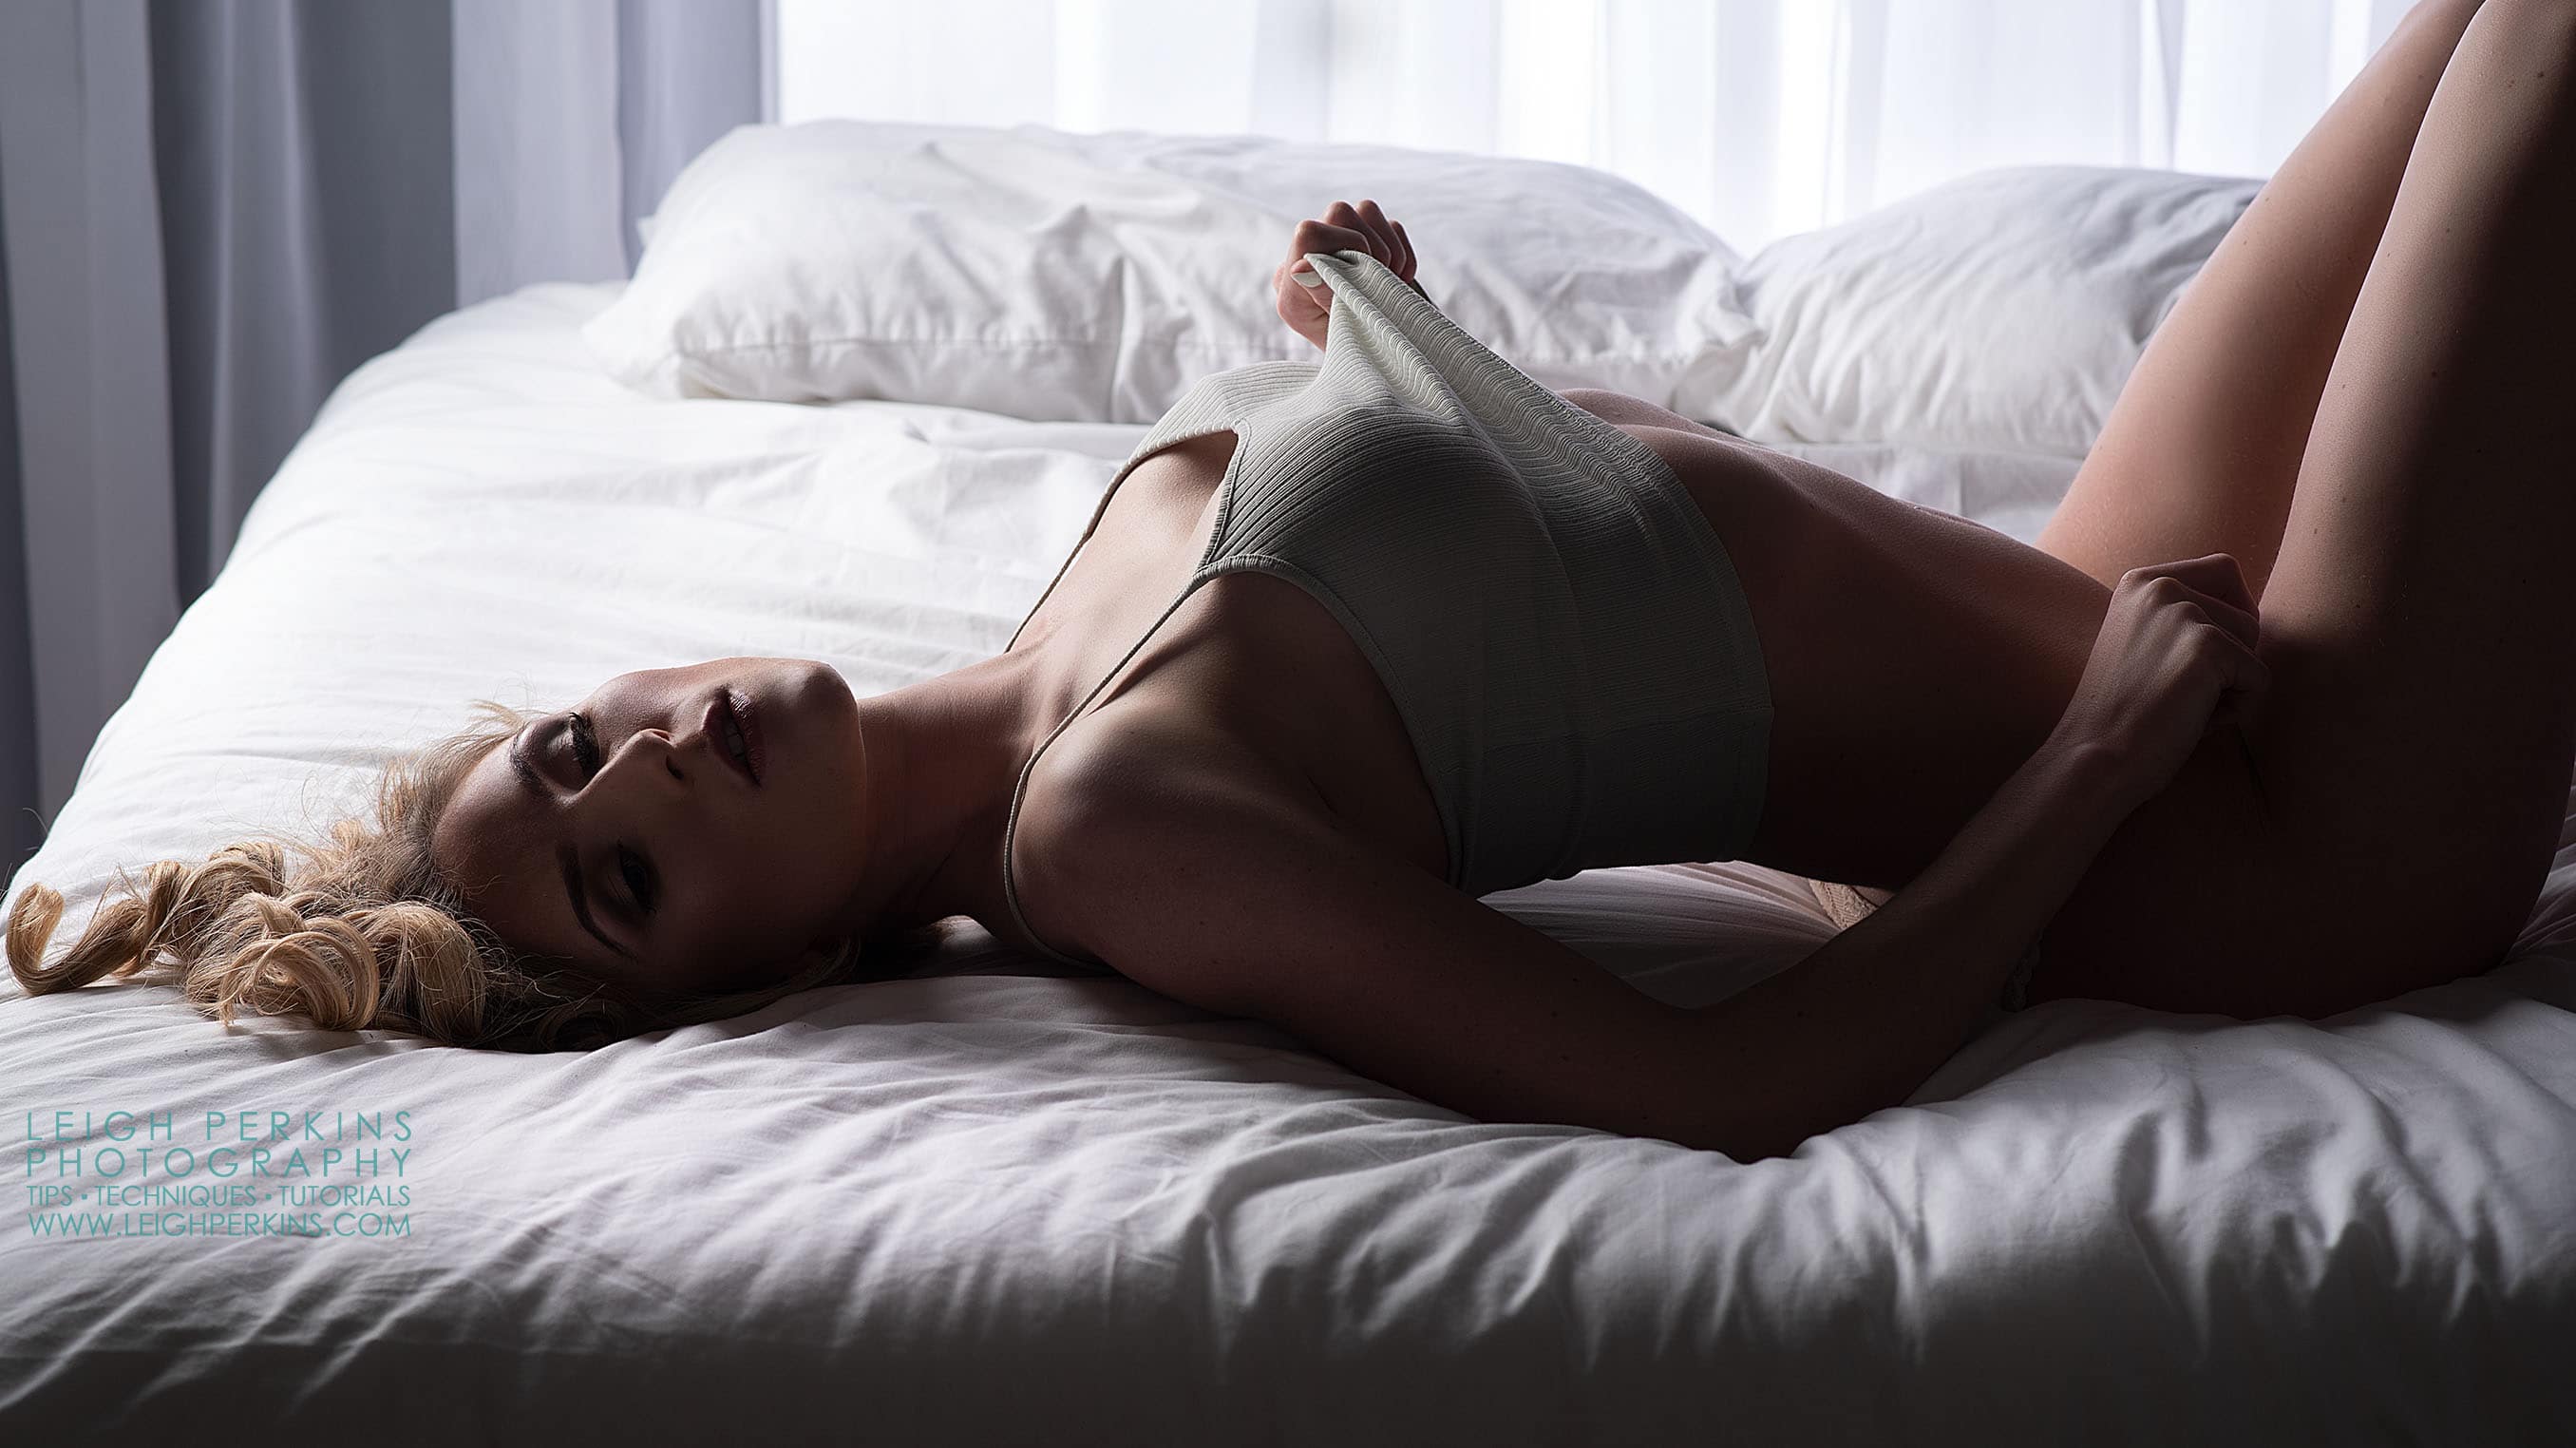
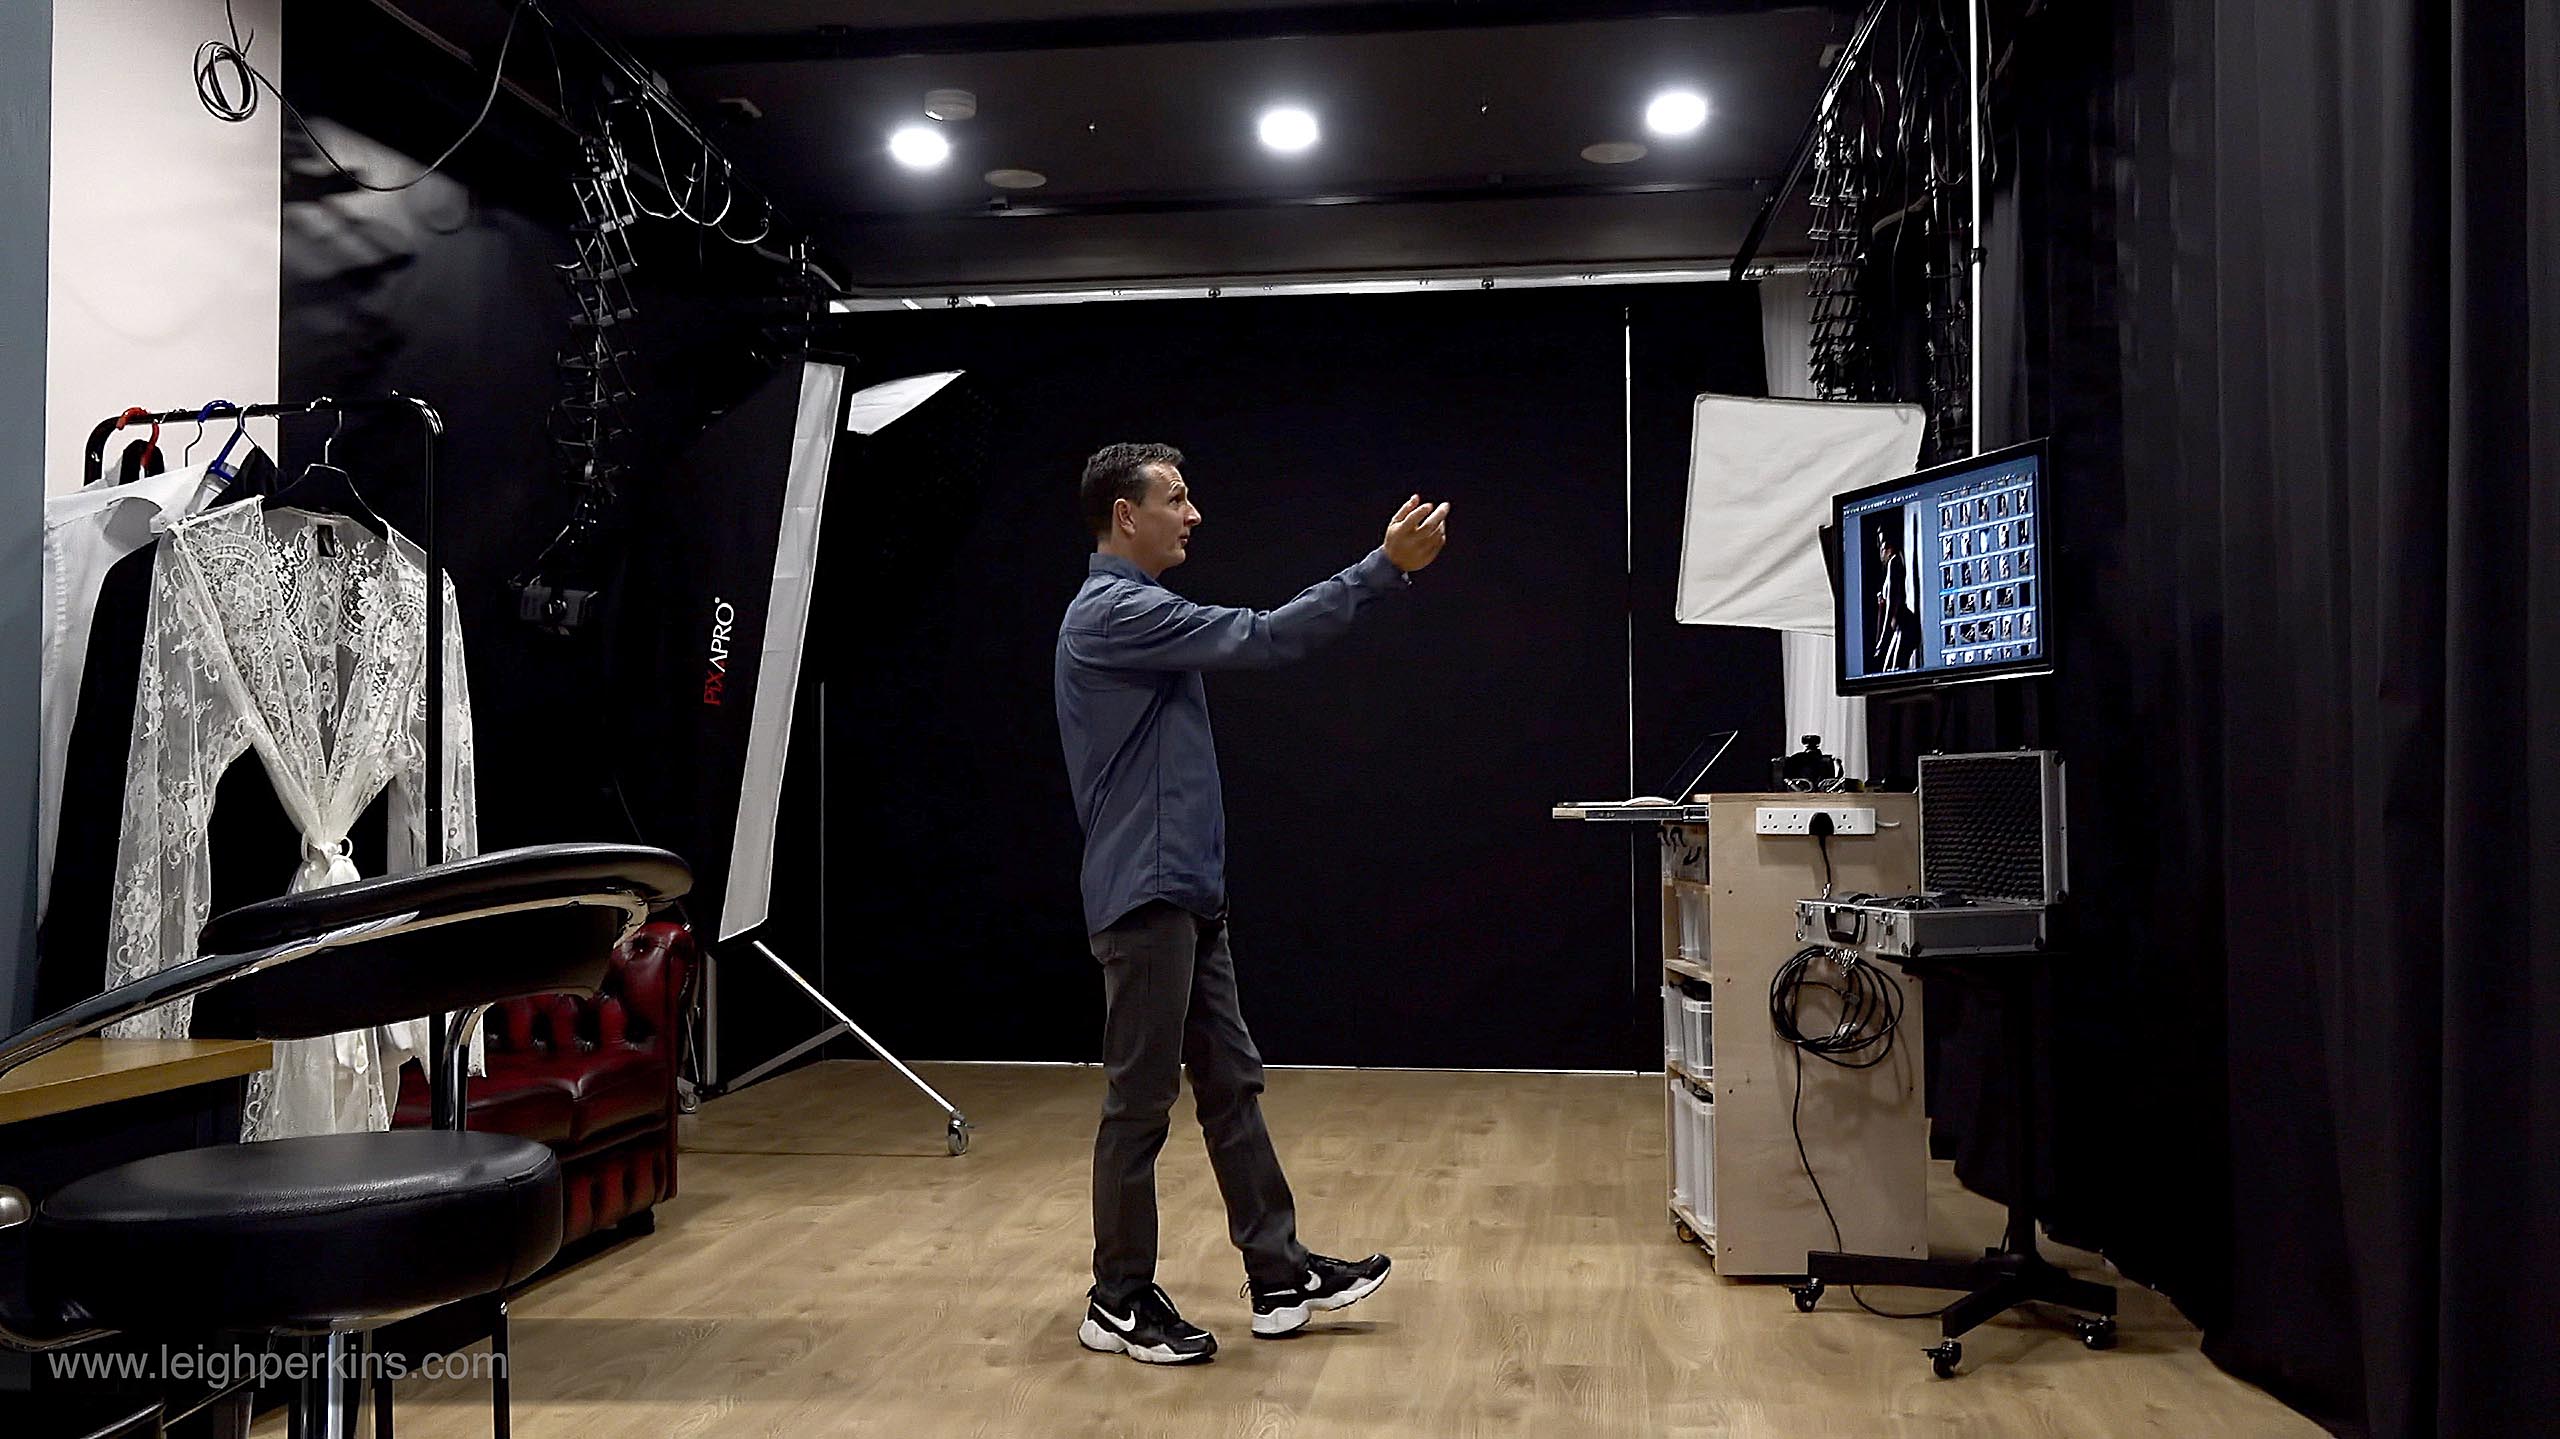
Whilst the “window” light works excellently if the model is within touching distance of the voiles, it’s far less effective once you move the subject more than a few feet away. It becomes more of a background prop than a lighting source. Hence the need in this boudoir set for an additional light source.
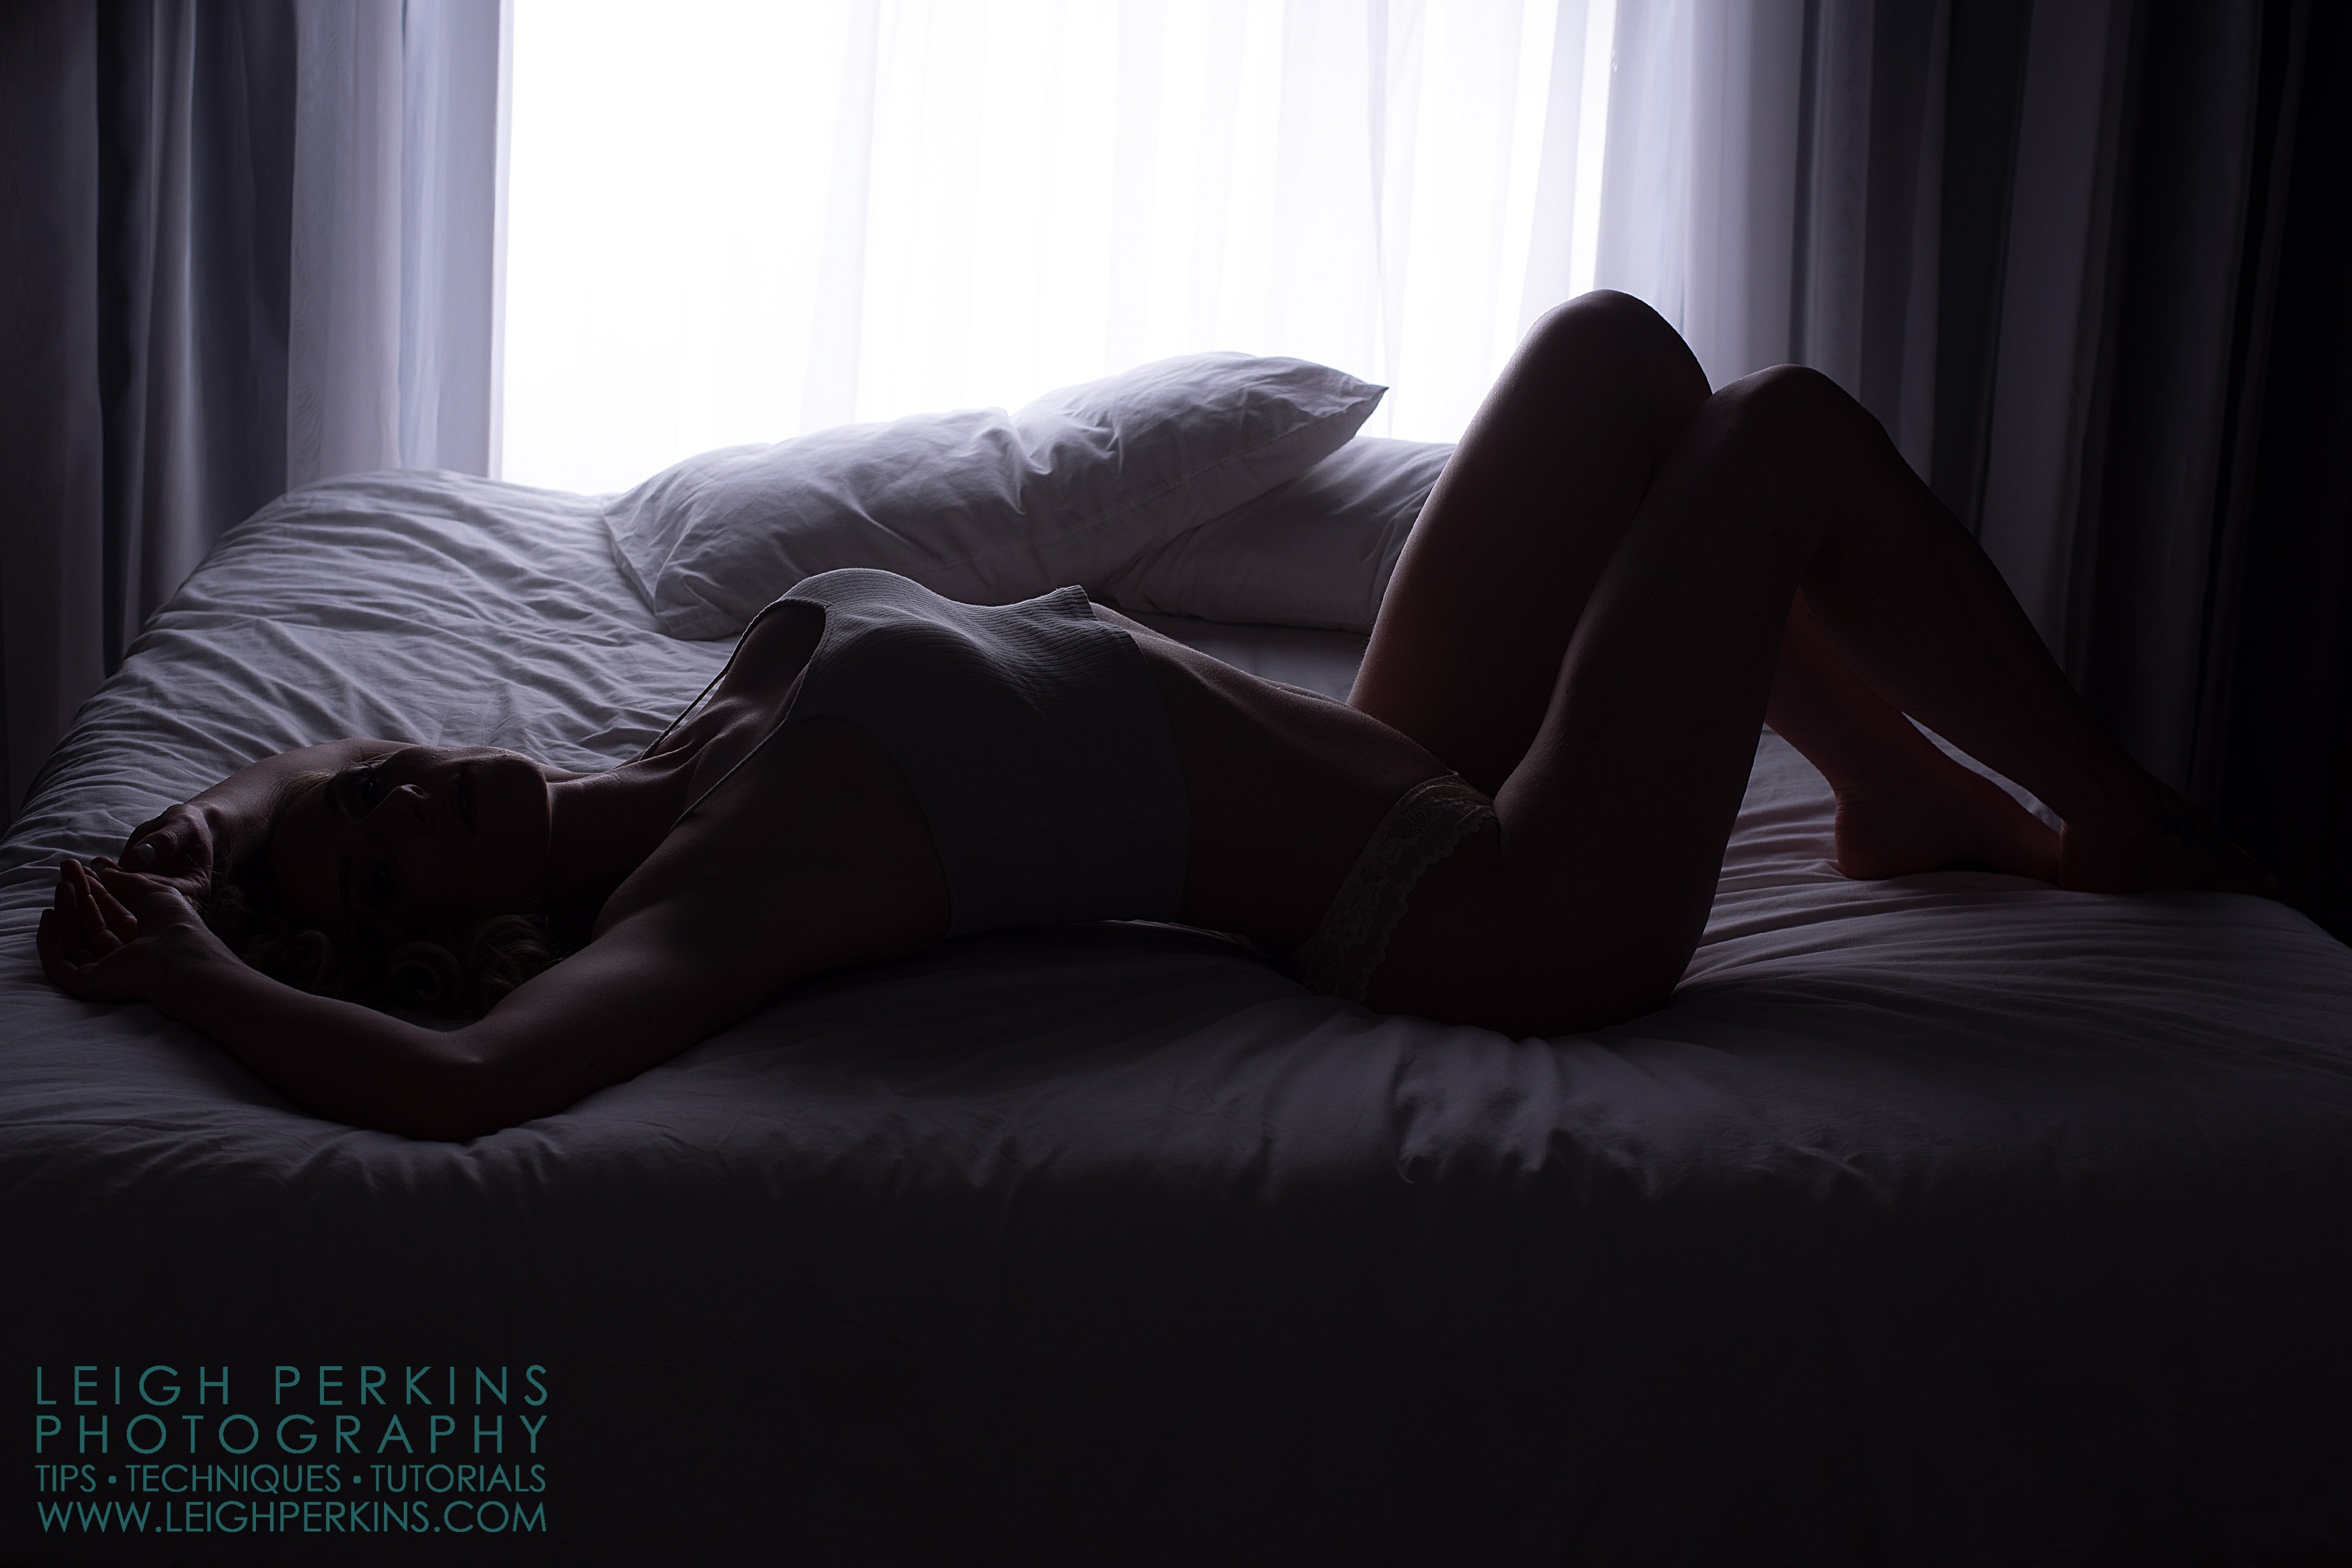
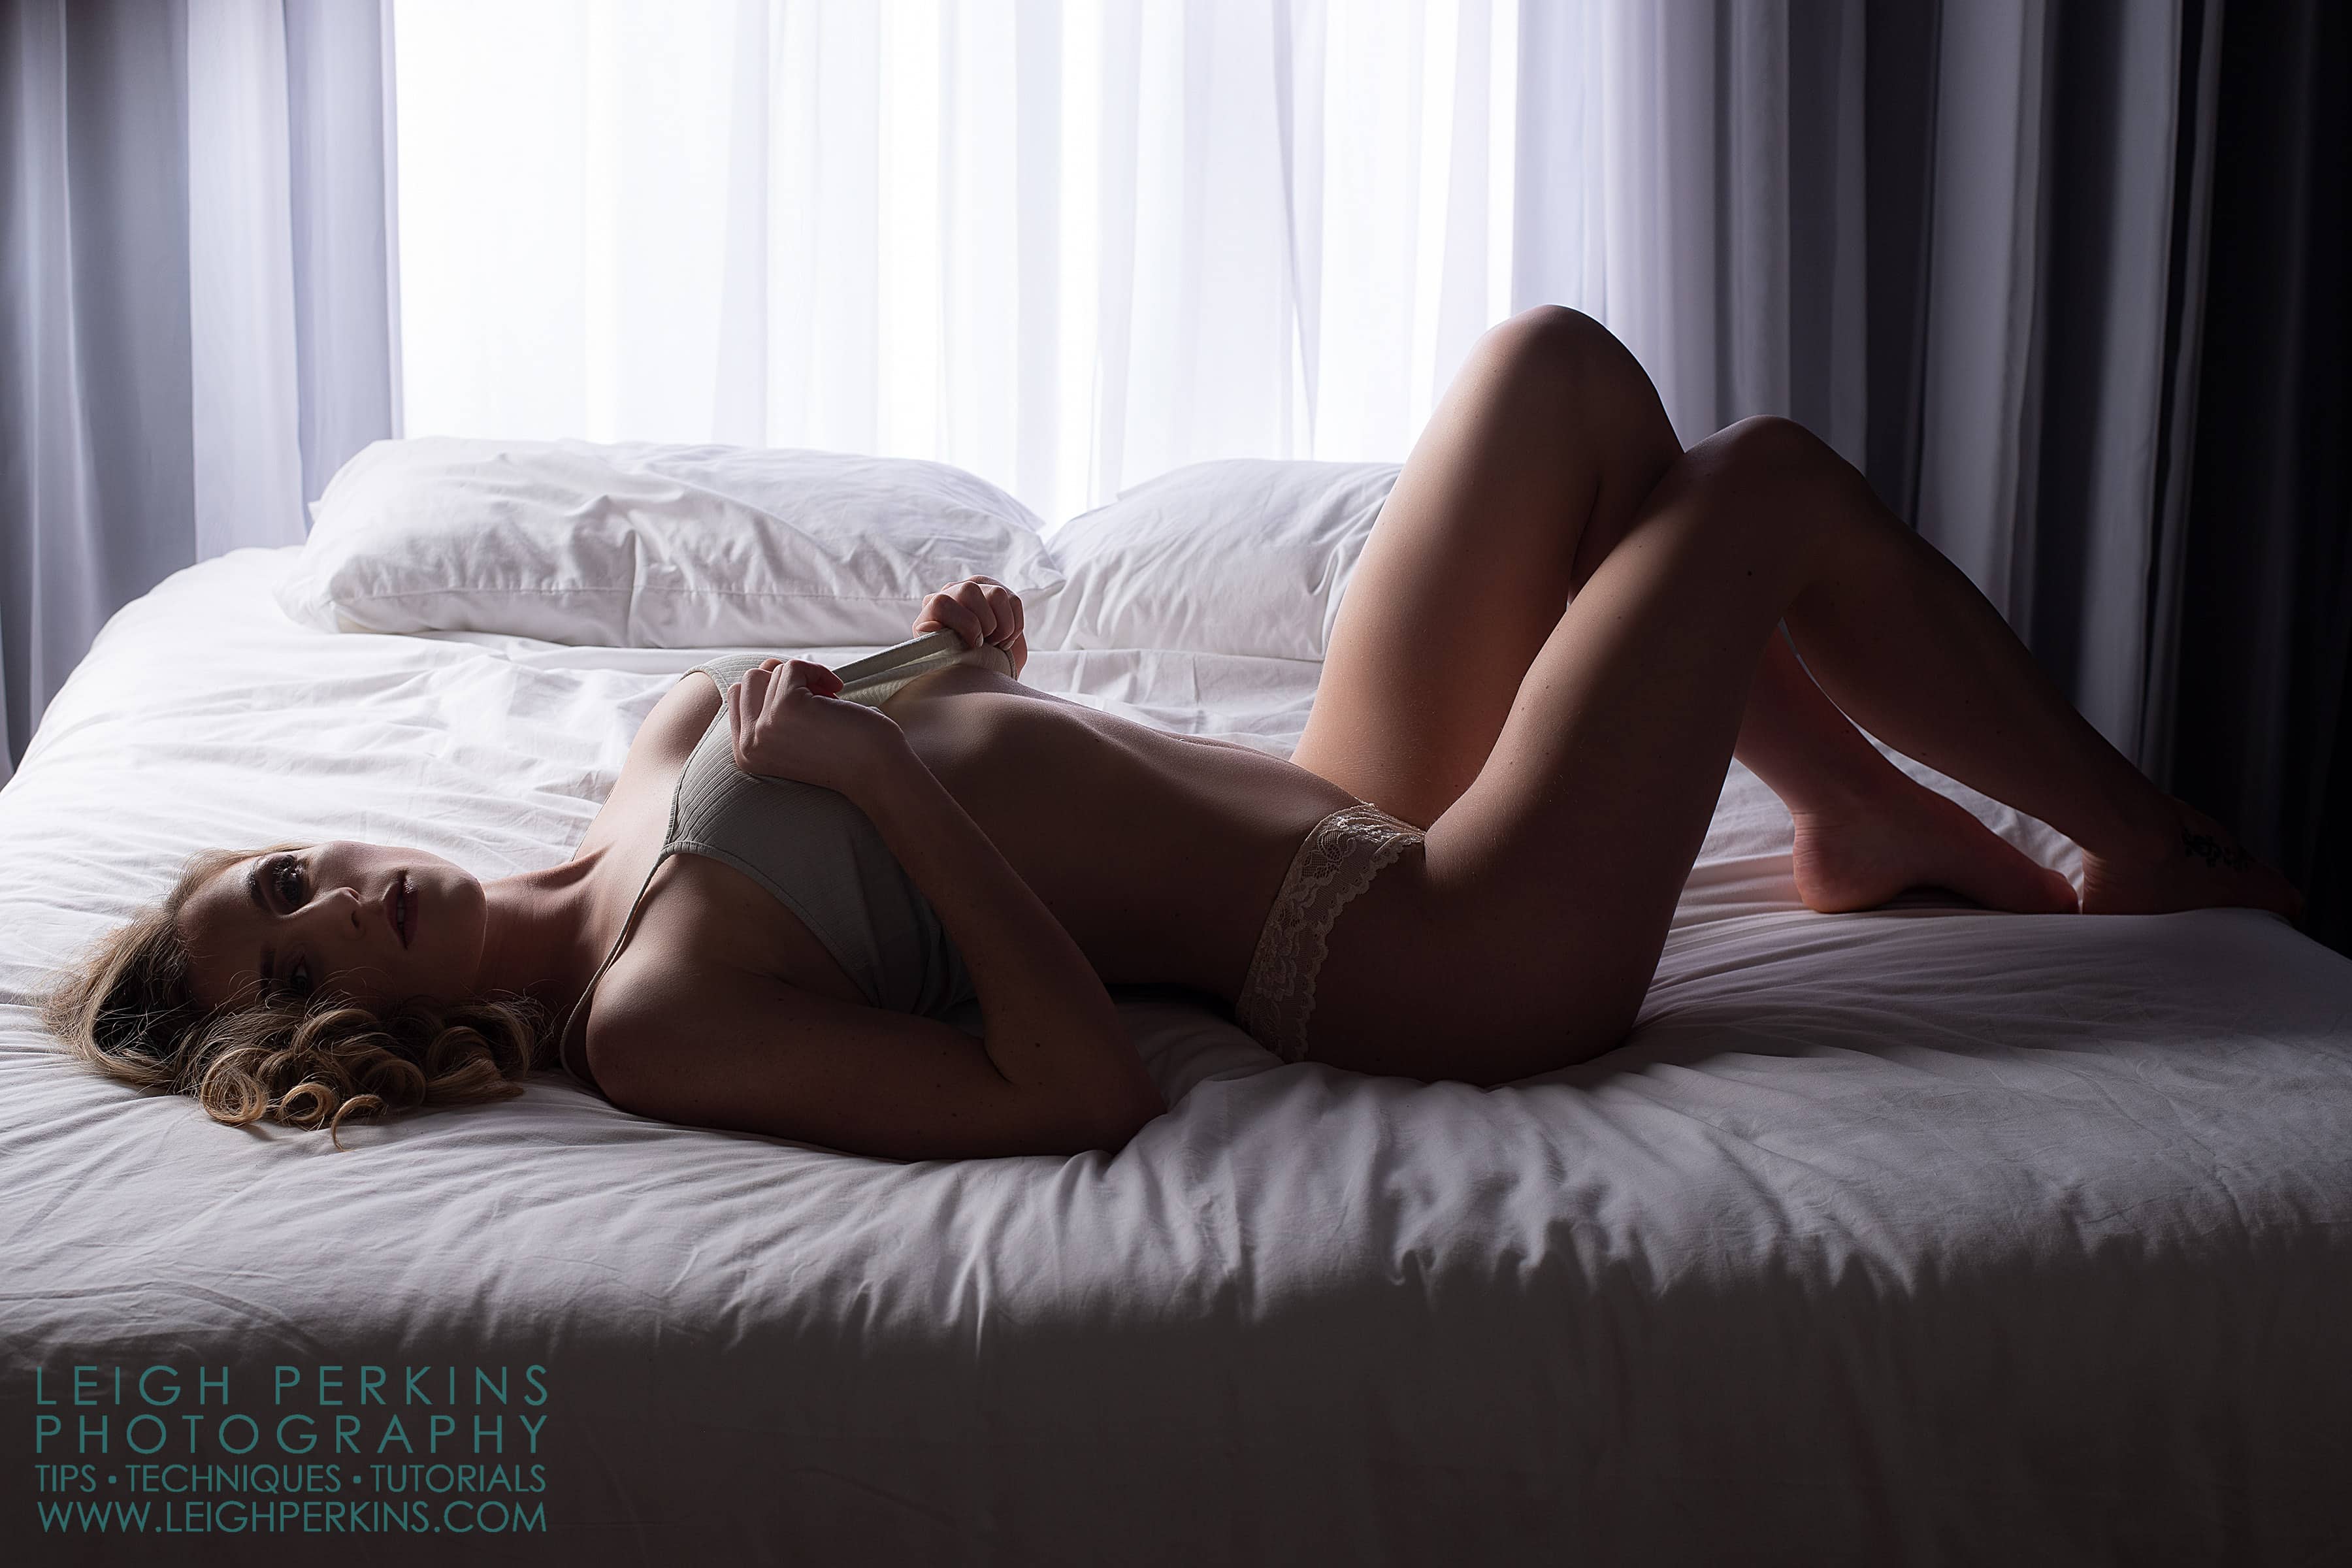
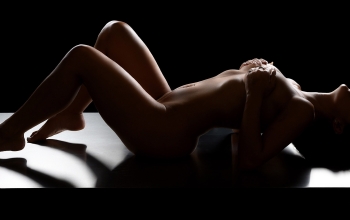
My modifier of choice on this additional light is a long narrow soft box which I move back and forth along the side of the bed depending on where the model is positioned. The beauty of the set is that by simply moving the model into different positions on the bed and moving the light to match, you can create a number of different looks. The further I move the model away from the window light, the more reliant I am on the soft box. I can also use this to almost backlight the model so it appears as though she is still being lit from the window. The illusion is pretty convincing even if I do say so myself. When shooting this set I generally start off with a simple pose with the model/client lying across the bed and using the soft box to backlight the subject. You can see in these example images how little effect the window light is having on the body, all the work is being done by the soft box.
From here I move through the shoot, moving the model and re-positioning the light to suit, always lighting from the left side of the studio and rotating the softbox from horizontal to the vertical to match the model’s pose.
Pick a Spot, Any Spot…
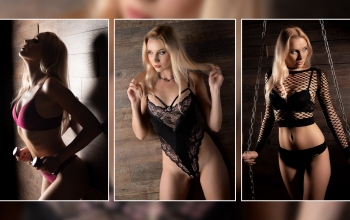
One of the nice things about the studio set as a whole is that it allows you to shoot from almost any position giving a variety of different image styles which you can see in the gallery below. From the right of the studio looking toward the soft box for some back lit bodyscapes, from the centre position and also from the left alongside the soft box to give a less contrasty boudoir style. Shots from high above work brilliantly for some more unusual elegantly sexy compositions and finally from low down with a long lens to give some voyeuristic, erotic style images. Take a look at the video and gallery below for examples of all these styles.
Leigh, you mention the softbox and the window light, but it seems you were using a strobe, also. I’ve watched the full length video and read the text, but I didn’t notice a mention of it (although I might have missed it). Where was the strobe positioned and did you move it as the shoot progressed? Thanks very much.
bcane, Sorry if it wasn’t obvious. All the lighting was supplied by three strobes. One strobe is position behind the blackout panels to the left and one to the right. These create the window light. The third strobe is fitted with the long soft box that you see to the camera left and provides most of the illumination for the model. Hope that helps. Leigh.