Simple is best
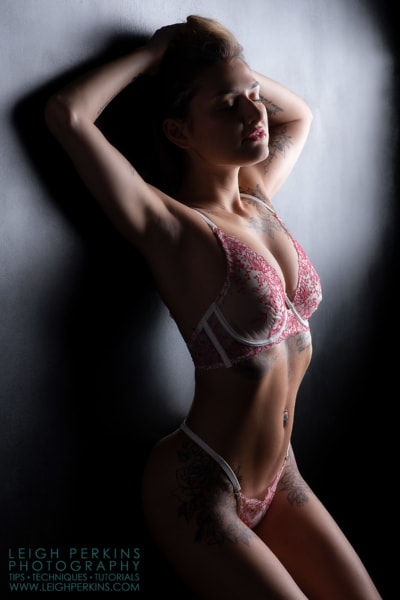
This one-light set up is as simple as it gets but is certainly no less creative or effective. The importance of light placement is of paramount importance when shooting in the studio and when restricting yourself to just one light, never is this more true.
We could, of course, place the light behind the camera, above head height, pop up an umbrella and say “Bob’s your uncle” (or in my case, my dad – no, seriously, Bob is my dad)! Fine if you are looking for a nice evenly-lit portrait. However, I think we can create something with more impact and more “wow” with more “sculptural” lighting.
Time Check
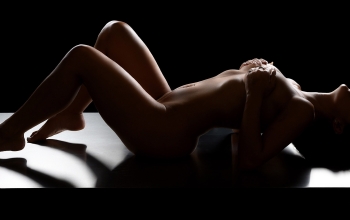
In these examples the wall represents a line from 12 o’clock to the model’s left, through the model at the clock centre to 6 o’clock off to the model’s right.So in this example we’re placing the light way off behind the model, level with her chest at about the one o’clock position (imagine the wall being a line through the centre of the clock from six to twelve – twelve being off to the models left as seen in this image). On different occasions I’ve used either a standard reflector fitted with barn doors and diffusion paper or a long narrow soft box. Both work equally well but the softbox will give softer, more diffused light, feathering off to shadow a little gentler than the barn doors. Personally I like the harshness of the less diffused barn door setup especially if working with a model who has some tone and definition in her tummy or back. This light will help pick that out and emphasise it nicely.
Lighting flare – not always a good thing.
With the light in place, my favoured shooting position for this setup is from the “rush hour” point – between five and six o’clock. This doesn’t mean it’s nearly time to finish for the day, but it does mean I’m likely to encounter “flare” hitting the lens as I’m shooting almost directly into the light source. This can be eliminated in a couple of ways. Firstly, I may shoot with a slightly longer lens, this enables me to step away from the model, reducing the angle of view and so cutting out the extraneous light. Failing that, I employ the services of my wonderful assistant/wife/boss to hold a blackout board between the lens and the light effectively casting a shadow over my lens, once again blocking out the flare. A grid on the soft box if you’re using one will also go a long way to help eliminate this flare. Of course, you may well have seen some photographers utilise this “lens flare” for effect and if that’s your thing then fair enough, but just make sure it looks like it’s been done on purpose! There is a fine line between intentional flare and bad photography. The “I shot it like that on purpose, honest guv!” lens flare can be spotted almost as easily as the Photoshop>Filter>Render>Lens Flare…Both, in my humble opinion are less than convincing.
Black paint, white background…really?
By shooting in a blacked out studio set with only one light in this position, you would be forgiven for thinking that the model’s shape will be lost in the shadows. A correct assumption of course, but by using the reflected light on the wall behind the model and posing her so her body is slightly away from it, we can separate her out from the black wall, emphasising her curves and shape. This reflected light is almost acting as a secondary lighting source and is very much dependent upon the material or paint type on said wall. In my case the wall was painted with a flat “silk” black emulsion paint. Yes indeedy folks – even though the paint is a dull lustre finish under normal lighting, when lit so heavily from one side and viewed from the opposite side, as with most surfaces, the reflected light is almost white in appearance.
This phenomenon is only apparent because of the angle between camera and light (approaching 180 degrees.) If I were to leave the light in the same place but move myself around to say the three o’clock (afternoon tea ?) camera position, the reflected light appears much more normal, less white, flatter and in the case of this set of images far less interesting.
Good, bad and ugly.
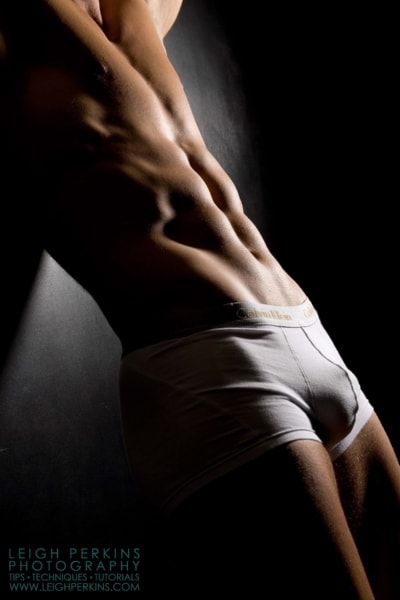
Some points “for” and “against” with this style of lighting then! Firstly, contrast! You can’t inject much more contrast into an image than this. It’s amazing for picking out and highlighting fine lace in lingerie. It will highlight the finest of body hair and if combined with water droplets on the skin it will emphasise every single droplet with a single bright highlight creating an irregular pattern of beautiful water beads. It will emphasise and exaggerate any muscle-tone in the abs, chest and legs – particularly great for fitness style images. This emphasis can be greatly controlled by simply moving the light an inch or two around the clock in different directions or by changing camera angles in a similar way. Move your camera position closer to six o’clock and the emphasis on those muscles is greater as you see more shadow and more highlights. Move the light back toward twelve o’clock and the same is true, but stop just before you plunge the whole torso into shadow.
The downside to this whole “one light wonder” is that it will also highlight imperfections. If your model has stretch marks on his or her tummy, a scar or two, cellulite or a shaving/waxing rash then this heavy heavy side lighting will pick out, emphasise and exaggerate all those pesky flaws. Then of course it’s time to head straight back to Photoshop and make a grab for the Healing Tool.
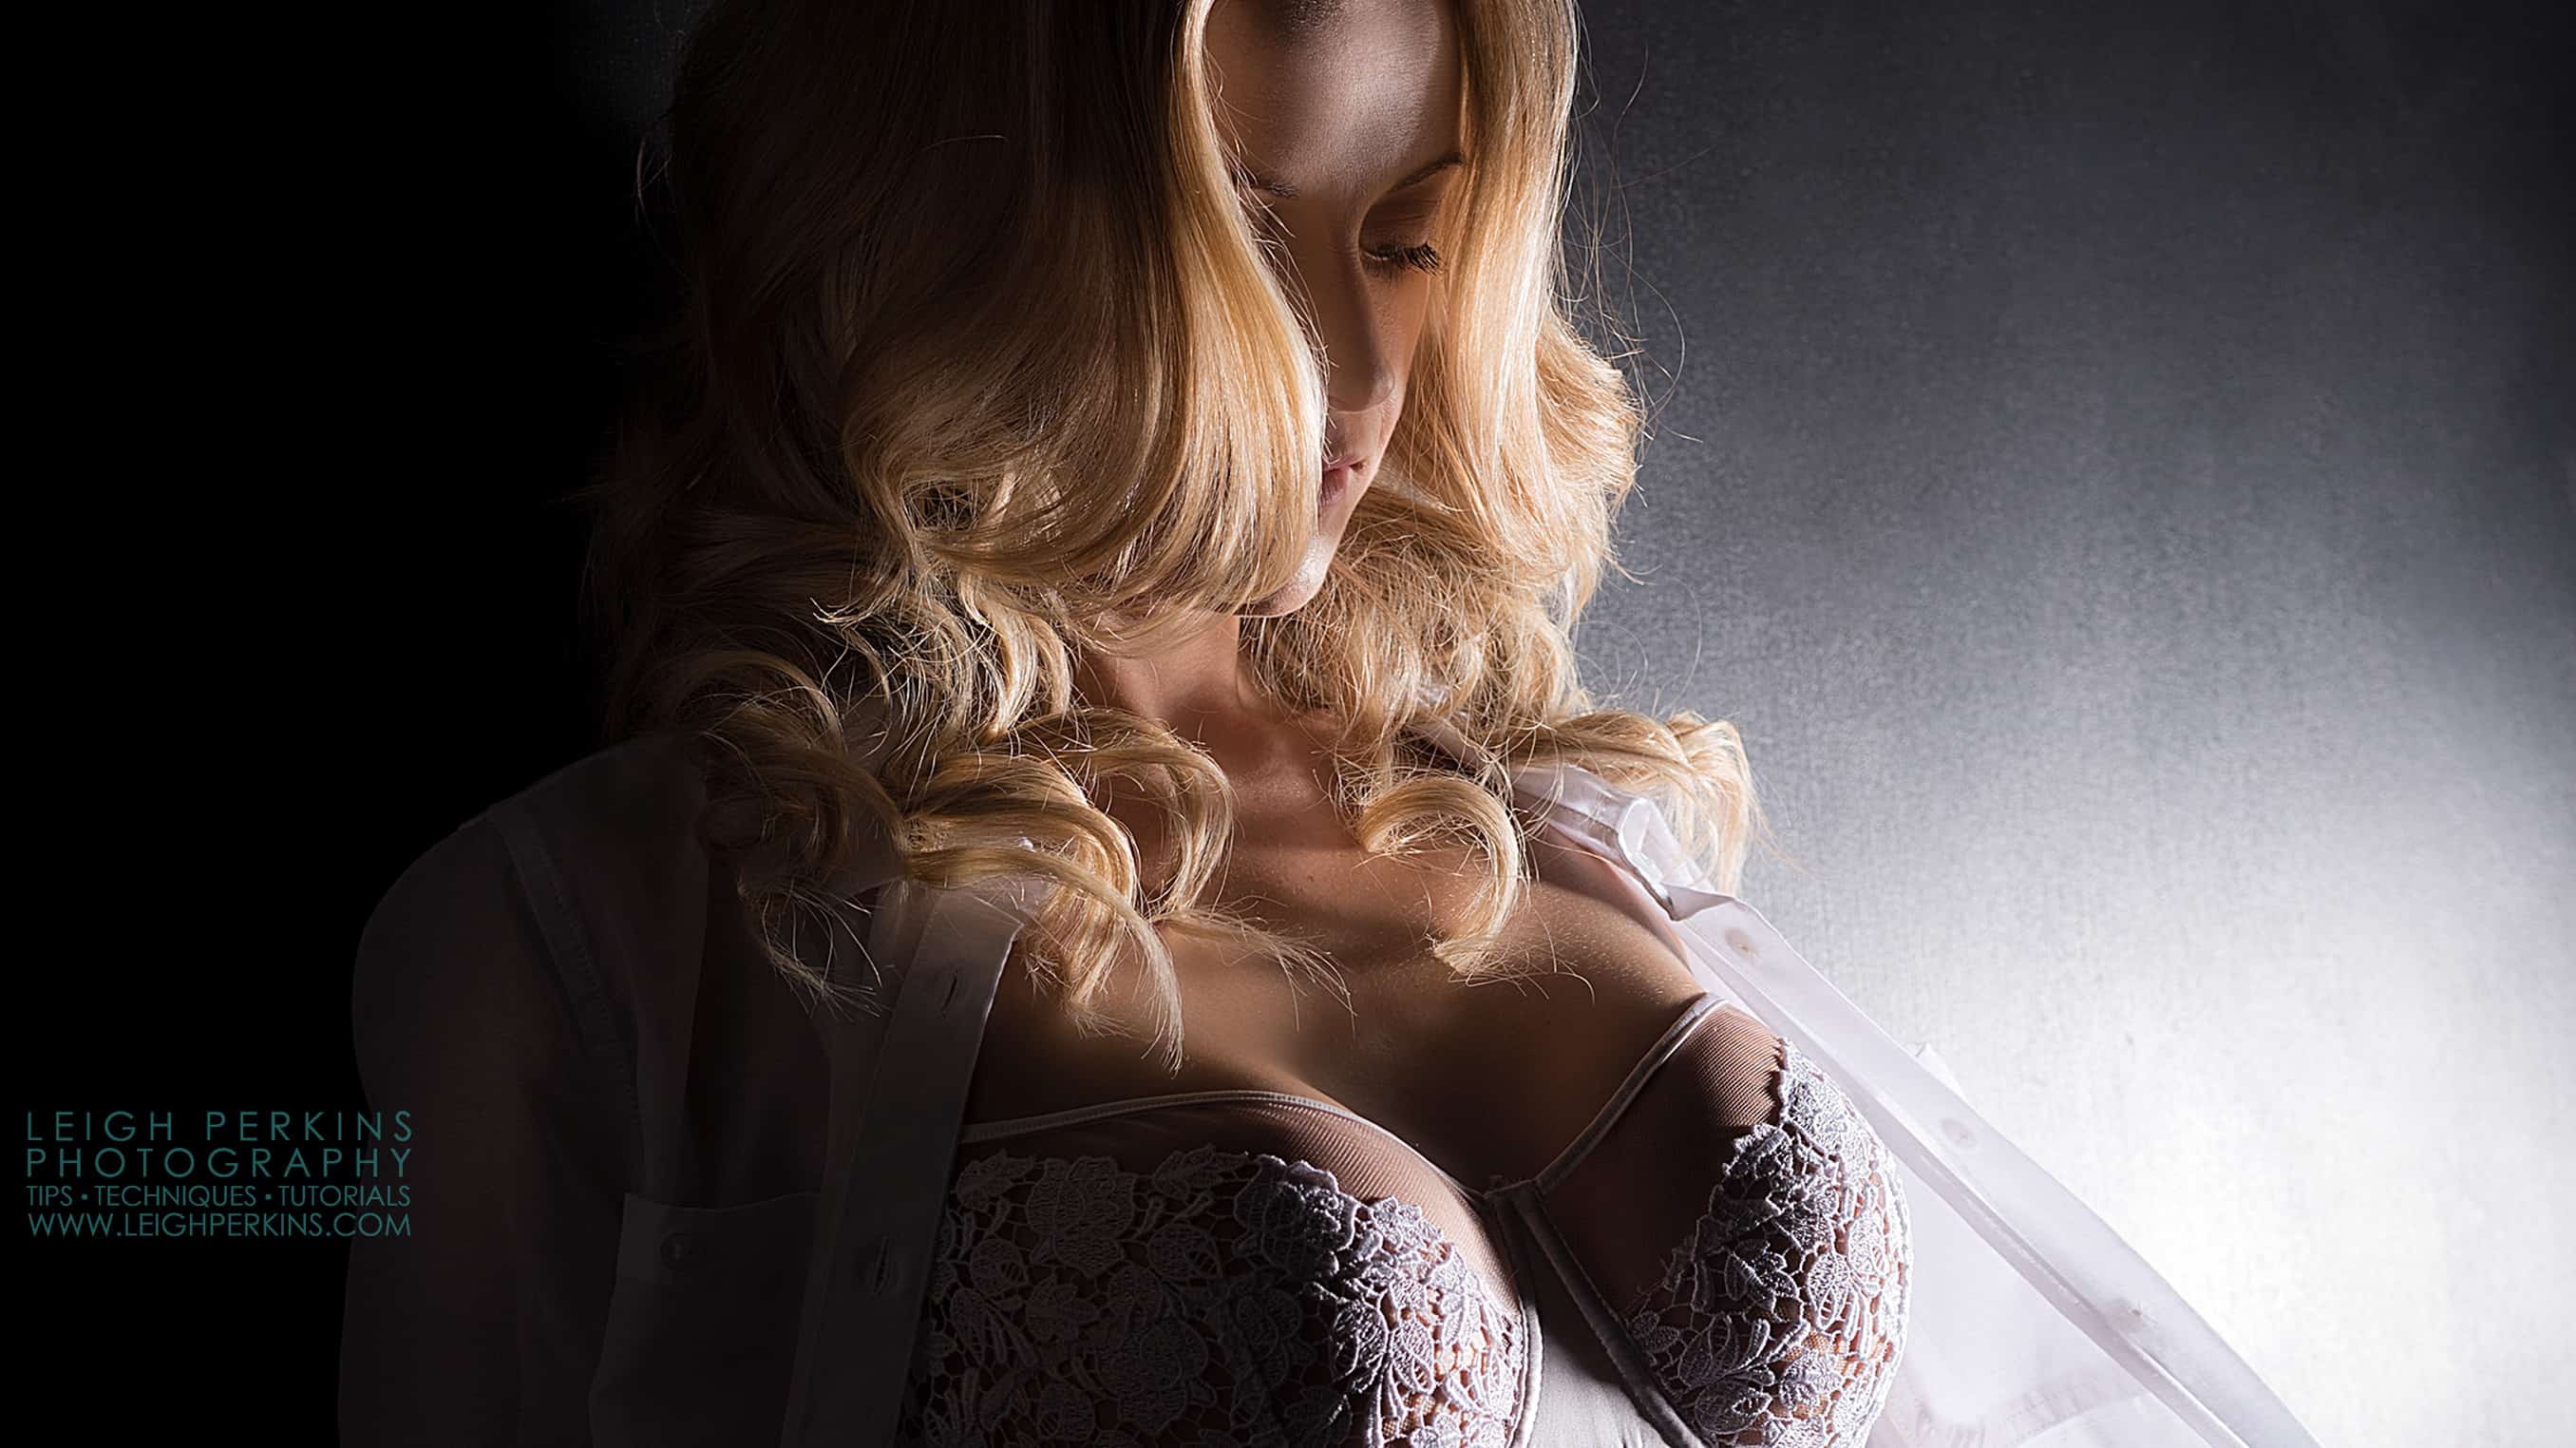
One way to help alleviate the unkindness of this heavy side lighting is to diffuse the light a little more by using a prop such as a white shirt or negligee or bounce a little light back in by placing a reflector on the opposite of the model to the light. This will help fill in some of the shadows and be a little kinder on the skin. The sacrifice is a reduction in overall contrast but then as you know photography is all about compromises…

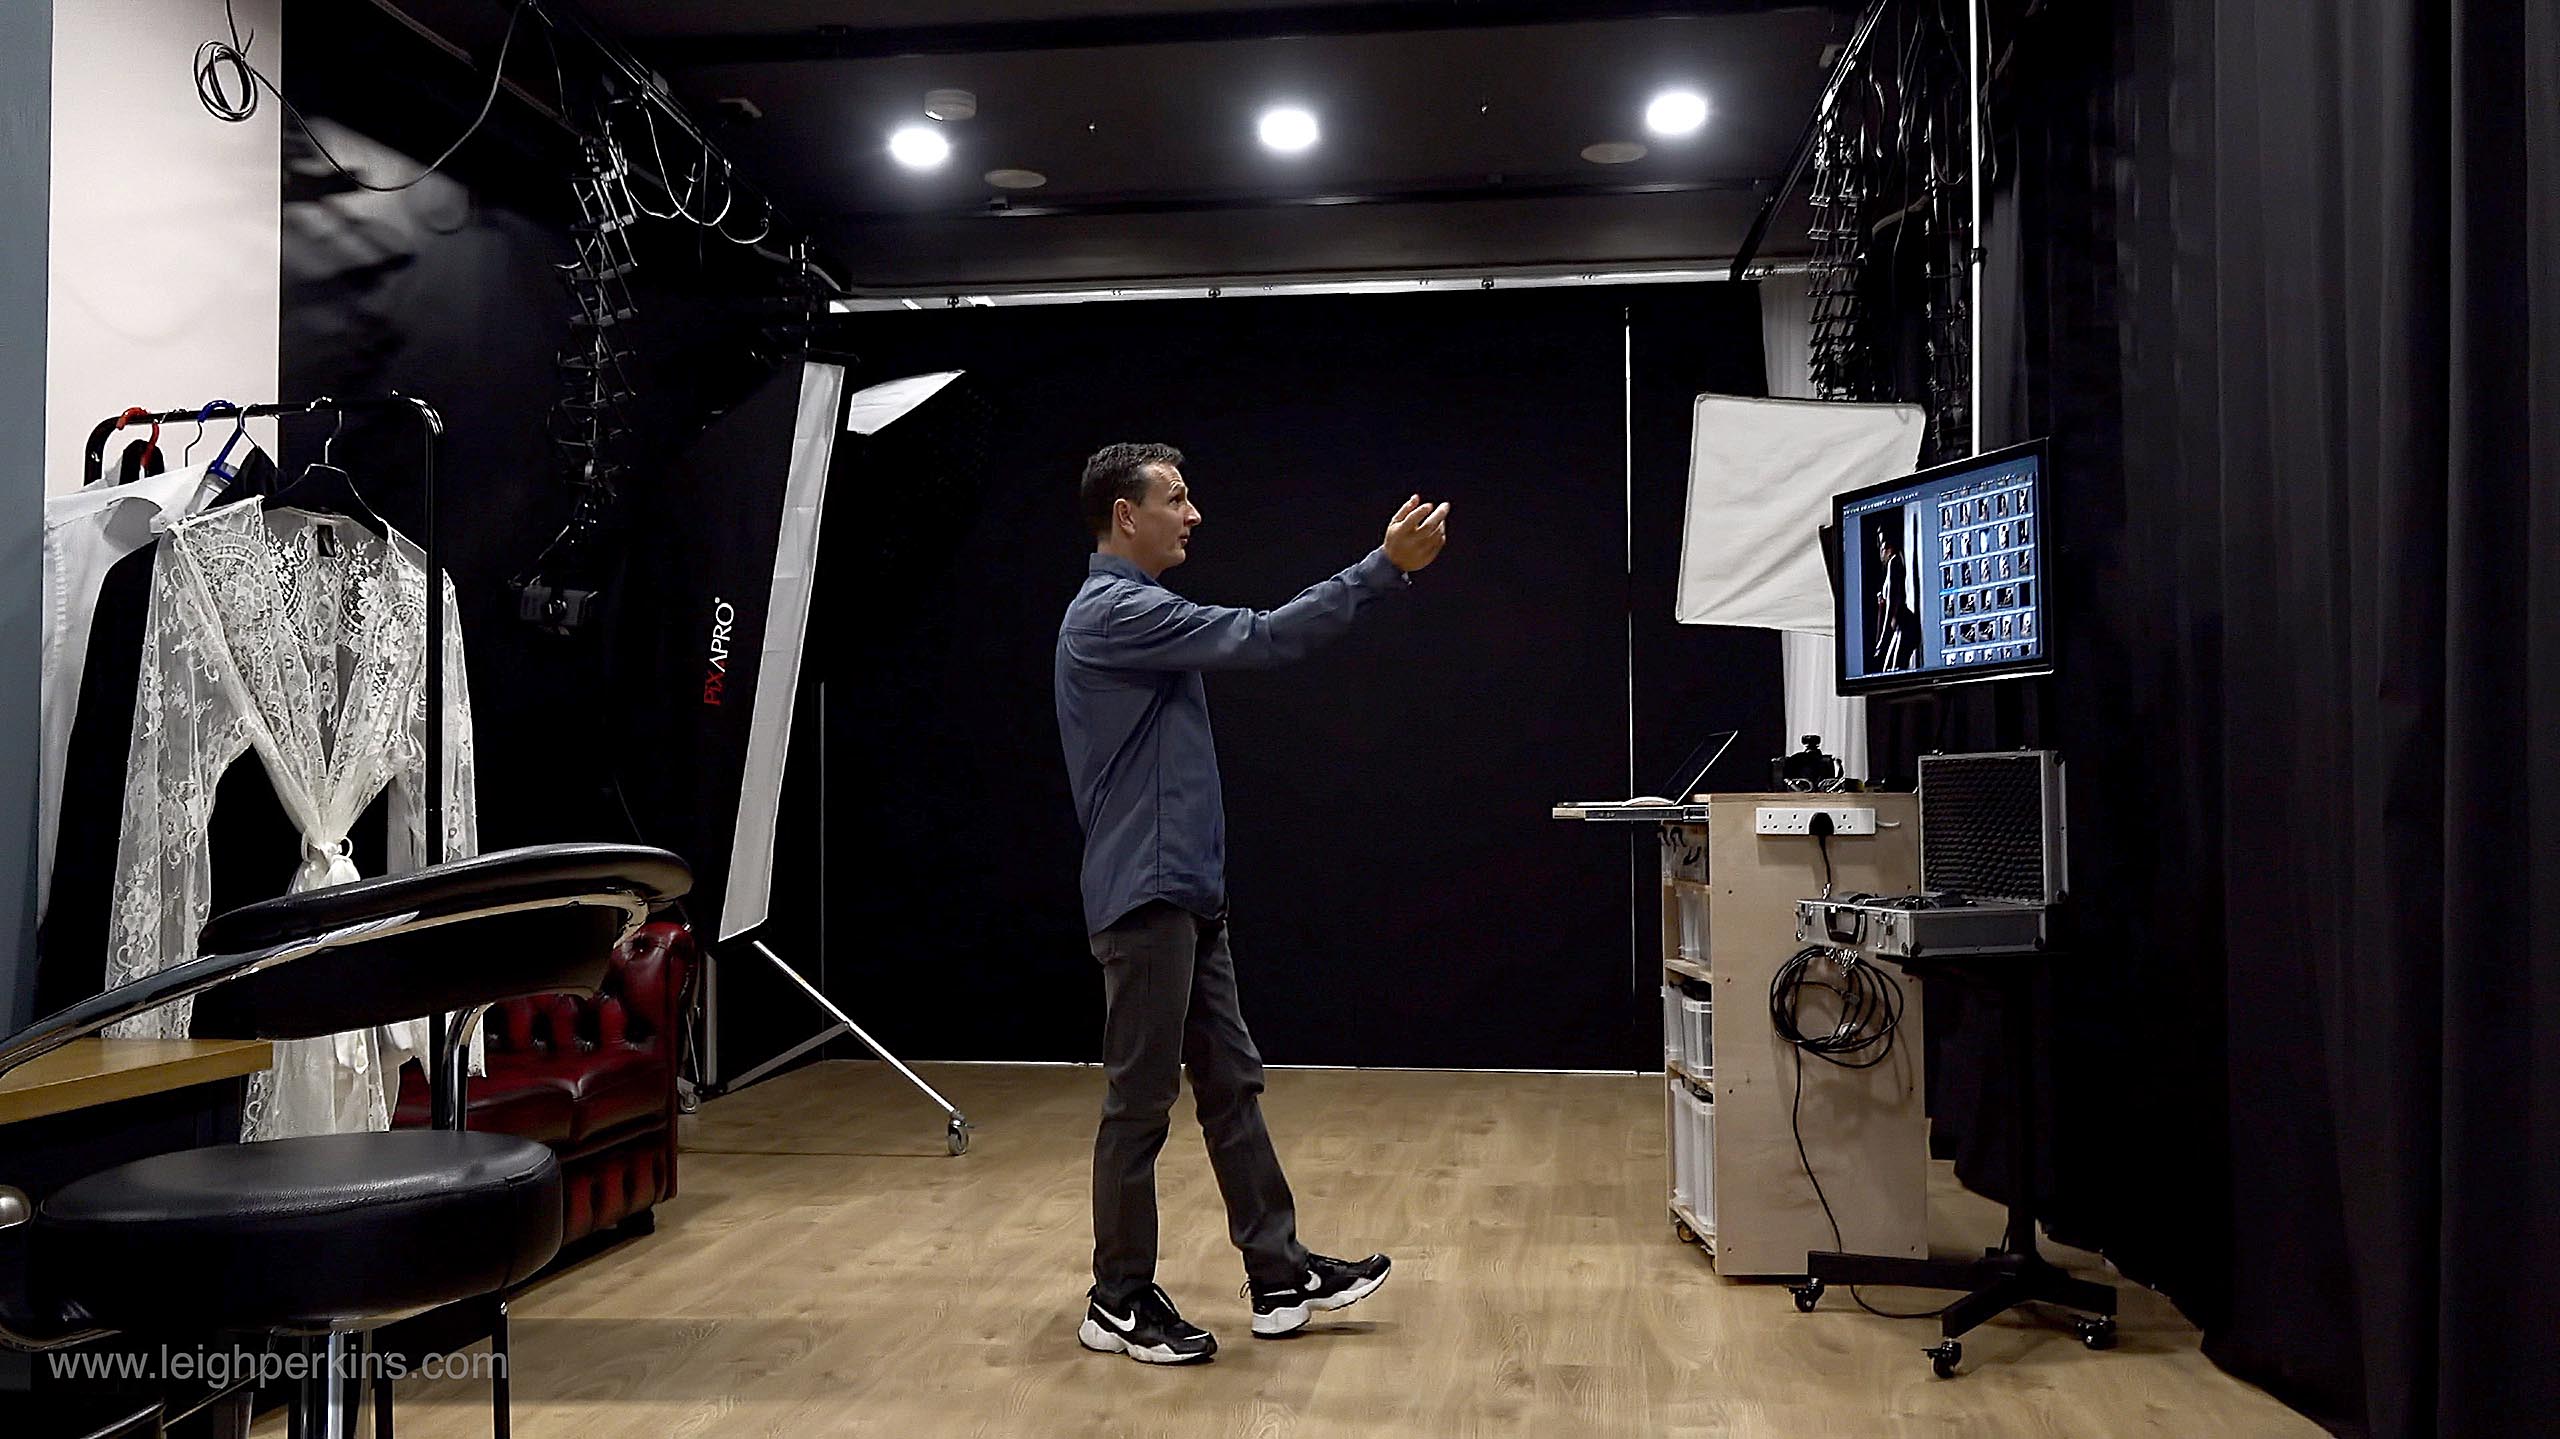
Thank you for an amazing video demonstration! Can you share the type of material on which you painted the emulsion paint (I believe it’s called latex here in the states)? It doesn’t appear that it’s painted directly on the bare wall. Thank you again!
Thanks for the question and glad you like the video. The wall was simply a plasterboard (drywall in the US) skimmed over with plaster for a smooth seemless finish and then simply brush painted with black emulsion (latex in the US) If I was doing it again, which I will be now I’m about to start building my new studio the only thing I would change would be to paint with a roller rather than a brush as this gives a smoother finish. Hope that helps.