Doorway Revelations
Access to studios in my youth, err.. and in my twenties… and in most of my thirties, was sporadic at best. So opportunities for lighting practice were somewhat limited. That is of course until I built my own studio back in 2001. It was always a challenge to find suitable locations in which to shoot and often those spaces were wholly unsuitable, uninviting or expensive – often all three. However, with the old adage “necessity is the mother of invention” I learned to use what I had available and be as creative as possible with those spaces. Doorways proved to be something of revelation to me. I used to think they were simply a means of holding a door closed to hide all the crap behind it. During one particularly exploratory and adventurous shoot I dared to place a flash unit behind a door and photograph the model in the light being reflected back through the partially open door. It was an epiphany.
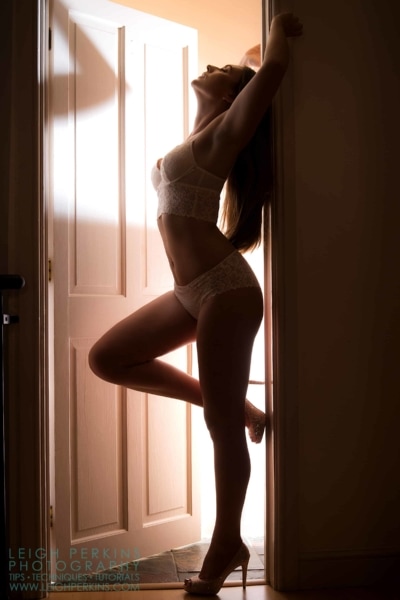
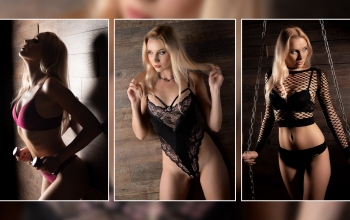
As you can see from the images here, a doorway makes for quite a versatile studio space enabling perfect portraits and superb silhouettes. The thing about doorways is that they are unsurprisingly readily available in most houses. It would be foolish to ignore such a plethora of potential shooting opportunities. Part of the secret is perhaps that the doorway itself provides a natural frame within which to pose the model. This frame almost forces the compostion of the image upon the photographer (so one less thing for me to have to concentrate on then!) It also gives the model some posing aides, enabling her to either lean on or stretch arms or legs up onto, or just generally keep her upright and not toppling over when asked to go up onto tippy toes.
A Bit of Bounce
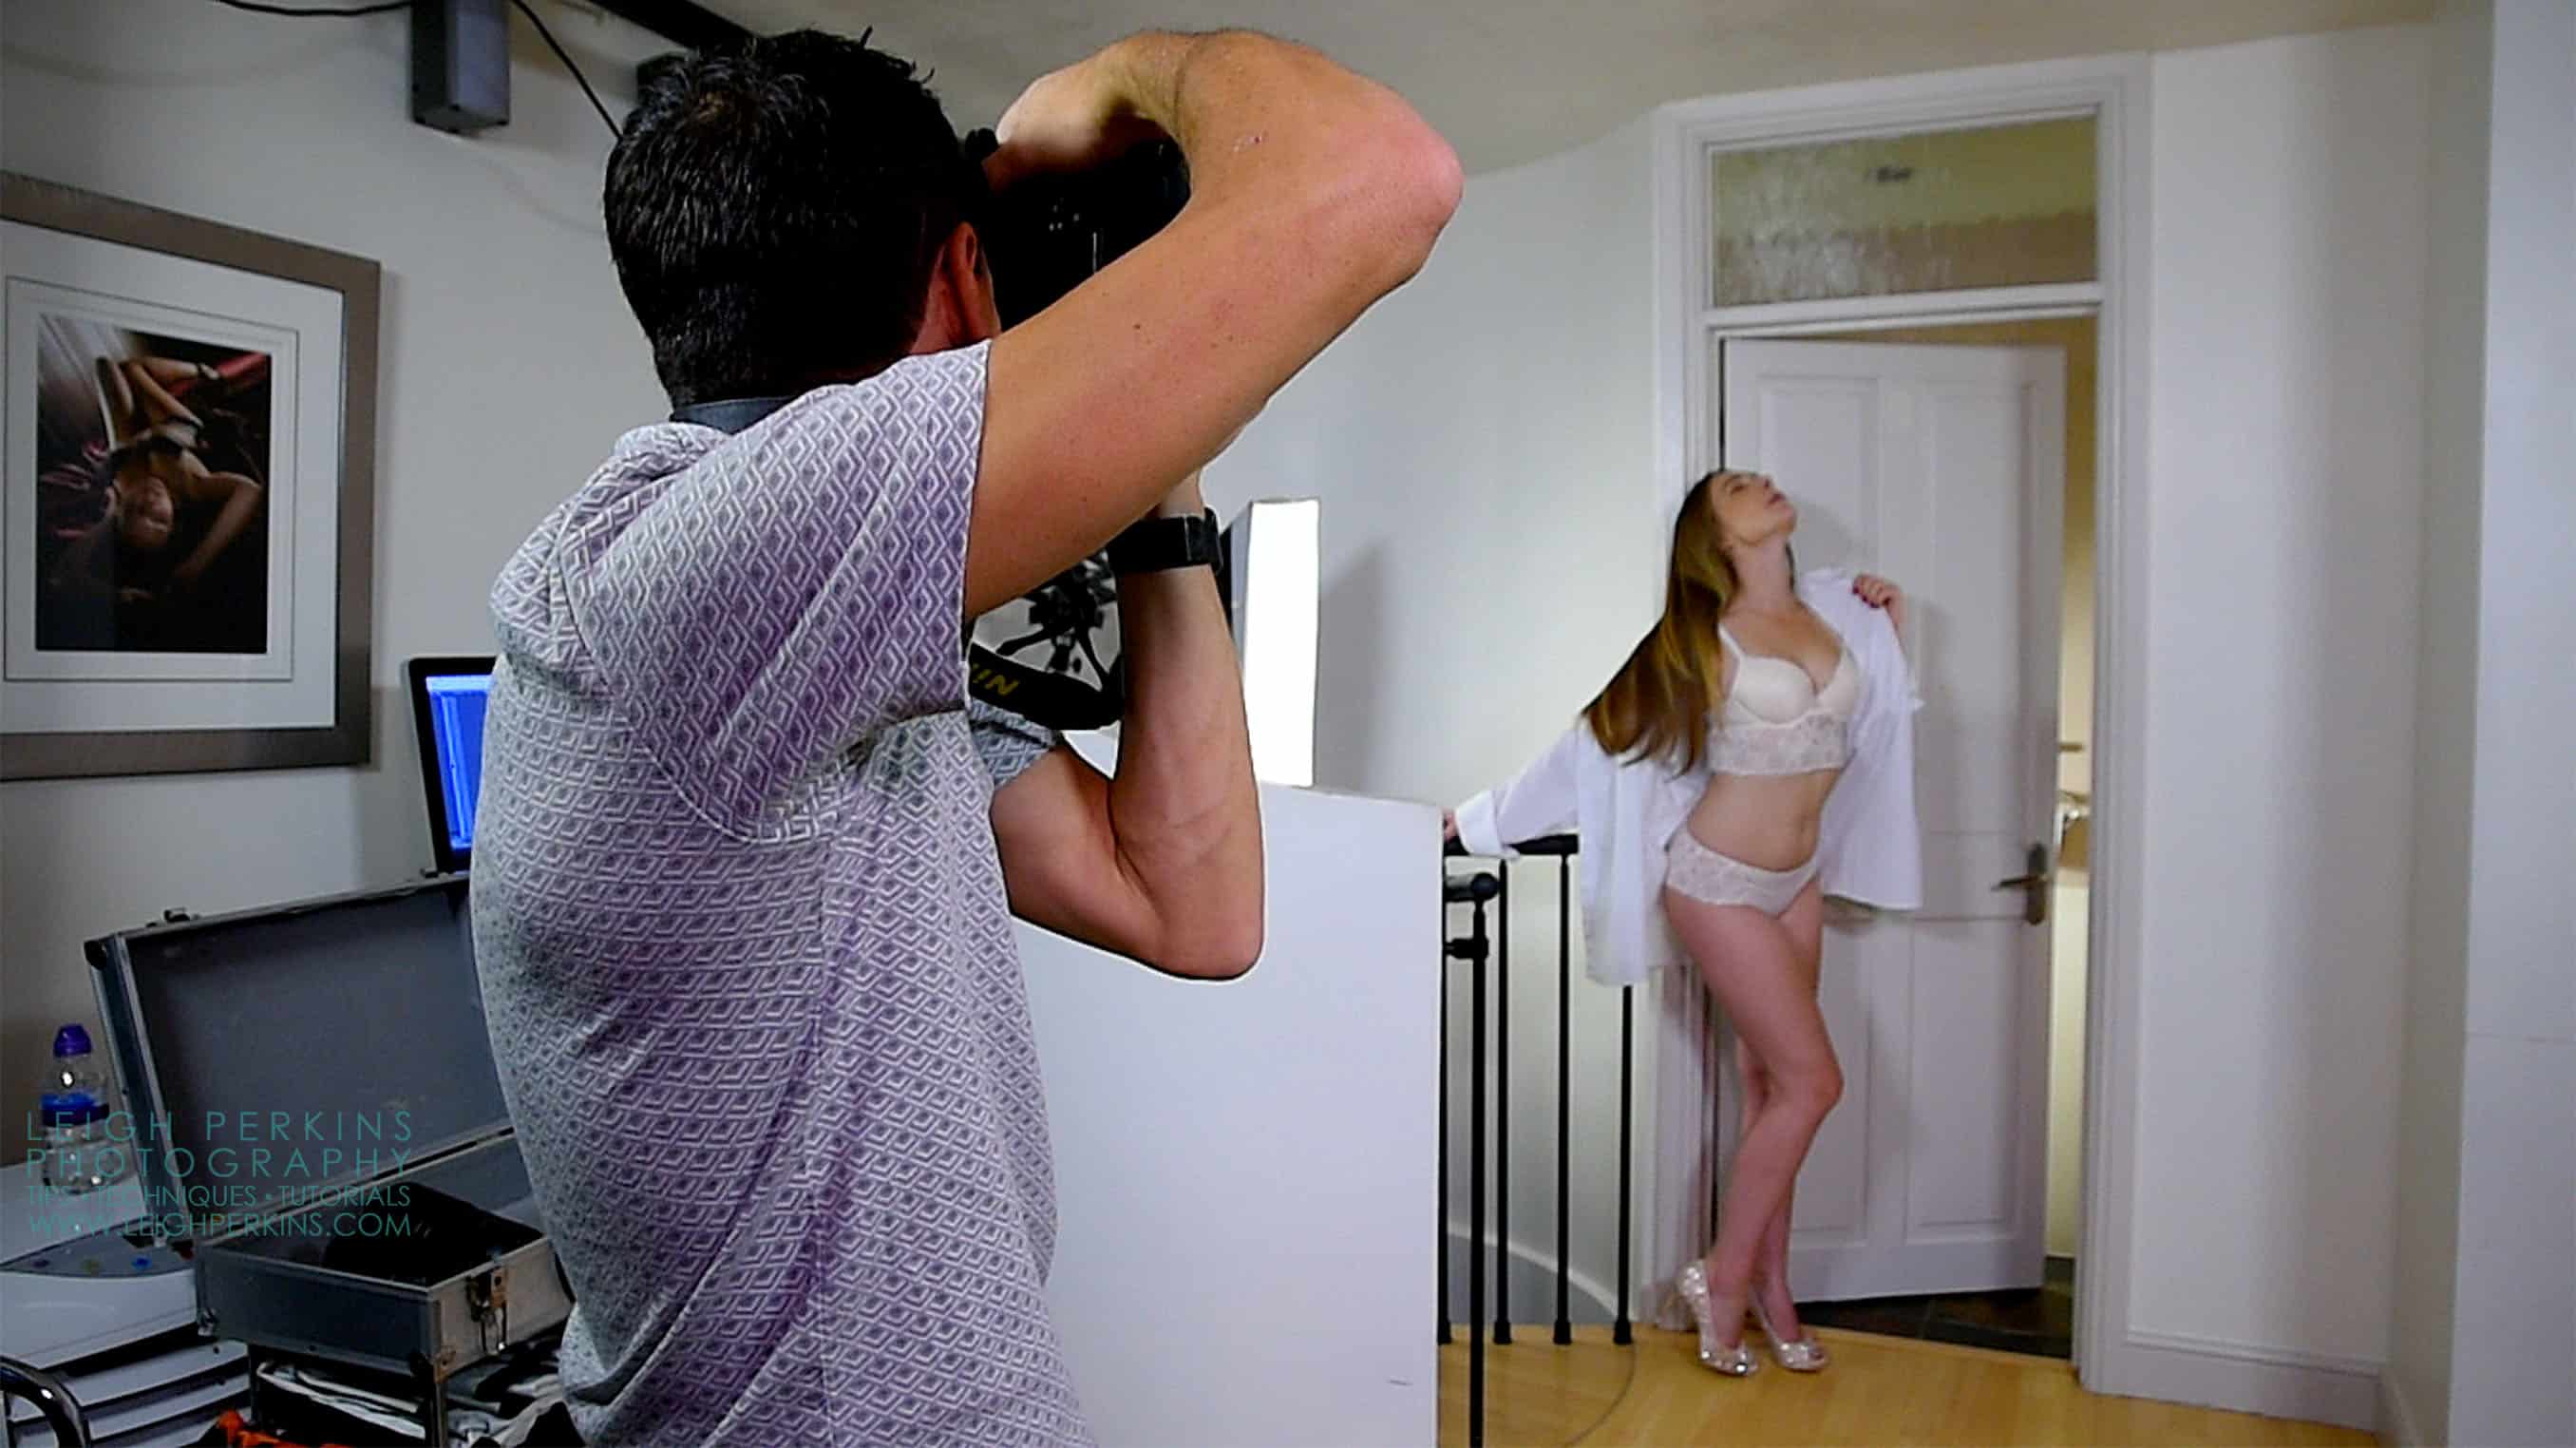
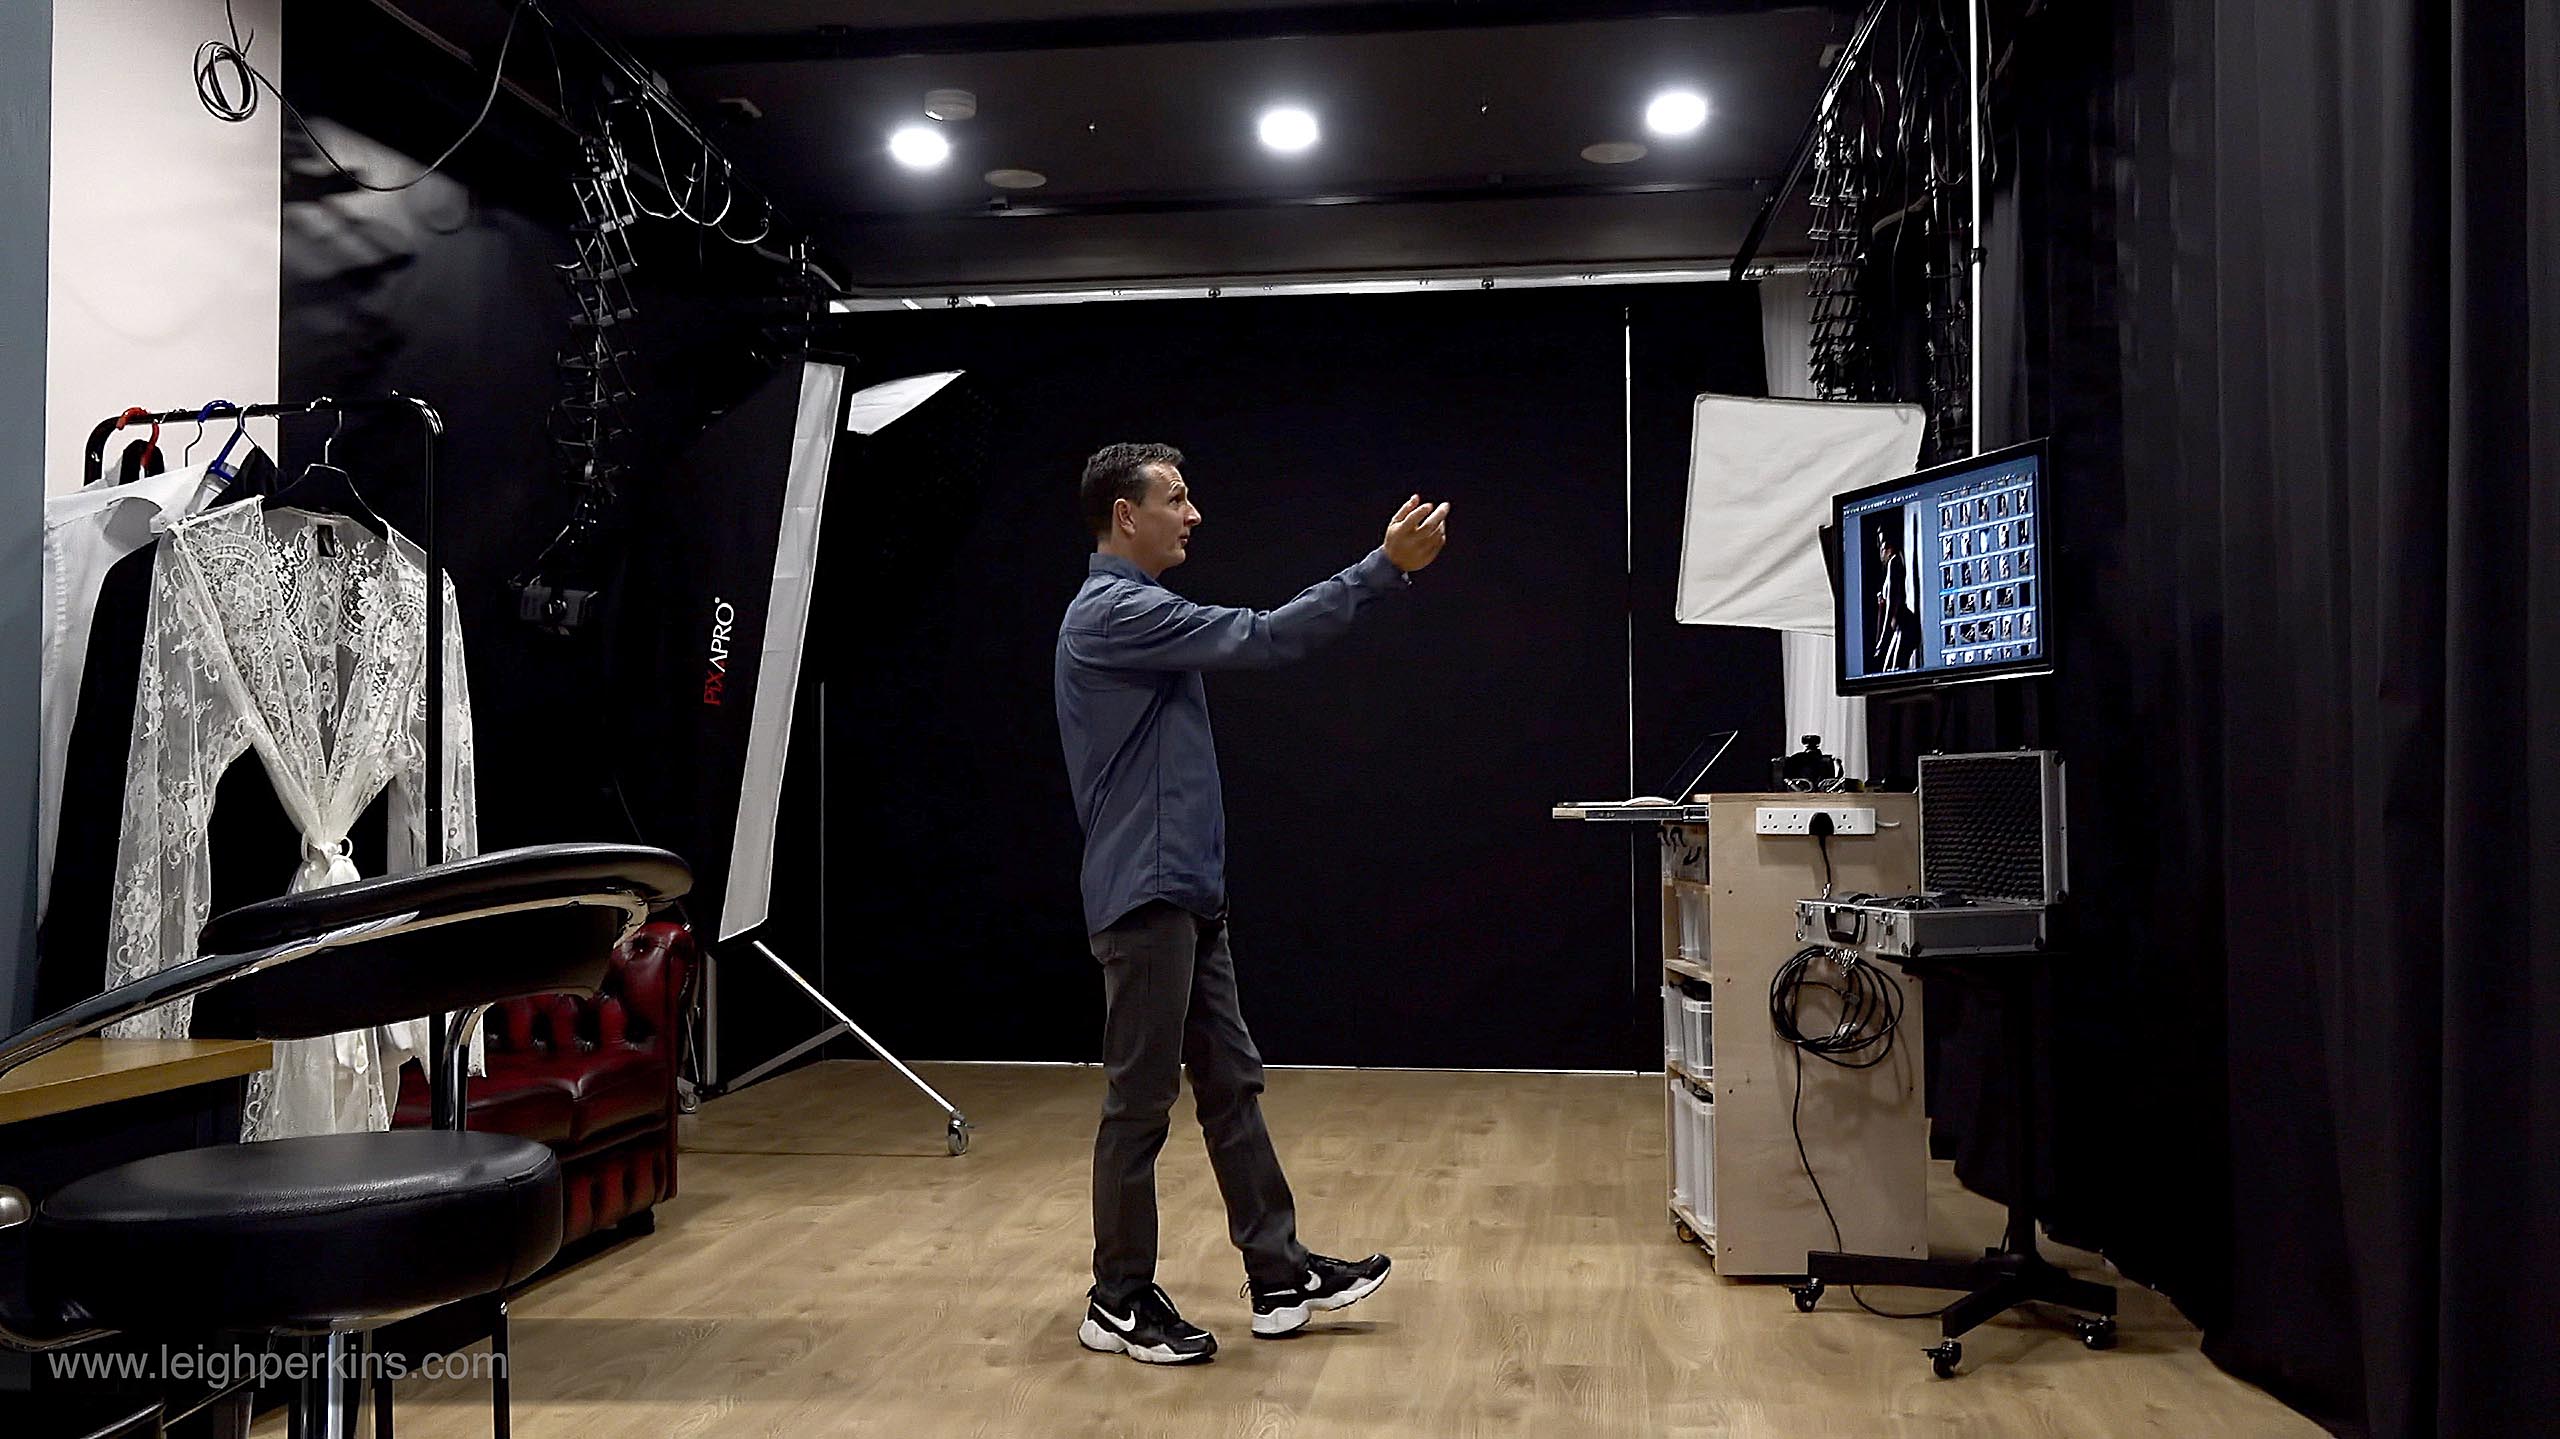
So here’s the basic setup. My doorway is actually the entrance to the bathroom at one end of my studio. One flash unit is placed in the room behind the doorway. I put mine almost directly behind the door and direct the light toward a white reflector of some description, placed close to the door opening. This could simply be a large piece of white card, polystyrene, vinyl or other inexpensive something or other that you have hanging around. Not one for blowing my own trumpet (budget), but the A1 size piece of white card I use is by far and away the most economical piece of studio kit I own. It’s been used at least once a week for this very purpose for the last five years or so during client shoots. True, it’s a bit creased and battered but it still does the job and I have way more exciting things to spend my cash on.
I generally blitz the life out of this reflector by putting the strobe on full power and directing the unmodified light straight at it. This will have the effect of bleaching out any marks or creases on the reflector and and also over exposing any details in the room behind the door rendering them invisible to the camera. This light is bounced off the reflector and pushed through the slightly open doorway bathing our model in a glorious, softish, natural looking light.
Posing the model in this “backlighting” will enable us to create the wonderful silhouettes seen here. Take care to pose your model carefully though. A slight turn to one direction or the other will either help highlight her body tones perfectly, put her in deep deep shadow or plunge her into an overly lit aura of light. In conjunction with this care taking, also consider the cameras position. As you move from left to right and back again and tweak her pose, you’ll soon find that sweet spot where the front of her body is perfectly subtlety highlighted but the back is in sillouhette. Particularly in this pose, look for the back arch that separates her from the door frame. The high heels help accentuate the leg length as does a low shooting angle.
Twice The Light
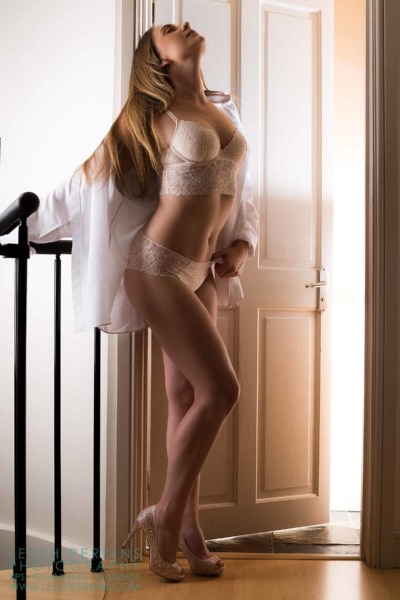
Another option, if you have a little space, is to place a second strobe off to one side of the model. Ideally put a long soft box on this light to give illumination down the whole length of the models body. I place this light at about nine o’clock* (the model being at the centre of the clock, midnight being directly behind her). This illuminates the side of her body and acts as a highlight if she has her back or side to the light. Or, it will act as a main light if she is facing toward it, perhaps leaning on the opposite door frame.
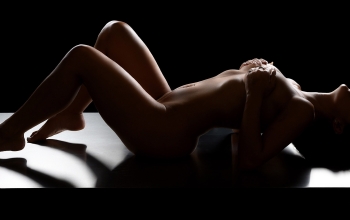
The floor too gives us some possibilities. With our model lying on the floor with her legs up against the door frame, once again she is being lit from the side by our long soft box with her chest and tummy illuminated from the doorway. I particularly like this shot from above so if that’s your thing, have a set of stepladders handy for a little aerial work. Conversely the opposite also works. Drop to ground level, almost with the camera on the floor and use the floor as a foreground drifting out of focus as it gets closer to the lens. (Members can see examples of this in the continuation of this post)
As you can see a doorway has many possibilities. Even if your location doesn’t fit this particular brief there are plenty of other possibilities to explore.
You can see more examples of my studio doorway images in this post in the Members Section which also features images which are NSFW. See them by Joining Here.
Time Check
When using the clock method to describe lighting positions twelve o’clock is directly behind the model with six o’clock directly in front, three at 90 degrees to the model’s left and nine to the model’s right.
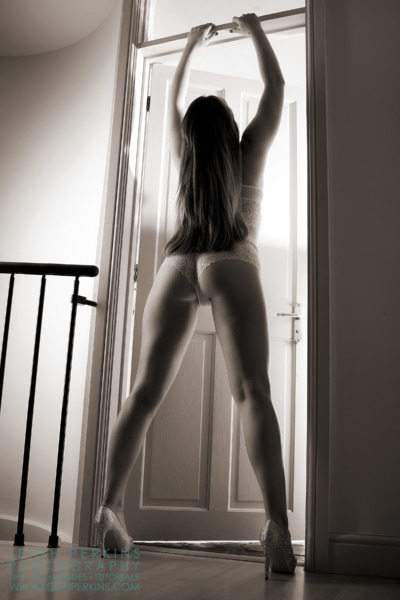
The second part of this post contains additional lighting, shooting and posing tips and images including some NSFW artistic nudity. It is available to members only – not a member? Join here.
Your detailed descriptions of what to do and the results it provides is wonderful Leigh. I can only hope one day soon I can take photos similar to yours! And I don’t know where you you get your beautiful models, but it’s plain to see they know their stuff when it comes to posing! My compliments to them!
Hi, I agree such beautiful setup and models.