Installing presets into Lightroom is a quick and simple exercise but it does depend upon the variant of Lightroom you are using.
Firstly, let’s take a look at Lightroom Classic CC. This is desktop version that most people will be familiar with as opposed to Lightroom CC the cloud based version that you can also install on your mobile devices. Wouldn’t life had been a whole lot easier if they’d given them more identifiable names? Unfortunately Adobe in their wisdom decided to keep the names so similar that it can be more than a little confusing to the uninitiated.
Lightroom Classic CC on a Mac or PC
- After downloading the zip file, locate it on you PC or Mac, unzip it and copy the folder by highlighting it and then pressing “cmd C” on a Mac or “ctrl C” in Windows.
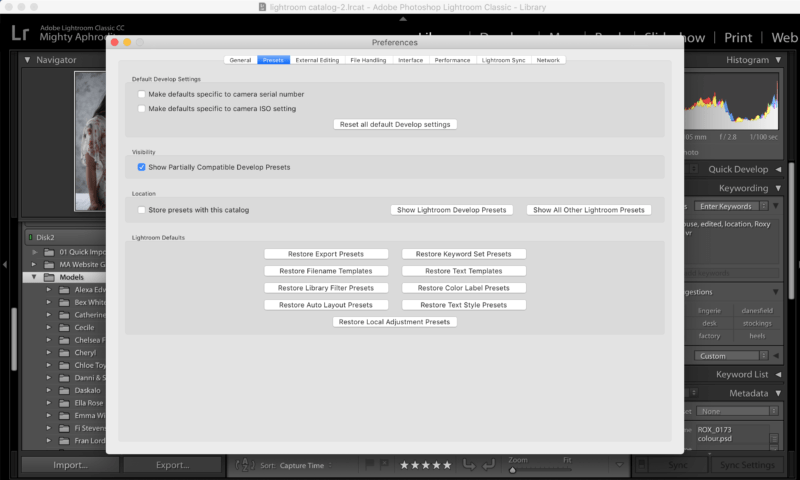
- Open up Lightroom and go-ahead to the “Preferences” panel, that’s top left, Lightroom, Preferences and select “Show Lightroom Develop Presets”. If all goes well this will open up a folder on your Mac/PC with the name CameraRaw. In here you’ll see a folder named “Settings” and in here a folder called “User Presets” Open this folder and then paste your downloaded folder into this settings folder by pressing “cmd v” or “ctrl v”. Hey presto your downloaded folder will appear as if by magic. You’re nearly done!
- All that’s left is to go back to Lightroom, close it down and restart it. The last step does seem less than efficient and not exactly high tech but unless you shut down and restart Lightroom you won’t see your new presets!
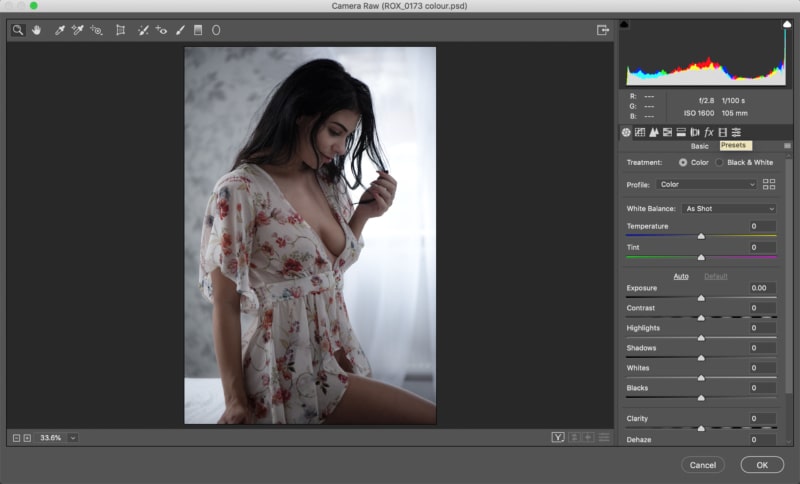
So you’ve restarted Lightroom and your presets are happily installed and you’re good to go. Click away and apply your favourite settings and create some masterpieces. However, if you’re also a Photoshop user you’re not quite done. Go ahead and either open up a RAW file using Adobe Raw (most RAW files will open with this automatically) or open any old file in Photoshop and got to Filter>Camera Raw Filter. Once here look over to the far right of the screen just above the “Basic” settings sliders. Here you’ll see what looks like three horizontal lines next to the film strip icon. That’s your presets pane. Click it and hey Shazam if all has gone according to plan you’ll see your newly installed presets in here too and you can use them in exactly the same way as you do in Lightroom…brilliant!

Lightroom CC
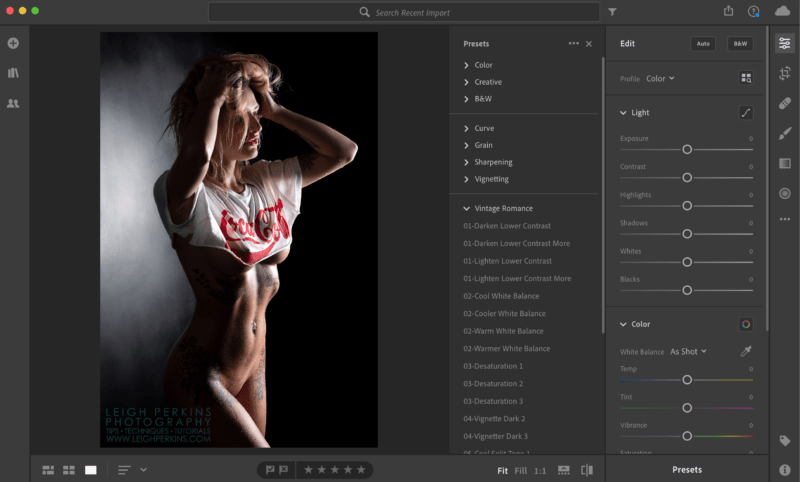
So if you’ve ventured into the realms of the cloud and have either put your library of images in the wonderfully named “fluffy” space or you just want the convenience of editing your files on the move…and why wouldn’t you? Then I have good news for you. Your brand new shiny presets that you’ve just downloaded can also be installed in the Lightroom CC desktop app. Once installed here they will also be available on your mobile device, phone or tablet without having to do another single thing. The easiest way is to open up your Lightroom CC app on your Mac or PC. Go to File>Import Profiles or Presets. Navigate to where you’ve stored you downloaded presets folder and select it. Job done. Go into the app and open up an image. Head over to the right side of the screen and look for the three funny looking horizontal lines with little circles on them. Click it and then select “Presets” from the bottom of the screen to reveal the presets tab. Bingo! There are your newly installed presets. Do the same on your tablet or phone and you’ll be editing and creating on the move like a pro! Enjoy!


