
A word of advice! If you’re ever tempted to try and re-create this studio set…don’t! Or at the very least do not use spider web spray. Honestly, it’s the stickiest stuff known to mankind – and it gets everywhere! Possibly in the intervening years between 2006 and the present day, NASA may well have come up with a less sticky viable alternative but good luck testing it out!
Incy Wincy Spider
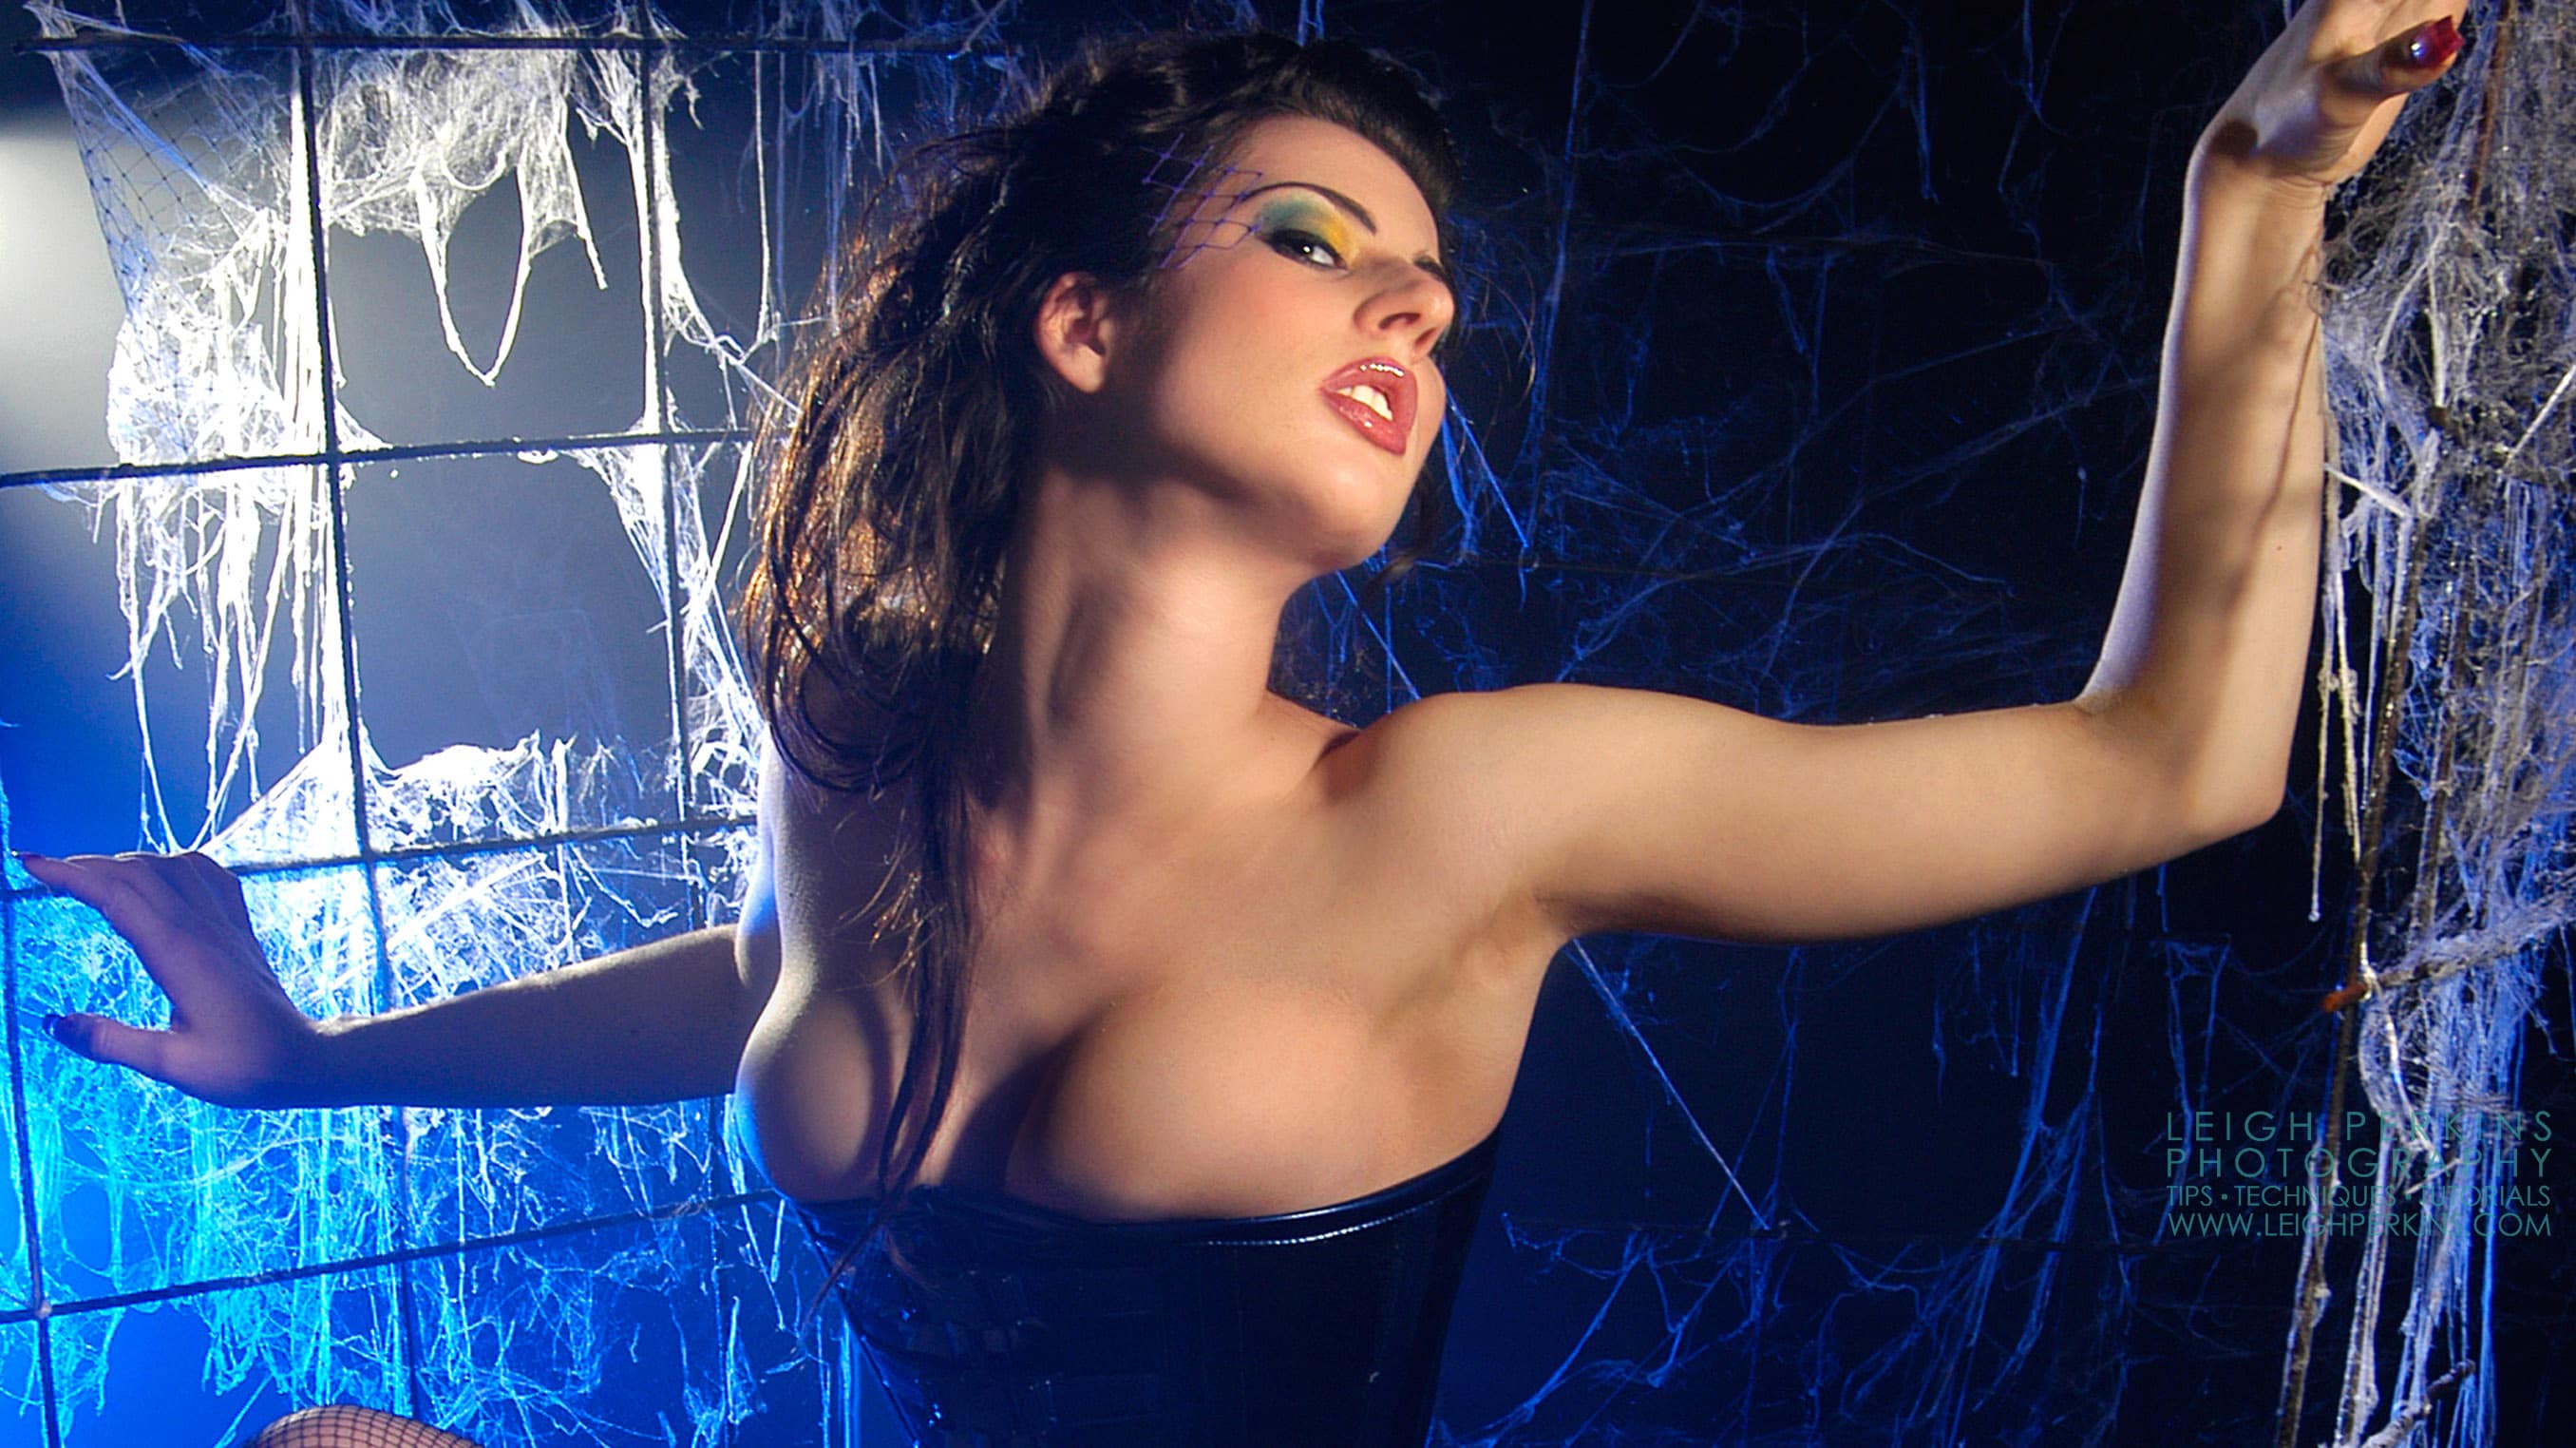
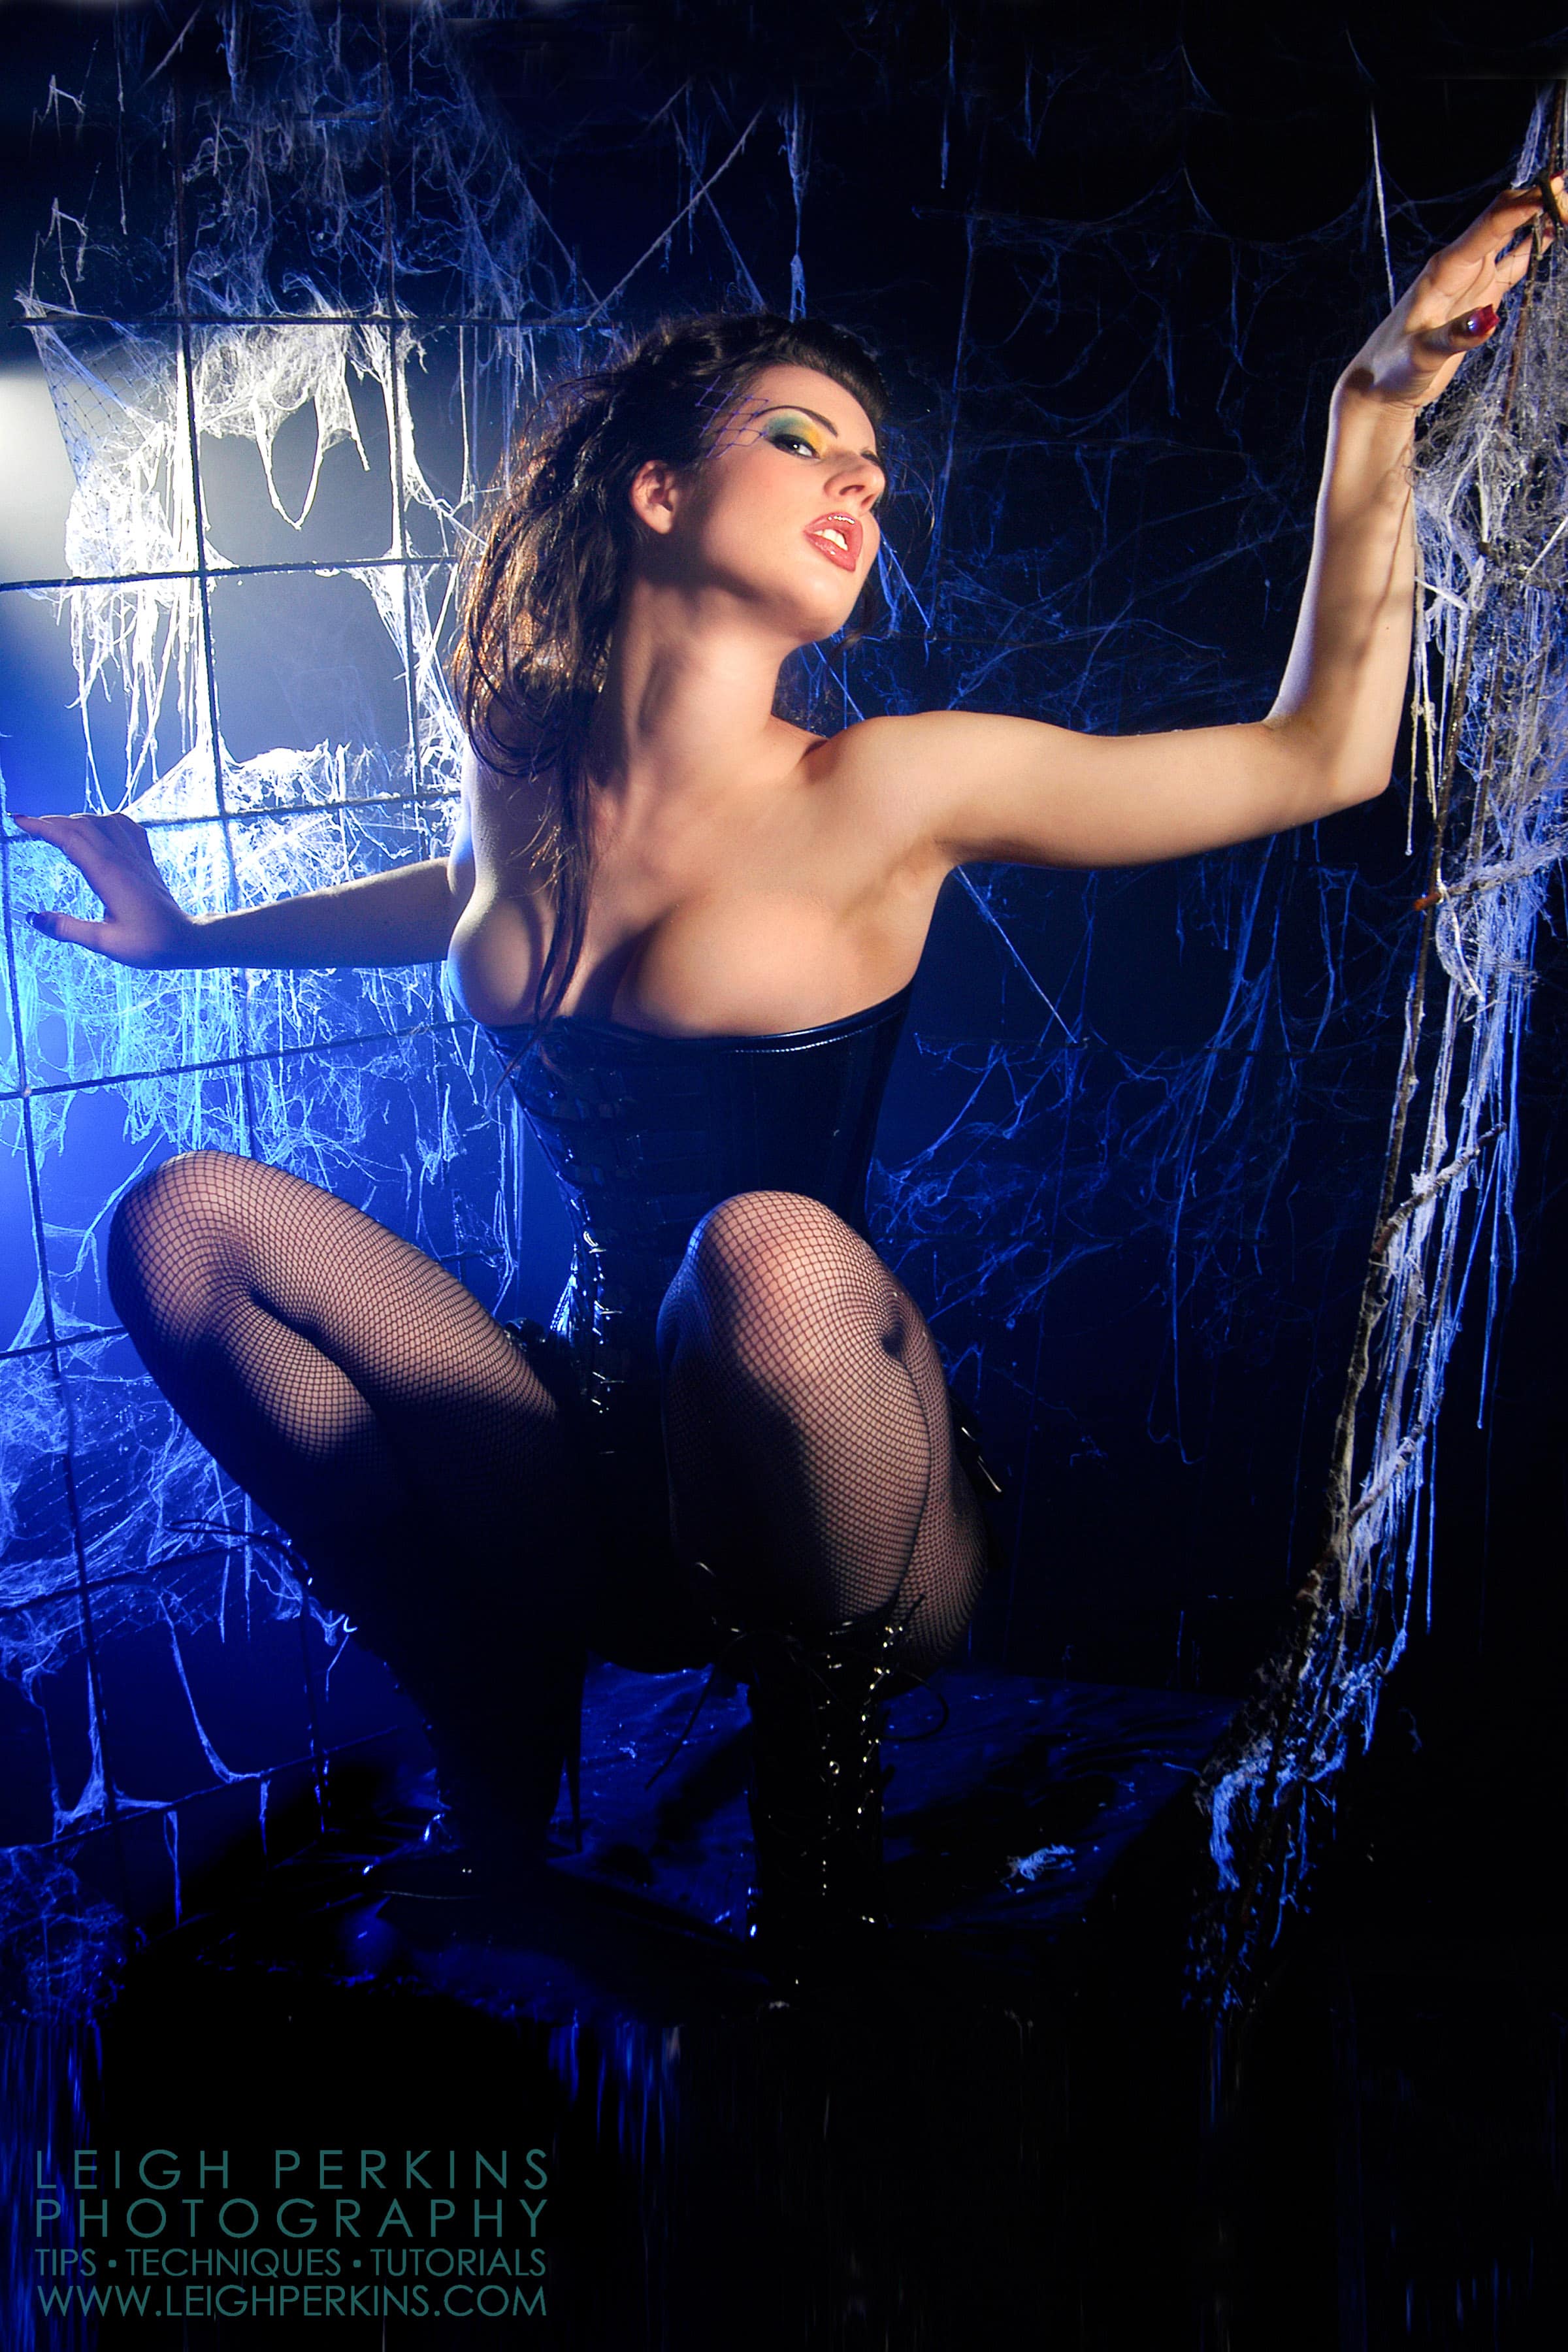
So my thought process, albeit as usual a little vague, was to produce a kind of “spiders lair” type setting in which to photograph a latex clad model. I wanted to keep everything fairly low key and dramatic using some coloured lighting to add mood and a smoke machine to help capture the light of the gels. Not vague at all then actually!
See how the light “fills” the air because of the smoke.
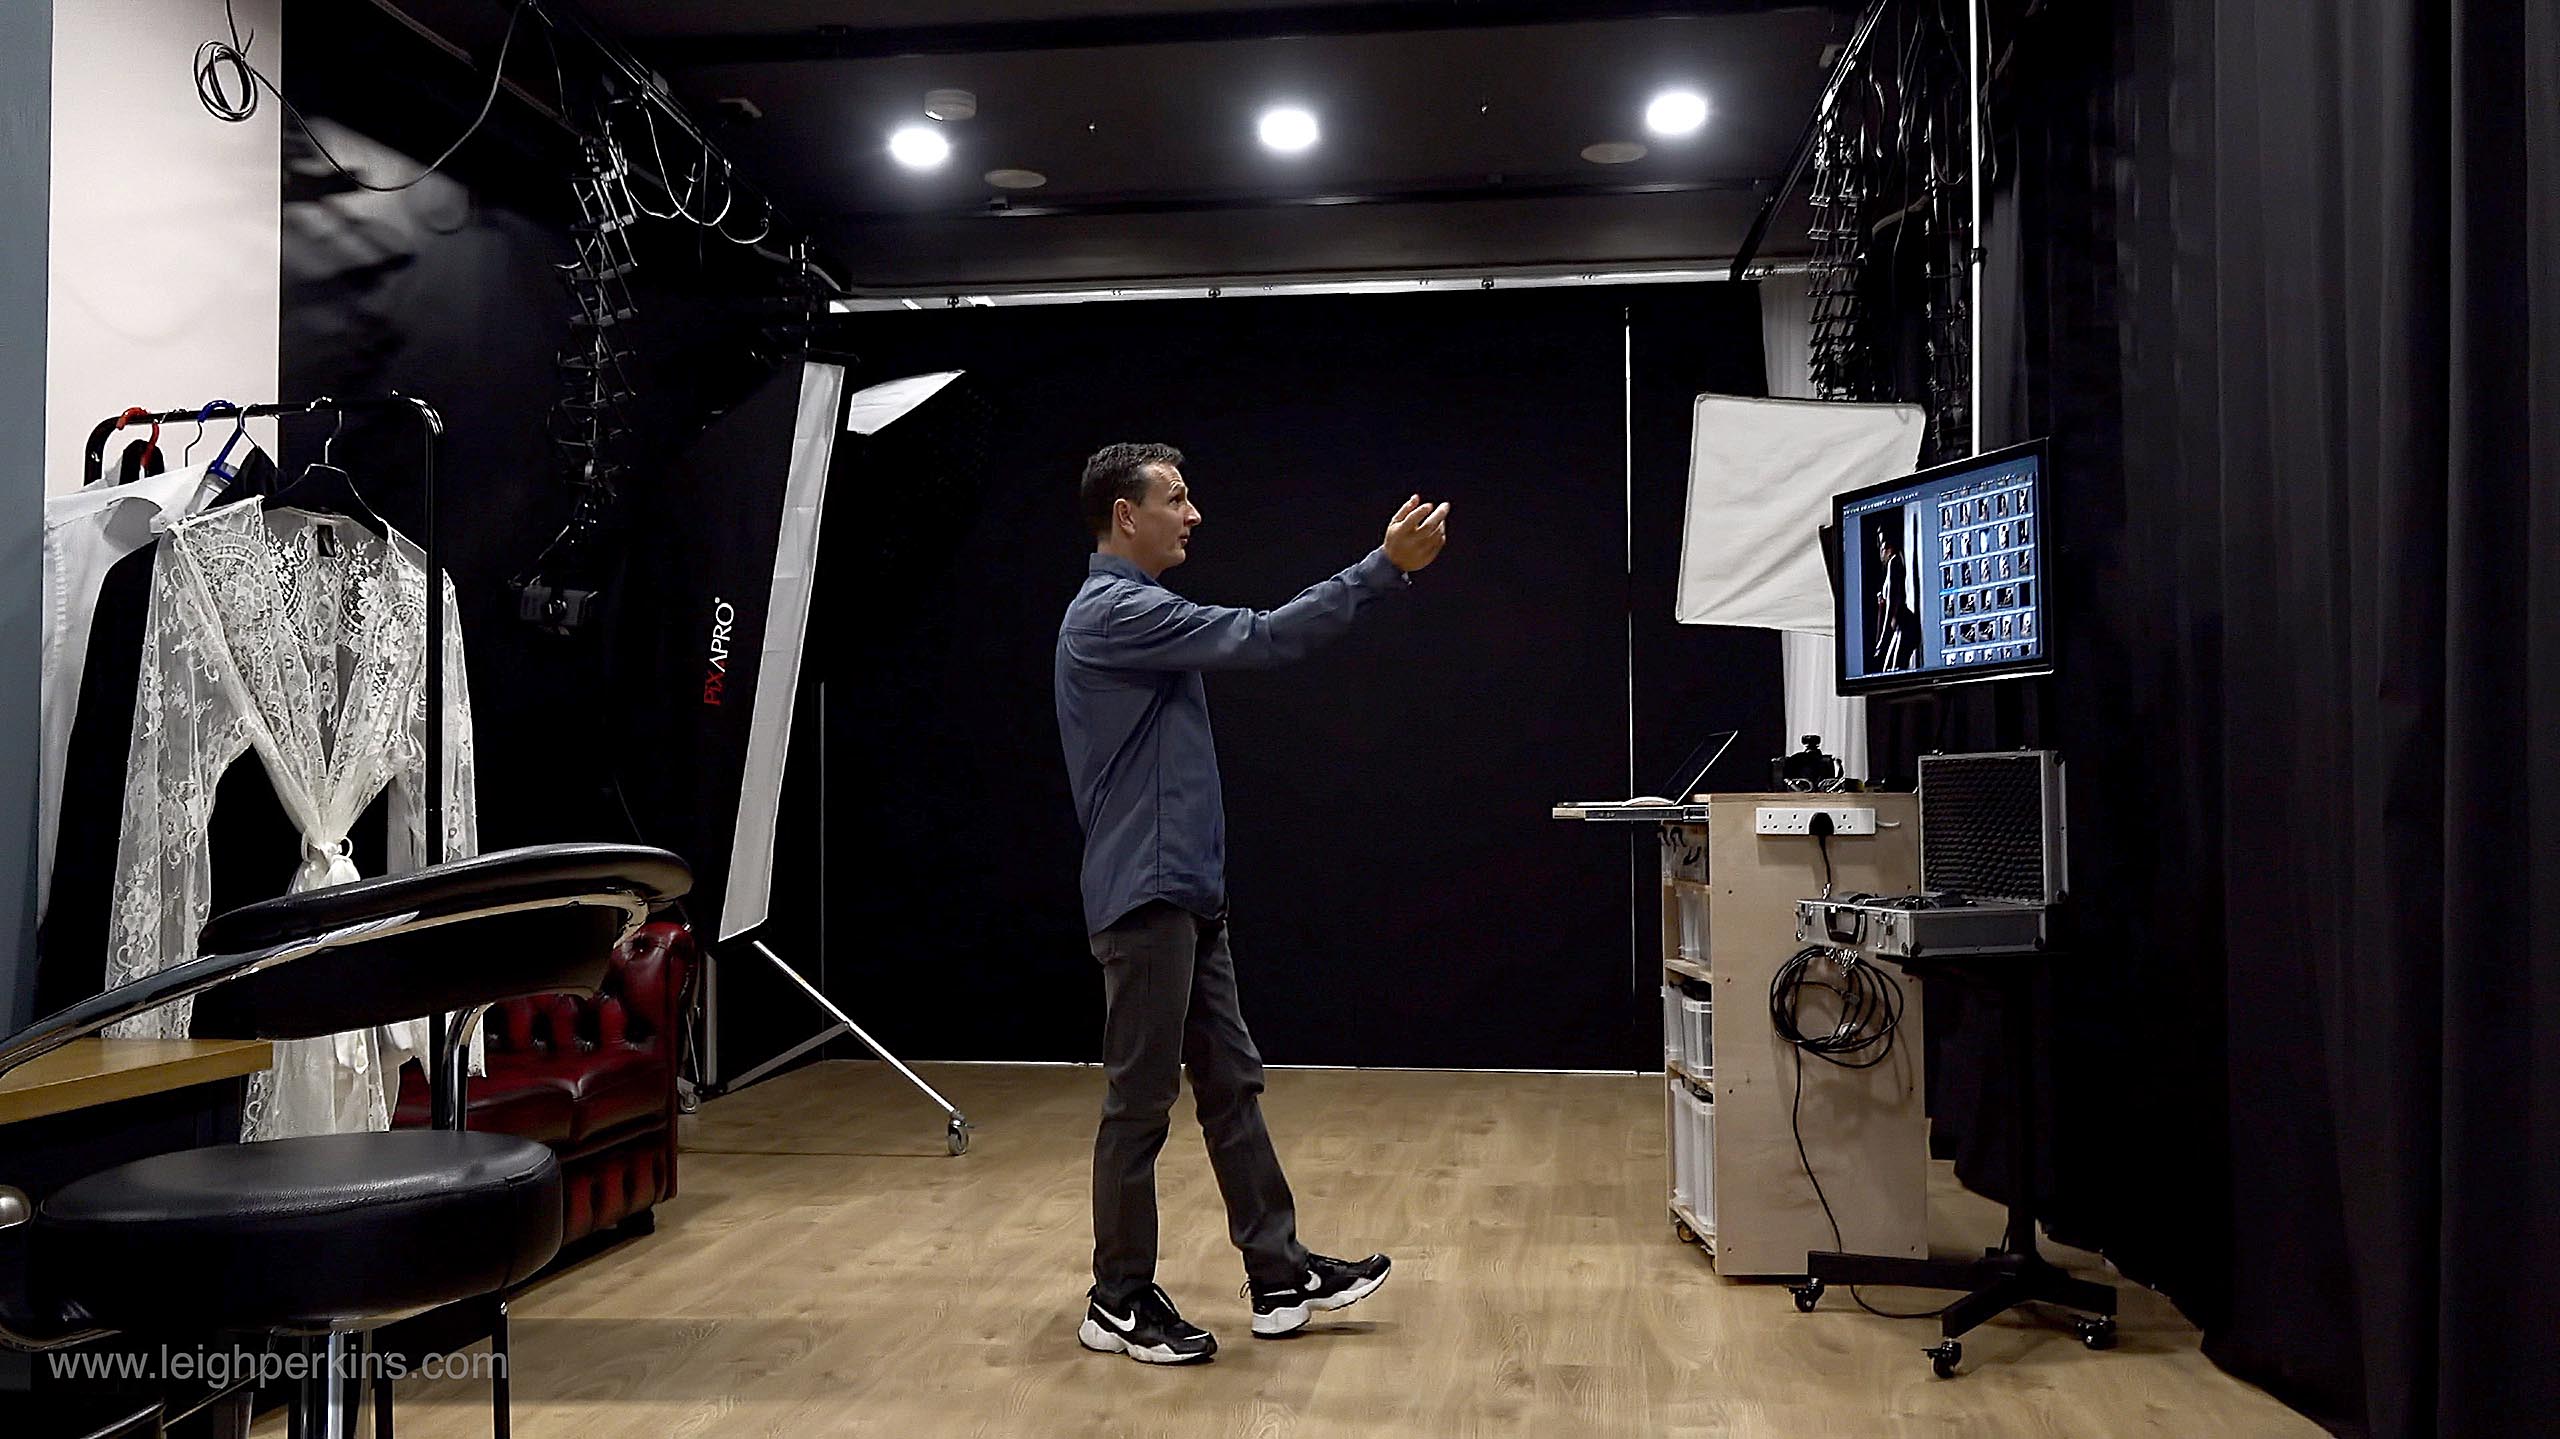
The starting point was, unsurprisingly a blackout studio so there would be no chance of seeing unwanted background paraphernalia. This included the floor as I didn’t want any reflected light or colours bouncing into the scene.
Next, and rather bizarrely, the thing that gave me most of the inspiration for the shoot was a sheet of steel rebar mesh. Yep, the sort of thing you would use when constructing foundations for a house, or oh I dunno, when building a studio! I’d had this stuff lying around for a few years (seriously, actually left over from the build of my studio) and for no good reason at all had it in my head that I should use it in a shoot somehow.
Suspending the rebar from hooks in my studio ceiling was a matter of trial and error but I eventually settled on a suitable position for the now two smaller sheets of rebar. Give me an angle grinder and I’m a happy chap! I had them positioned so that there was enough space for the model to pose between them without being crowded but she could also use them to pose with – very gently as they would sway with the lightest of touches! The trick was to hold them in place without the fixings being in shot. For good measure I hung some chains from the ceiling too to give the poor unfortunate model something more substantial to cling to.
Next came the sticky stuff, well some it anyway. I started by gently spraying the foamy, sticky, stringy, web stuff meticulously trying to re-create convincing spiders webs, albeit this spider would have been the largest in history based on the size of his threads. It quickly became apparent that care was not the order of the day and random, carefree blasts with the spray can were much more effective. Leaving the web casting half done I moved onto lighting.
One, Two, Three Lights
Three lights were going to needed on this job and it really was going to be suck it and see – experiment to see what transpires. First, was my main light off to the model’s right at about the three o’clock position, Barn doors, and some diffusion paper to take the harshness out of it. Second, was off to the model’s left, almost opposite the main light. This one too had some barn doors on it but I taped a blue gel over this to help achieve the dramatic, cool look I was aiming for. I then removed the tape and replaced it with bulldog clips…when will I ever learn that taping things to barn doors that get very hot does not work! ?
Time Check
As always the model is the centre of the clock. In these images 12 o’clock is directly behind the model and the camera at the 6 o’clock position.
For my third and final light I used a snoot with no modification. This was placed behind the model and to her right at about the 11 o’clock position. This would add some strong highlights onto her upper body and would contrast nicely with the blue hitting her lower down.
Something in the Air?
Now you might think that would do it but sadly you’re mistaken. I wanted to add even more atmosphere by creating volumetric lighting, the sort of thing you see in the movies, the shafts of light visible in the air as they come through a window. So to achieve this of course you need something for the light to react with in the air to make it visible. Bring on the smoke machine! Getting the right amount of smoke in the air was once again trial by fire. Too much and it was just like shooting through fog which created some very flat, pea soupy, murky images. Too little and the lighting didn’t play off the air as it should. Just right and wow! The blue light contrasting with the white light from the snoot was just awesome. The blue in the air made the images so much more atmospheric than just having the light hitting a surface. I had to be careful to not over do it though, subtlety is often the best policy. The best advice I can give here is to keep the smoke machine at the back of the set so the majority of the smoke stays behind the model with just a little drifting forwards toward the camera. Even then regular breaks were taken to open some doors and windows to clear the air before starting again. It’s also very handy if you have a spare body to act as a “wafter” to help disperse the smoke nice and evenly. I suspect a “wafter” is not the official title given to such an assistant but I think you get the picture.
Well, with lighting sorted I now turned my attention back to my newly acquired web spraying skills. Now the lights were in place I could see, more or less, where I needed extra web strands. I even placed a few strategic strands of cotton between the rebar to give the sticky web stuff something to cling to, creating more web structures.
I was so fortunate at this time to be in contact with a company specialising in latex clothing. Even more fortunate that they lent me several pieces of latex lingerie for the shoot including basques and a corset that matched our newly built set perfectly. All I had to do was avoid getting any of that damned sticky stuff all over it!
Once the test shoots were in the bag it was just a simple case of shooting the heck out of it. Care was taken to reset the lights if the pose changed much as they would miss their intended target. This was particularly so with the snoot light having such a narrow output.
All in all it was a highly successful shoot. The set held together… just, although it was case of tip toeing around so as not to disturb the precariously suspended rebar and the model was under strict instructions not to hold on to it too tightly for fear it would come crashing down on top of her. To be fair the shoot itself was fairly quick as there are only so many poses you can produce in such tight, precarious space. By the end of the shoot we had avoided serious injury or insurance claims, now all we had to do was clear up all this sticky stuff.
Seductive set Leigh, perhaps a little busy with chains and backdrop. Love the basque.