Size Matters?
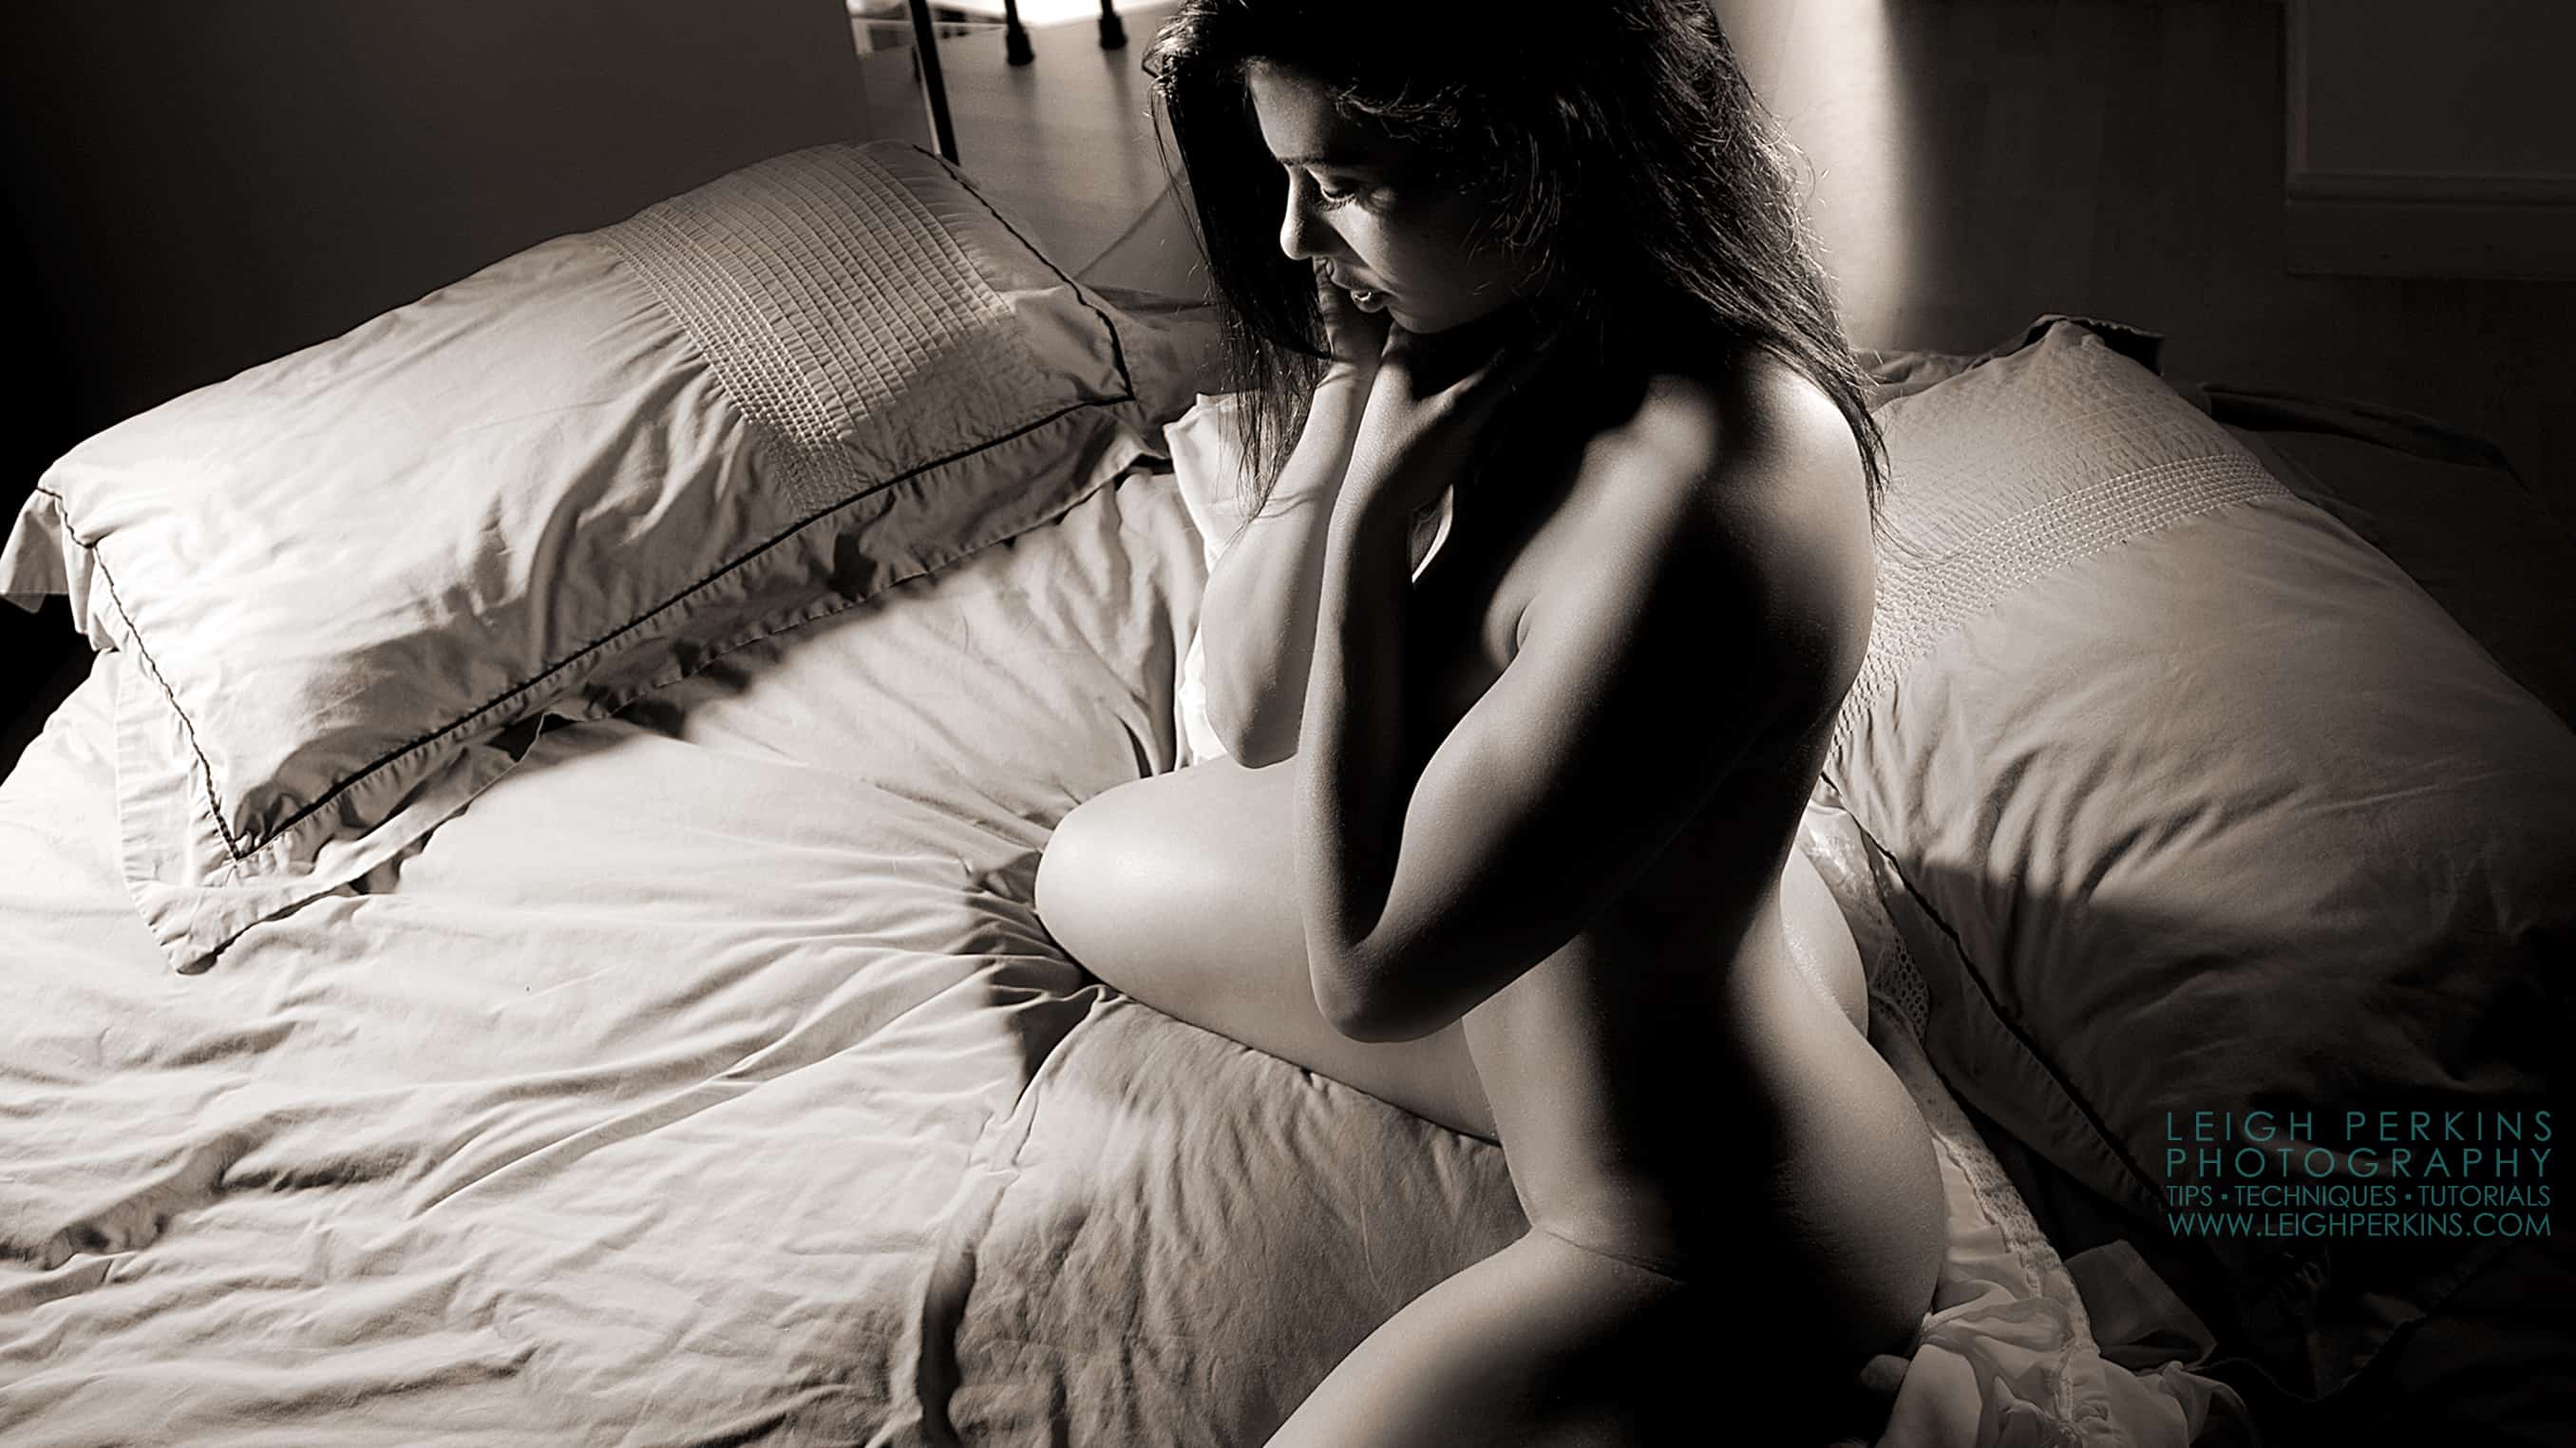
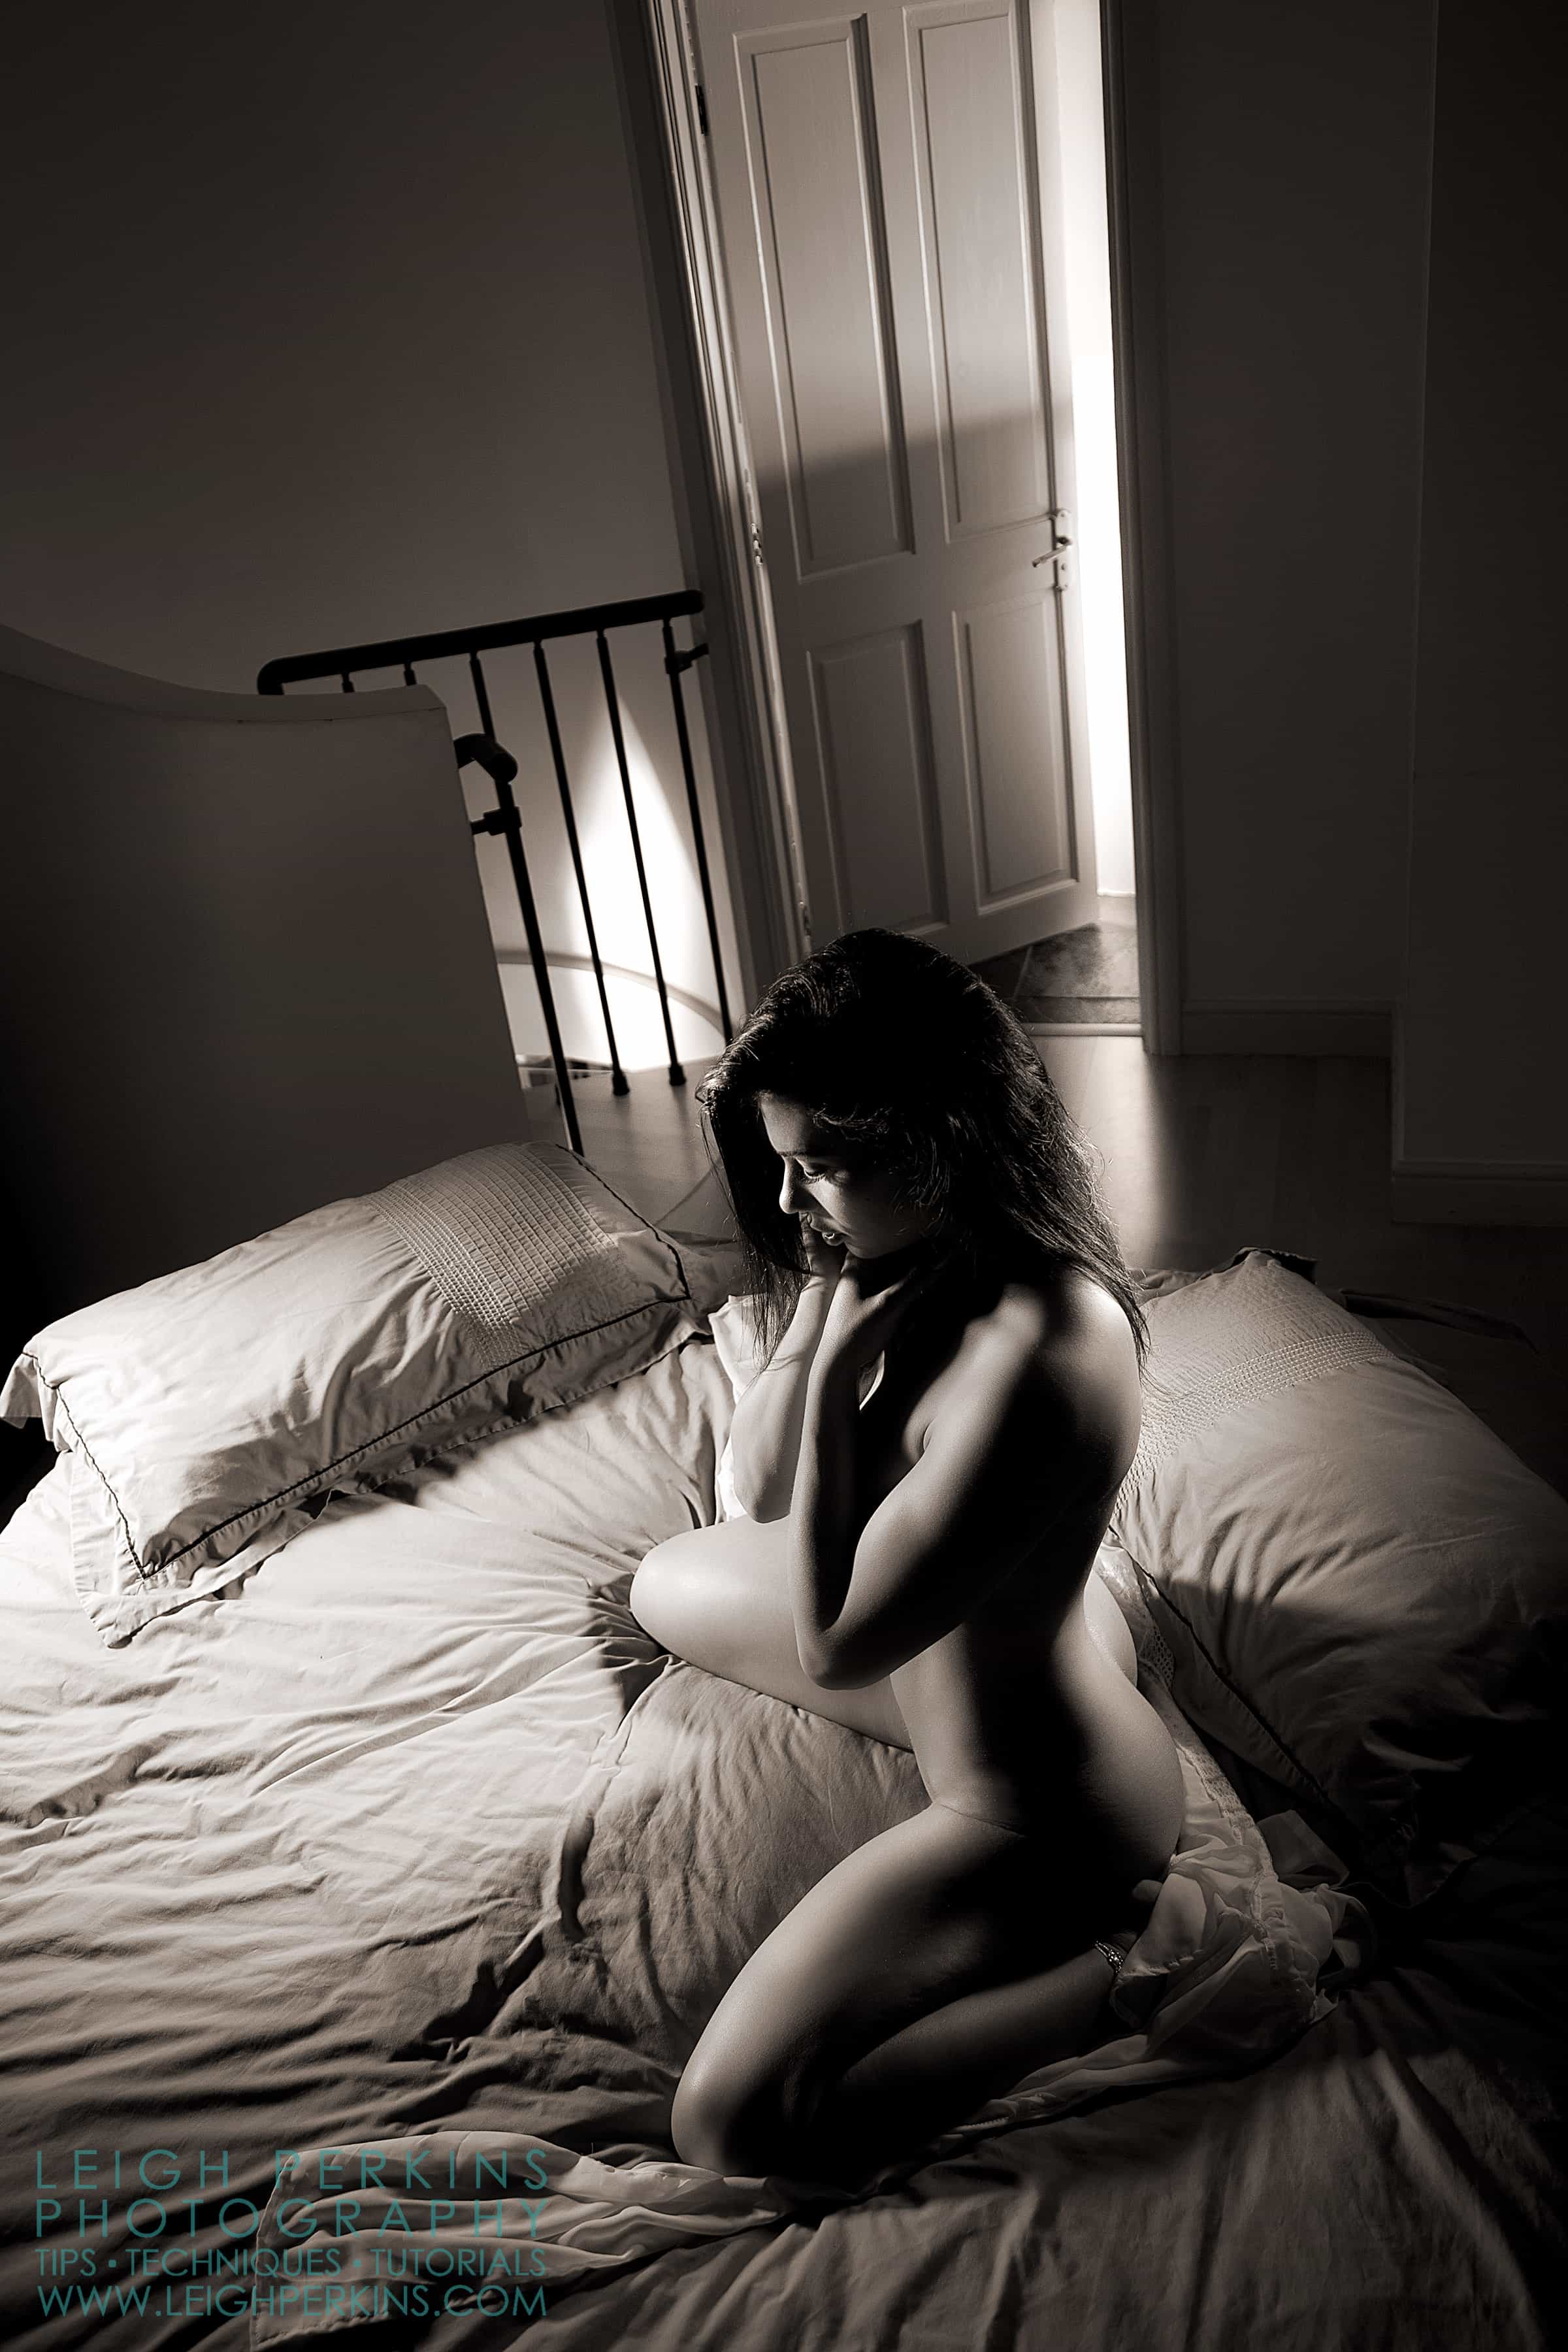
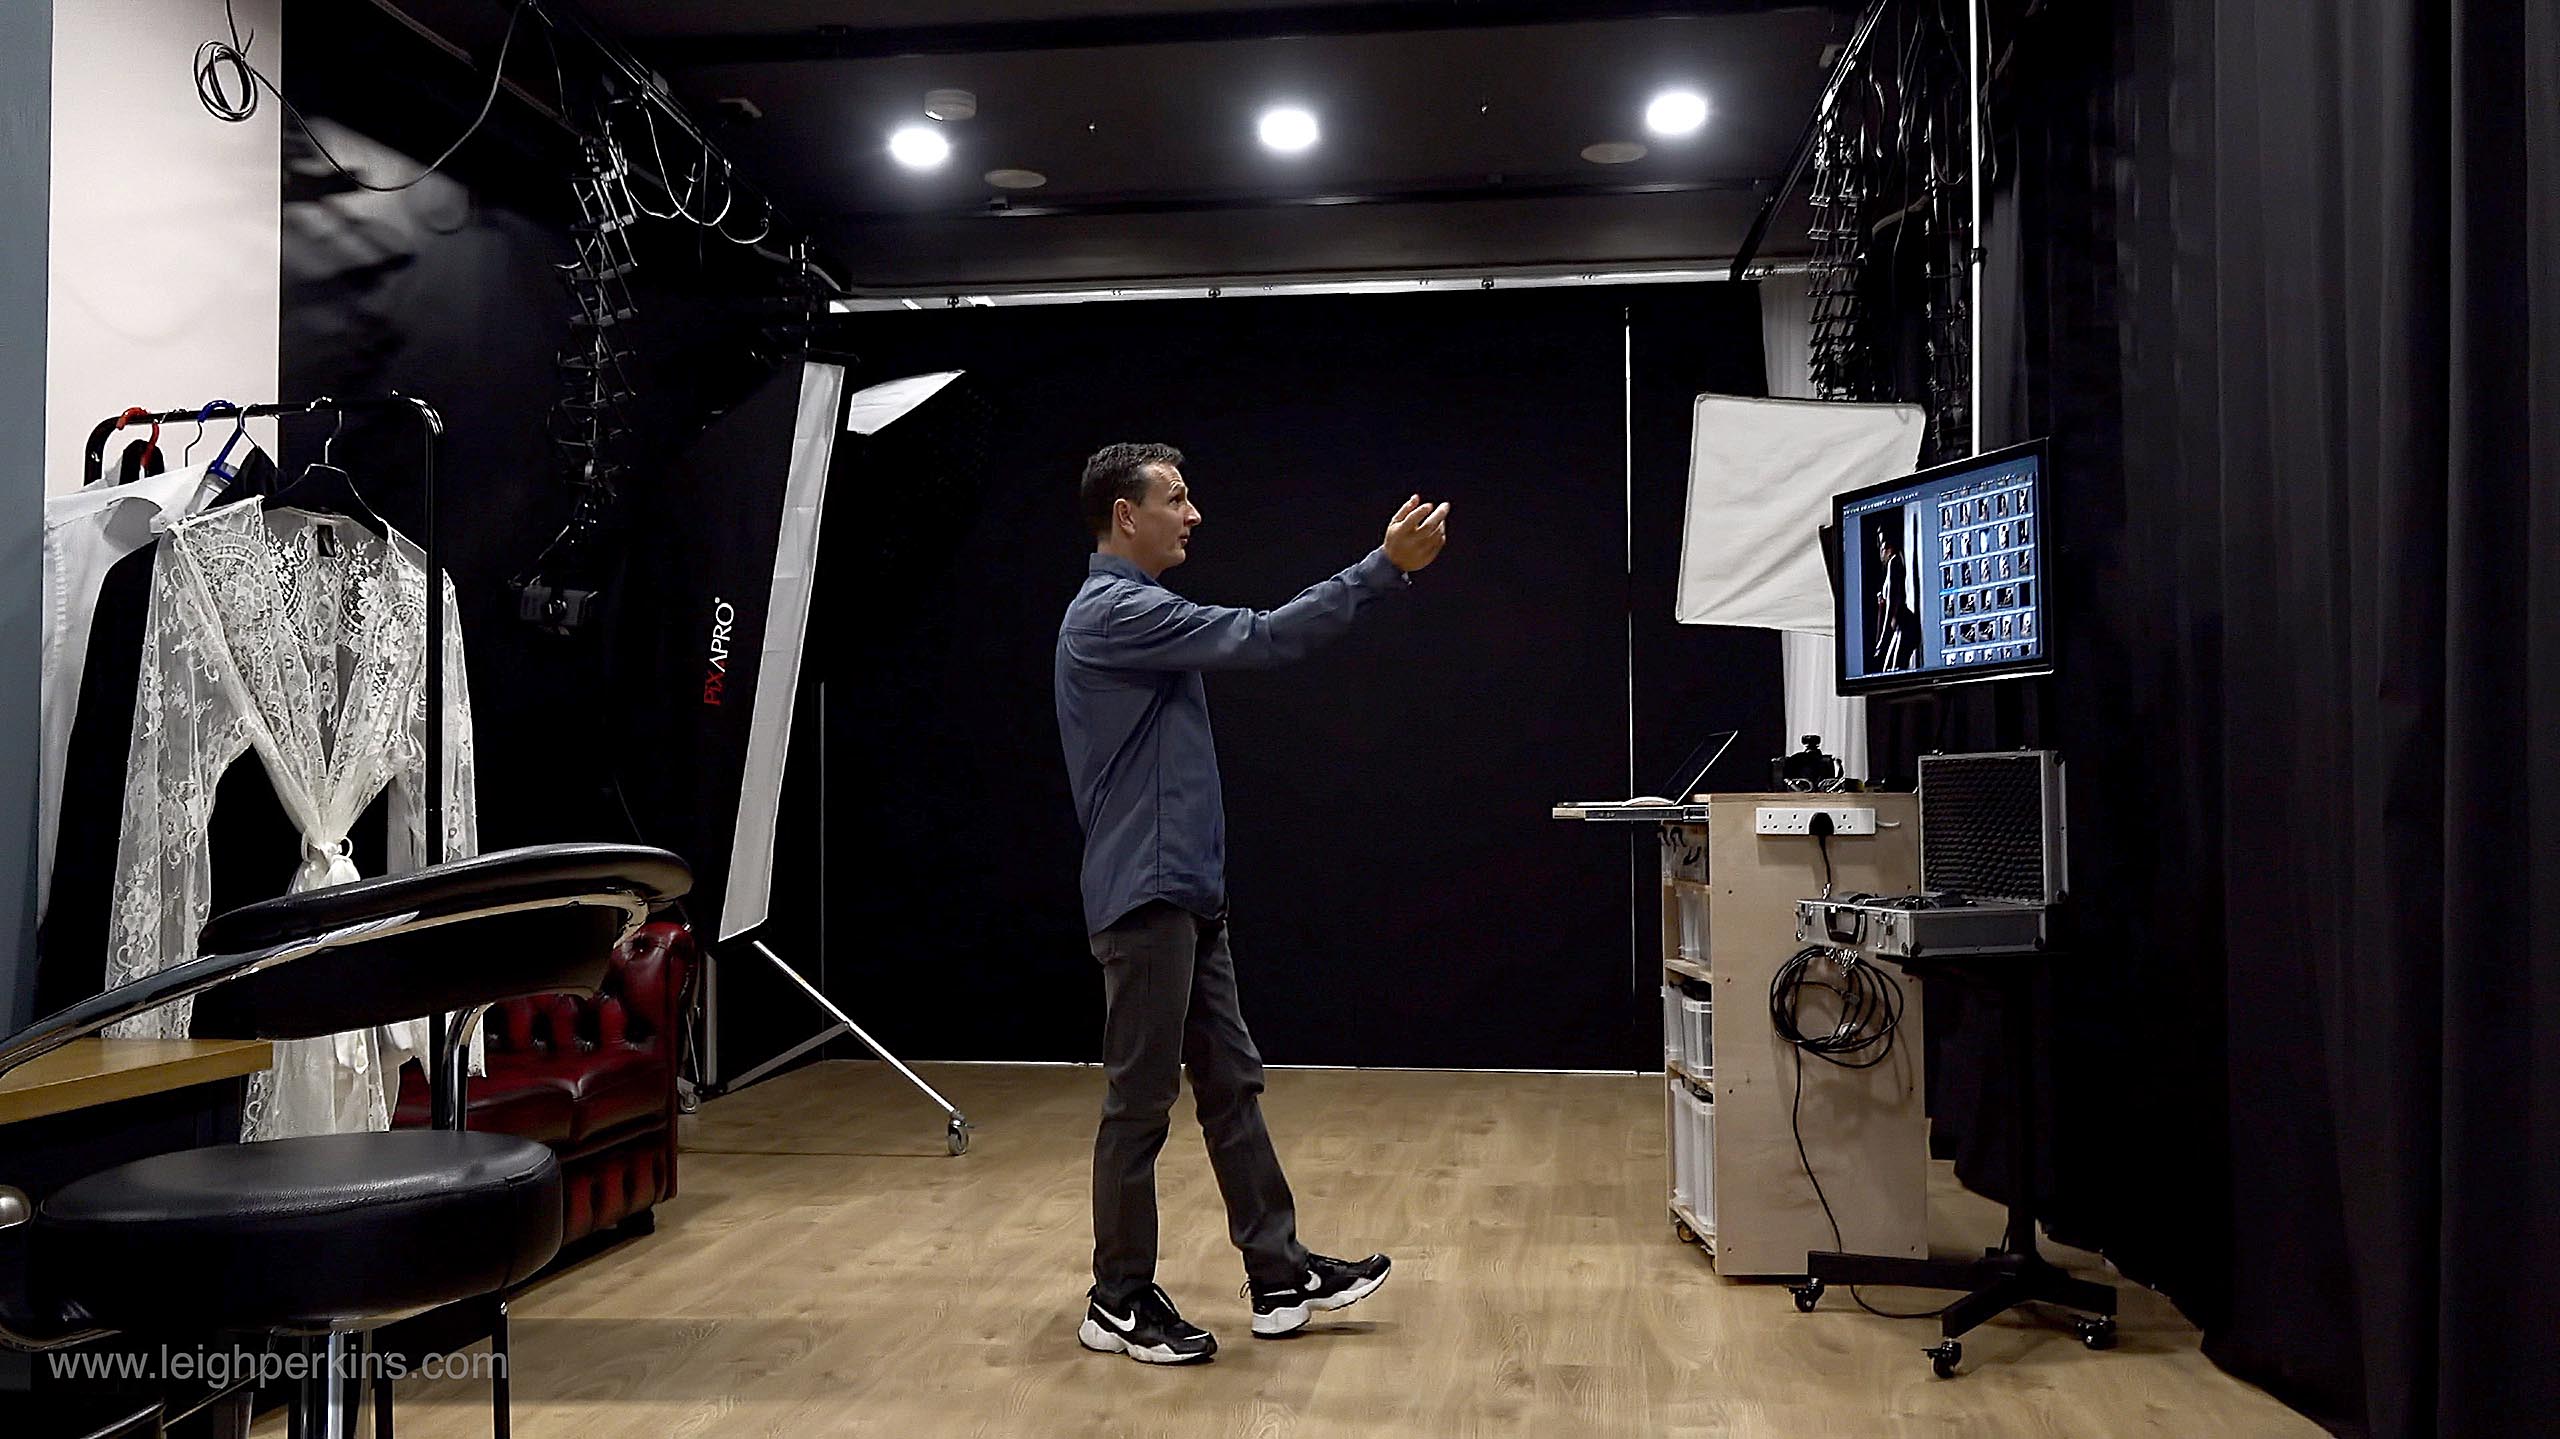
I’ll be completely honest with you here, this lighting setup pushed the boundaries of my little studio to it’s limits…literally. If I could have bought an extra eight inches I would have and I’d probably have parted with a large stack of cash to do so. I can almost hear the chuckles and clichés being echoed as I type. An extra eight inches you say? Chuckle chuckle. Seriously, jokes aside, that eight inches of extra studio width would be seriously handy – in this setup I actually had someone holding the strobe back against the wall to get it as far away from the model as possible! You see, the closer the light is to the model the less spread you have and if you want to light her hair, down her back all the way to her bottom then more distance is what you need. Anyway, enough of the whining and on with the techy stuff. Pay attention now, there are four lights to deal with here!
Lighting Order
Time Check
As always the model is the centre of the clock. In these images 12 o’clock is the doorway directly behind the model.
Firstly, as I nearly always do I set my main light, the one that’s going to be doing most of the work. It was set on my studio ceiling rig so no stands to worry about getting in the way or making a cameo appearance in the shot. I set this light at about the 10 o’clock position (bear in mind that I am shooting this from the 5 o’clock position). In fact if you look at the shadow line coming away from the model’s right thigh you can probably spot where the light source is coming from. My good old faithful reflector dish, barn doors and diffusion paper combination were the chosen modifiers. With only this light switched on I took some flash meter readings and did a couple of test shots. f4 was the resulting aperture which is around what I was looking for especially seeing as I was going to be using a widish angle lens. Depth of field wasn’t going to be of paramount importance but if I could lose a little background sharpness I would be happy.
With light number one set, I methodically moved on to light number two (crazy, I know). This second light was the one that was going to give me all the trouble. Placed on the pantograph suspended from the ceiling rig, I put it at 2 o’clock. The main issue here is that the ceiling track doesn’t quite go the whole width of the studio so I always end up with the light a few inches away from the wall. In this scenario to get the spread I needed, it had to be all the way back…enter one useful assistant. To help with the spread, I took the light up high and angled it down – effectively buying me some distance and with nothing more than a honeycomb for company it was almost ready. A tweak of the power setting to get me to the same f4 power output, a couple of test shots to confirm the lighting was good and things were moving along nicely.
As you may have guessed already, light number three was going to be next in line for my undivided attention. This one went behind the door with just a simple reflector dish attached (virtually any will do but in this case an old beauty dish that I rarely use for anything was to hand so that’s what I used). On a stand, angled down and pointed at a piece of white card to hide the WC, I set this light just a little higher to give f5.6. The idea with this light was to illuminate the doorway to add some background interest but also to get some reflected light onto the floor. This effectively gave me a lighter backdrop and therefore a way of separating the model’s hair and body from the background. Without this light in this particular pose her hair would be blending into the shadows on the floor.
Light number four was the loneliest of all. Placed all the way at the bottom of the spiral staircase and pointed directly upwards to cast some light into the darkness of the stairwell. It’s fair to say I tried several different angles and power settings before I settled on one I was happy with. I’ve shot similar images since in the same set and no two are ever the same because of the slight differences in this stair light.
Ready, set go! Four lights all working in almost perfect harmony. The deep foreground shadow on the model’s body gives a dramatic feel as does the overall contrast. It was a tricky set to shoot. With the lights being so close to the model, almost every tweak to the pose required a tweak to the lights – particularly number two as it kept missing its target – but overall I think it worked well and was worth the effort. The high viewpoint and framing really adds to the effect too. It perhaps seems a little strange when you start analysing the shot and realise that the model is only taking up about a quarter of the frame and nothing but door and bed taking up most of the rest. I think that’s what they call “negative space” darlings! Whatever, it is pleasing to the eye and that’s good enough for me.
Personally it’s the black and white or toned version that really ticks my boxes but never one to shy away from a debate there are also some colour versions and some of the NSFW images from this shoot available to view in our Members Section. JOIN NOW to see all our Members Only content including downloads. ?
The second part of this post contains additional lighting, shooting and posing tips and images including some NSFW artistic nudity. It is available to members only – not a member? Join here.
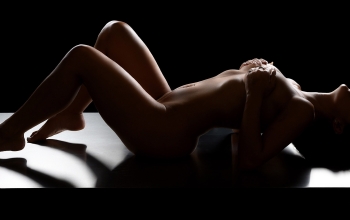
Good use of the burn tool: shots like this are ever such a delicate balance between having an erotic kick and becoming too explicit and therefore crude.
Mind you, the pose itself may be too edgy for some people (though they’re unlikely to hve become members of this site…)